I’m so excited to finally share this project with you! I bought this set at a local thrift shop almost a year ago for just $15! I fell totally in love with the adorable ice-cream shop vibe and snapped it up as soon as I saw it (even though I could barely fit it in my car!). It’s been in our garage ever since, until I finally decided to tackle it a few weeks ago when I decided to give our backyard a little makeover. This isn’t exactly a DIY, but I’ll show you in detail how I re-did this set in case you’d like to do the same to your own patio furniture.
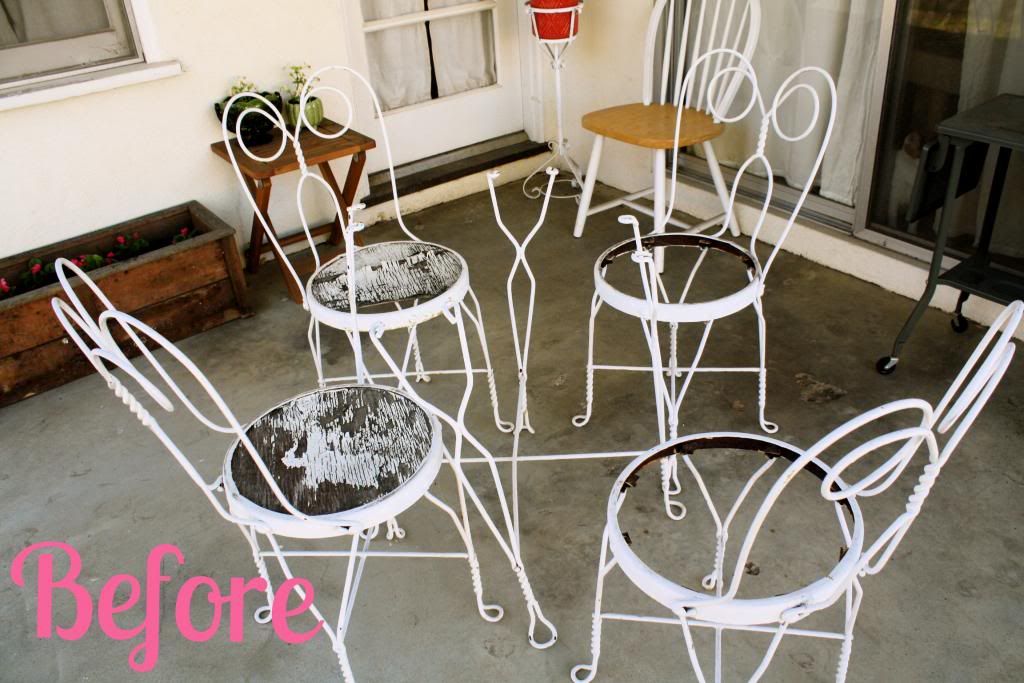
All of the pieces needed a lot of work! The wood was almost completely rotted out of all of the seats and the tabletop was missing altogether. There was a ton of rust on all of the unpainted parts, though luckily the metal is still solid and nothing was actually rusted through. My dad was nice enough to cut a new tabletop and chair seats out of plywood for me, and he even helped me get all of the rusty bolts out of the chairs with lots of WD-40, a wrench, and a vice (no easy task!).
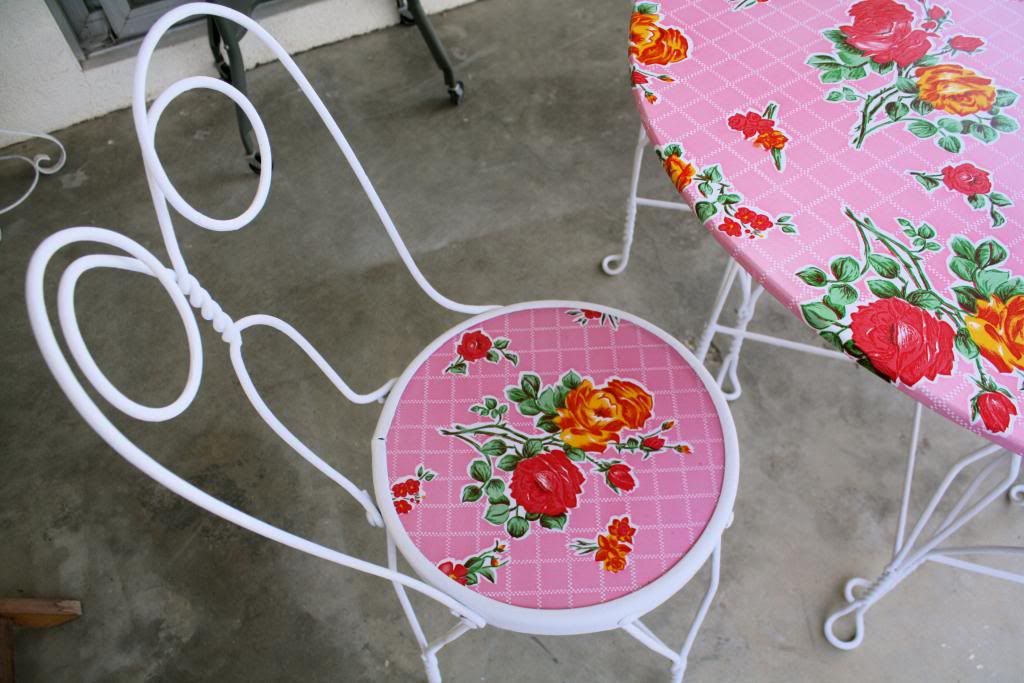
After the pieces were cut out I headed to Beverly’s in San Luis Obispo to pick out some oilcloth to cover it all with. I thought using oilcloth would be simple, inexpensive, and easy to switch out if I get the inclination. They have an awesome selection of oilcloths there and it was really hard to choose just one. In the end I decided on this pink rose print. I bought two and a half yards and that was more than enough to cover all of the pieces. I even used a 40% off coupon, so I came in at around $16 for all of it. Not bad!
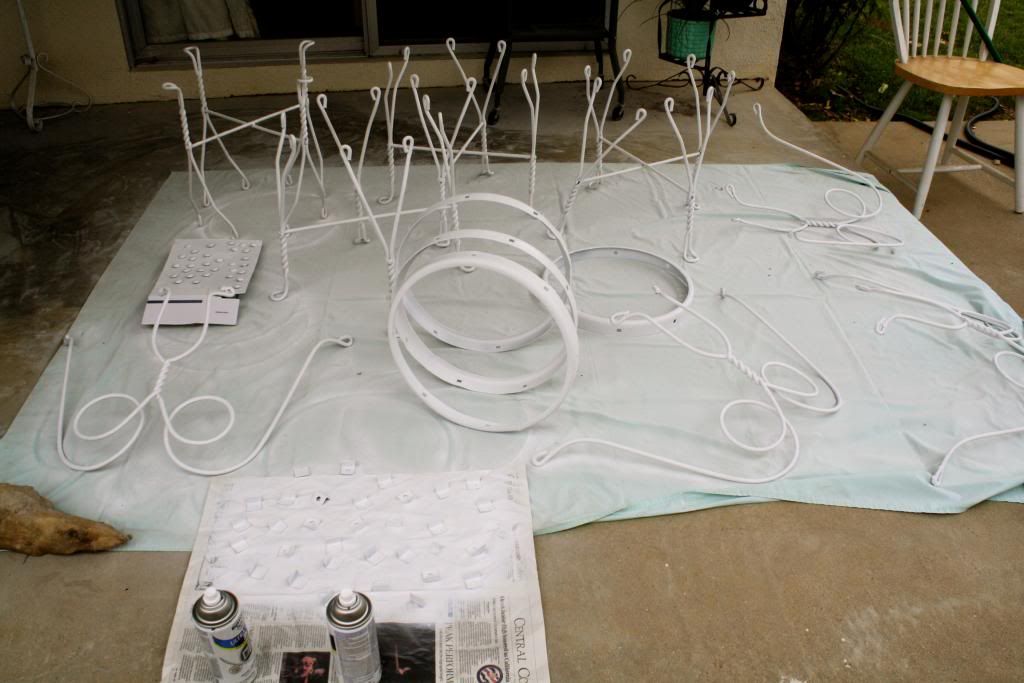
I sprayed all of the metal pieces with a coat of spray paint to cover all of the rust (I used a 2-in-1 paint and primer and it covered really well). I replaced all of the carriage bolts too, and gave their tops a coat of white paint to match. I stuck them in a piece of cardboard to make sure I didn’t get paint on the threads.
I used a staple gun to attach the oilcloth to the undersides of the table and chairs.
Though covering the tabletop went smoothly, I had to use thin 1/4 inch plywood for the chair seats and as a result, the staples went all the way through when I went to cover them. After a fruitless trip to Home Depot, (where I realized there were no shorter staples) I thickened them by adding a layer of cardboard to the undersides of all of the chairs. Problem solved!
Re-assembling all of the chairs proved to be quite a task. As you can see in the spray-painting picture, the back pieces really sprung out when they were detached from the seats. Bending the pieces back into position and putting the bolts back in was a two-person job that we will not be doing again for a long time if we can help it!
I’m so happy with how this project turned out! It was totally worth all of the hard work. I can’t wait to sit out on our back porch all with a coffee book all summer long! Now I’m itching to have a BBQ to show off my new patio set!


