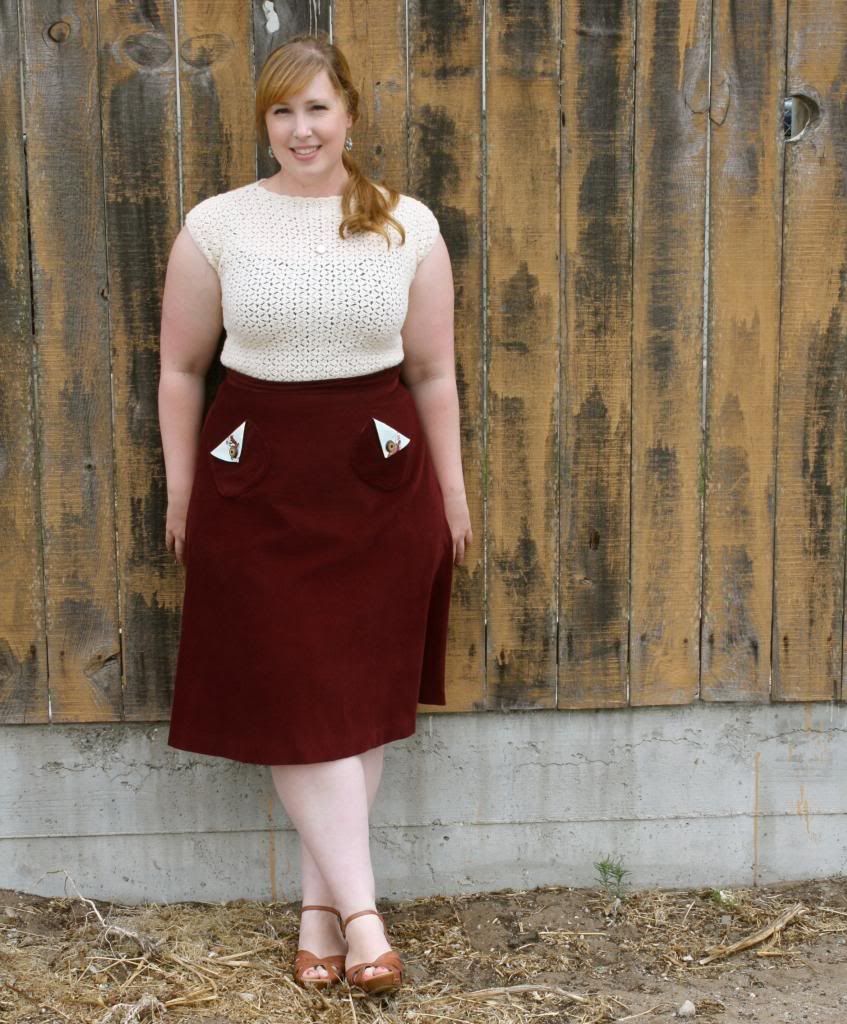
I also used fusible interfacing on the lining of the pockets, which I’m glad I did because they pressed very nicely.
Here’s the side zipper. It actually went in with no issues, which was awesome. Those things can be tricky when they feel like it!
I think the biggest challenge I encountered while sewing this skirt was when, despite stay-stitching and lots of measuring, the waist was somehow too big for my waistband when I went to sew it on. After some frustration, I decided to leave it for the night and try again the next day. After thinking about it at work that day, I just kind of eased the skirt onto the waistband (with lots of pins) and that worked like a charm! (Much to my relief).
Sorry about the wrinkles on the back view! I forgot to take a back view shot initally, so I had my mom take one for me later after I’d been wearing it (and driving) for a few hours.
Here’s some views of the inside:
I finished the hem with some rayon hem tape I had and I hand-sewed it so the stiches would be nearly invisible from the right side. I made a 1.5 inch hem and had my skirt hit just below the knee (my favorite length!).
Here’s some pictures of my pattern drafting process:
I first made a simple A-line skirt pattern with my measurements using the technique Deborah outlines in the video. I made a muslin of that pattern, which fit quite snugly. My mom helped me make my darts, which I transferred to the pattern. I wanted my skirt a bit more flared, so I used the “slash and spread” method she demonstrated. I used the hip line as a guide and added 1/2 an inch to each slash in my pattern at that point. I made another muslin and it fit great! I was ready to cut out my fabric.
I looked up some tips for sewing with corduroy on the net and I came across a Threads Magazine article that suggested serging the cut edges of your fabric before washing it. I had a total “Why the heck didn’t I think of this before?” moment! Instead if being a tangled mess of threads and fuzz, it came out of the wash in perfect shape! I’ll definitely be doing this every time I wash fabric from now on.
Here are my final traced pattern pieces.
These are the two pattern pieces I made for my pockets. The one on the left is my first draft, and the one on the right is my second draft after adding a 1/4 inch seam allowance.


