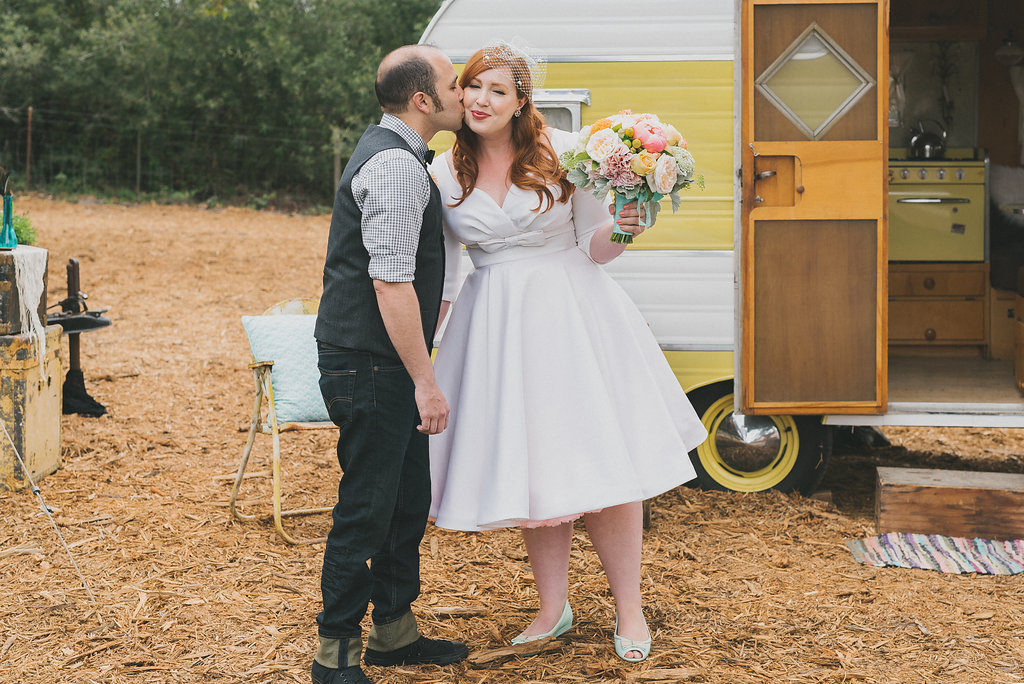
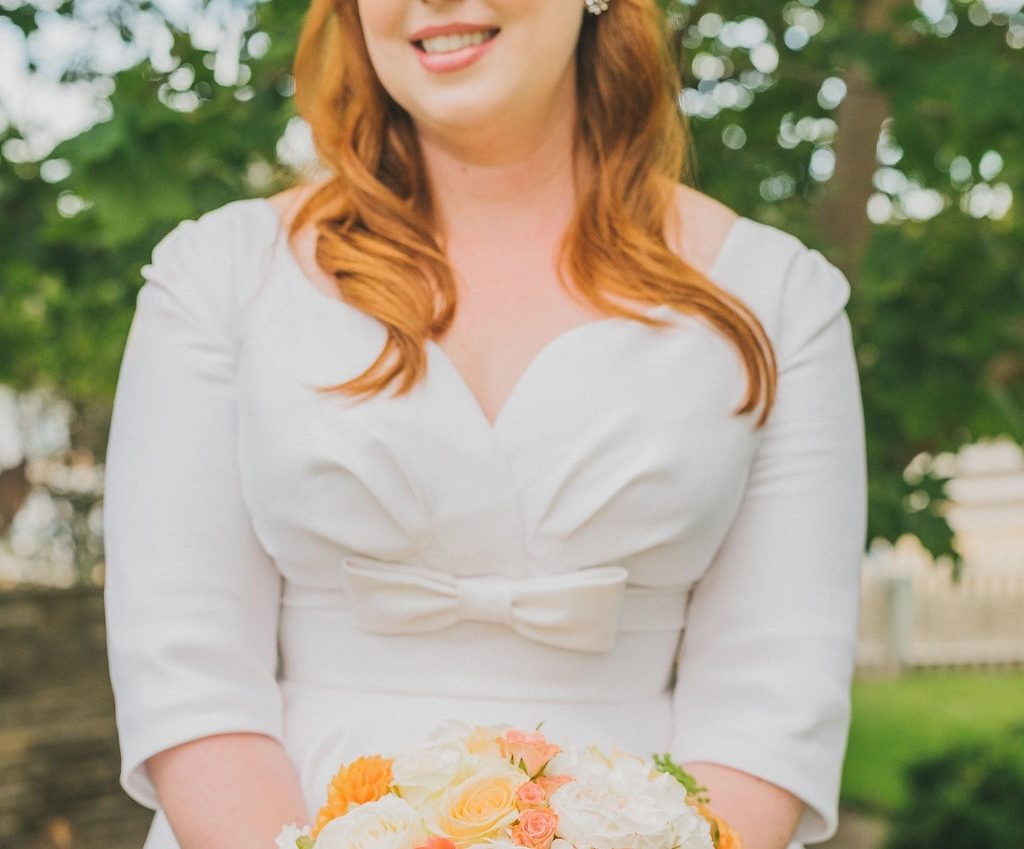
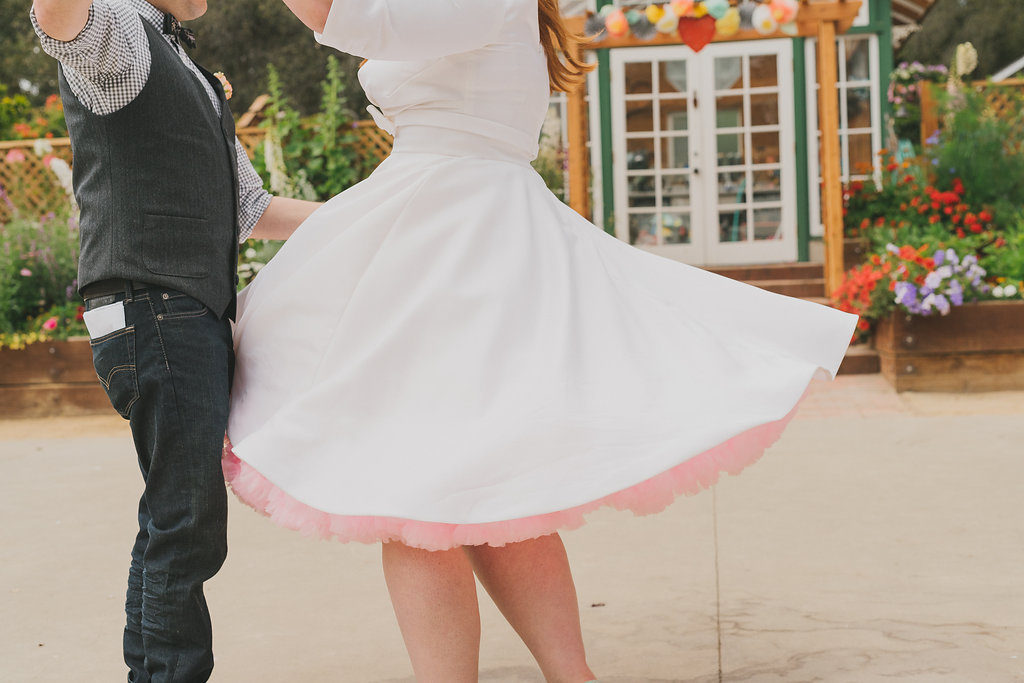
Hi everybody! I am so, so excited to finally share my wedding dress with you guys! I’ve been waiting to get back our professional wedding pictures so I could really do it justice (trust me, my mirror selfies were not very share-worthy). I had intentions of blogging my progress, but that never really happened as I had planned, so instead you just get one long post! First, some pictures:
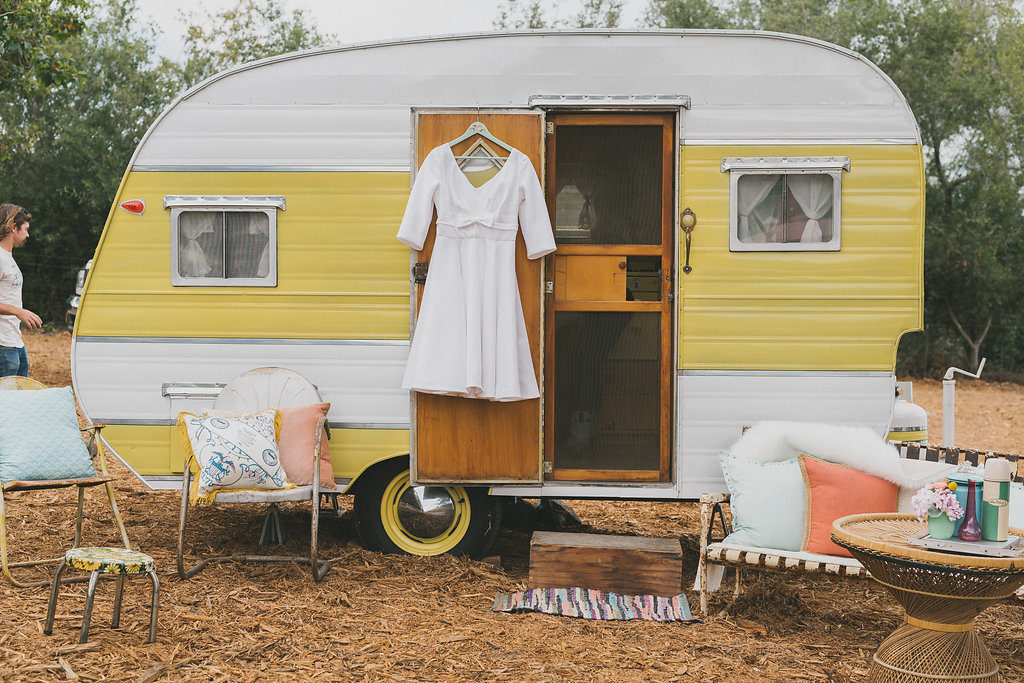
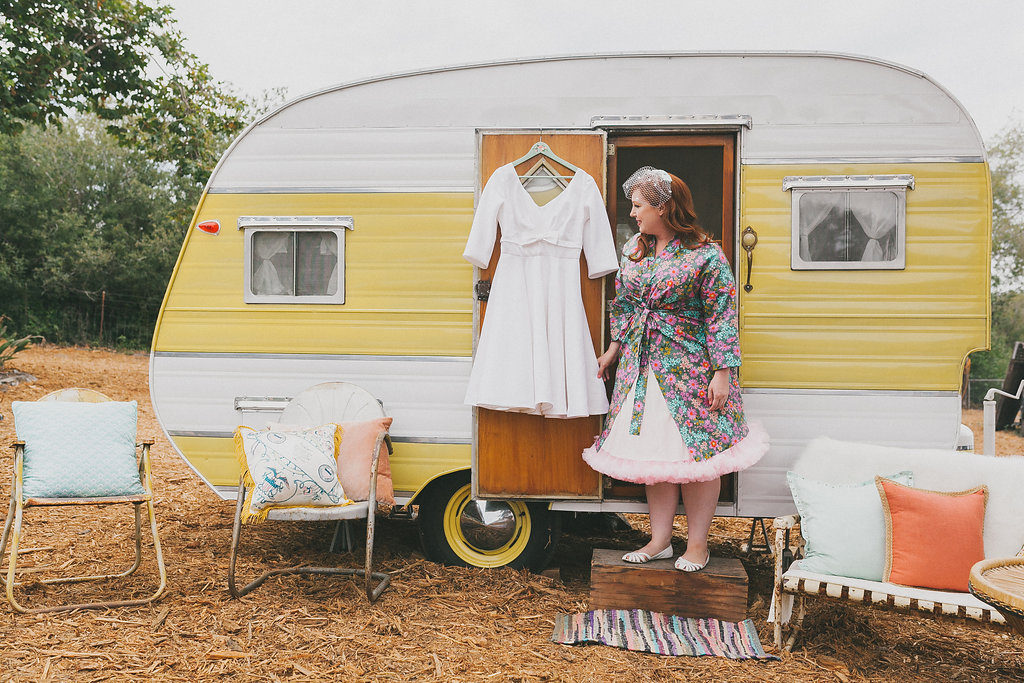
Here I am right before getting dressed.
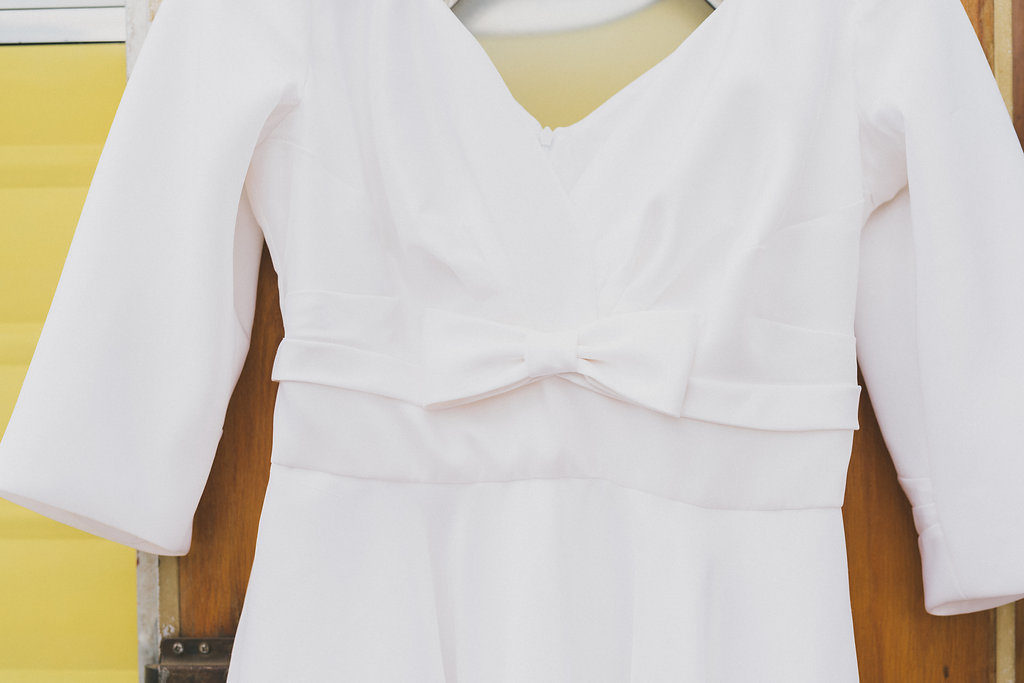
A more closeup shot of the bodice detail.
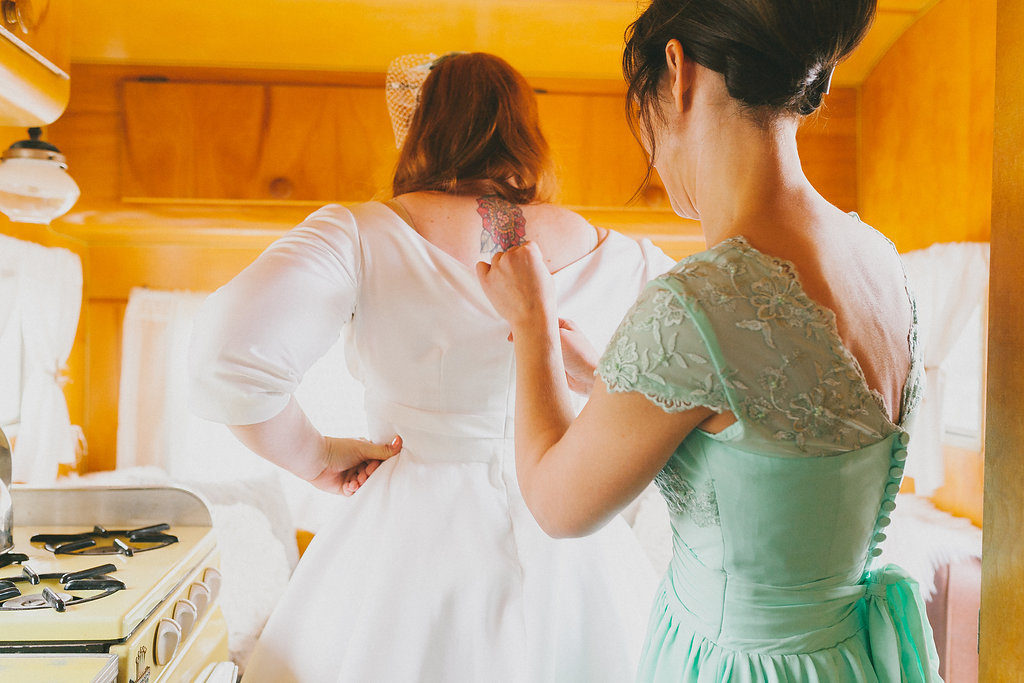
My best friend and maid of honor Leslie helping me zip up.
This was right after our “first look” (although Phillip had seen the dress many times as I worked on it at our house, ha ha).
Here’s a really nice shot showing the gathering at the bust. I’m so happy with how it turned out!
 (photos by Plum Jam Photography)
I wore a pink petticoat underneath, which I was going to make myself but then ended up buying on Amazon. I think that was a smart move!
A brief rundown of the process of making it:
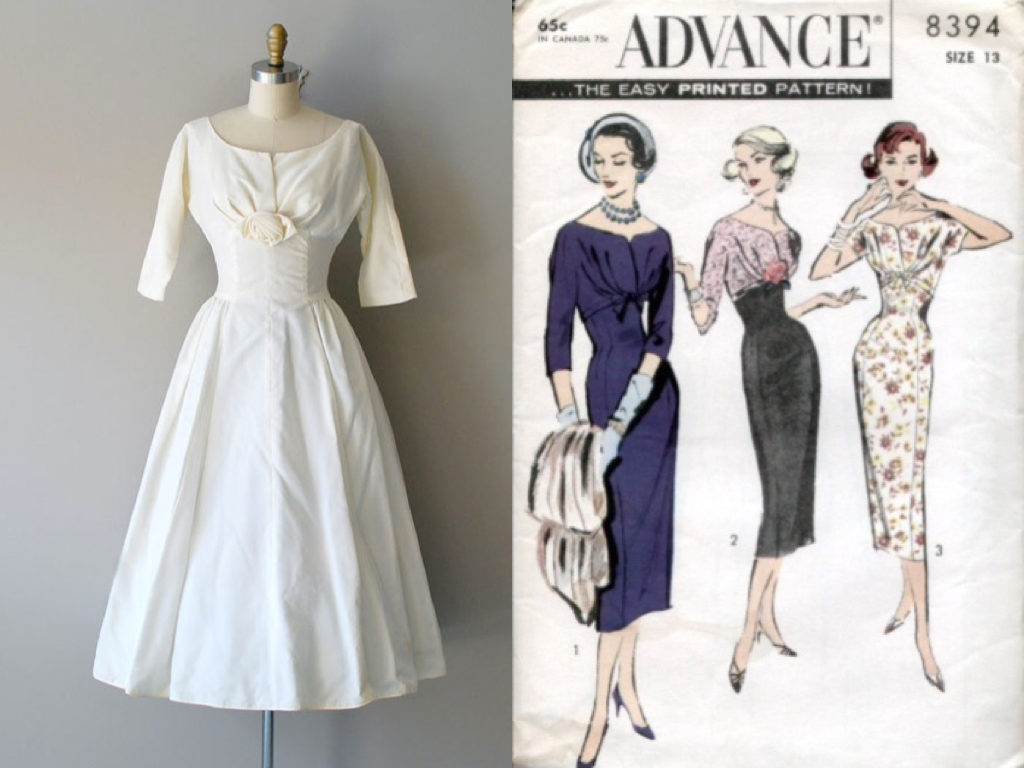
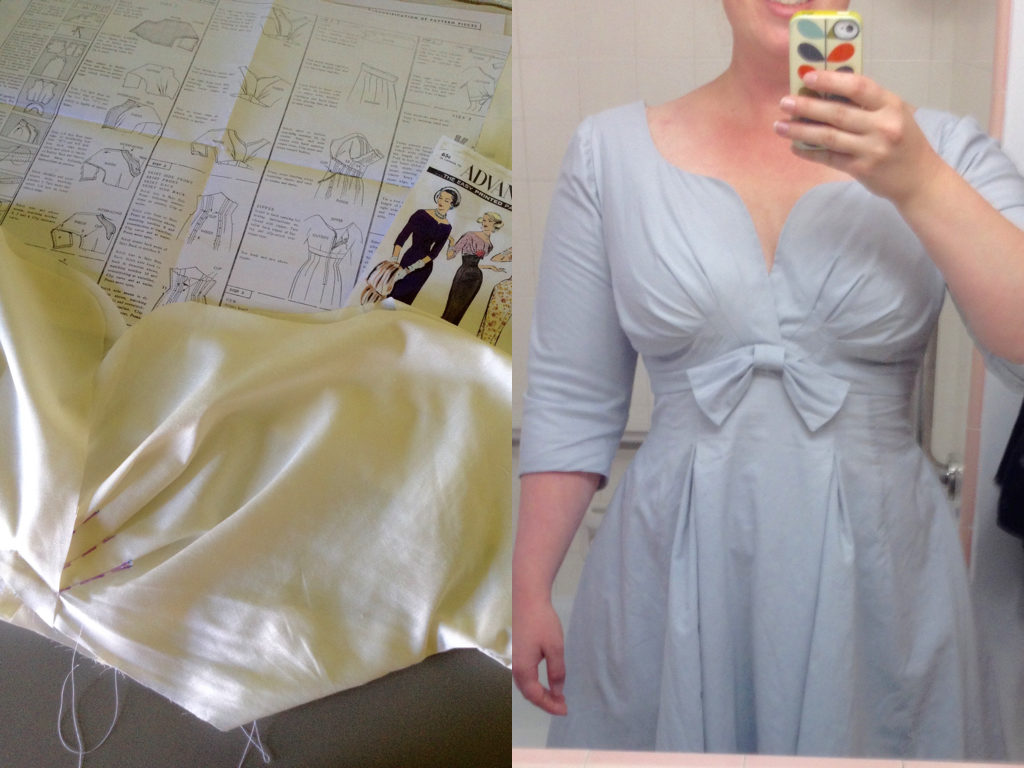
Here’s a photo of my inspiration dress (spotted many months ago on Dear Golden) and of the pattern I started with to make it:
When we got engaged, I knew two things: one: I would have a vintage inspired dress, and two: I would make it myself. I looked at lots of vintage dresses and patterns online and when I came across this dress from on Dear Golden and something about it just spoke to me. The actual dress was several sizes too small, so I really would have to make my own version.
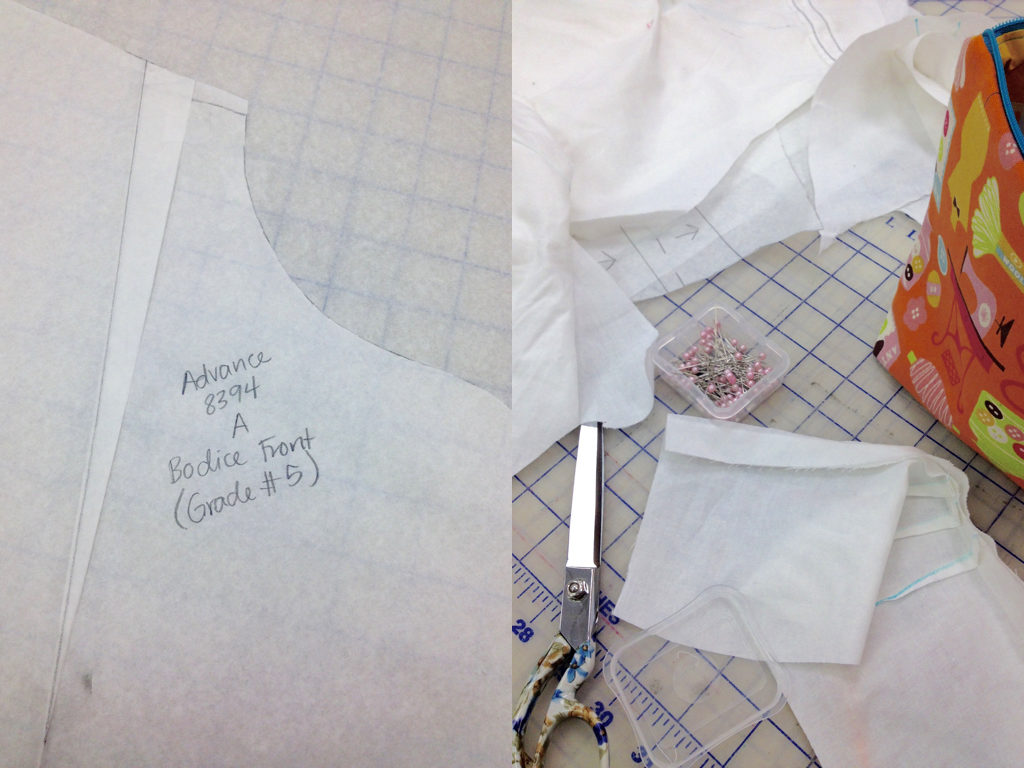
I searched online for months looking for a pattern that resembled my inspiration dress so I would at least have somewhere to start. I knew I could grade and alter any sized pattern, but I really wanted to have a pattern for the design of the bodice and especially the gathered surplice detail. I finally came across an image of this pattern, Advance 9394, but couldn’t find it for sale anywhere. I posted on the We Sew Retro blog about my search and luckily a very nice lady who owned a copy offered to trace hers off for me and photocopy the instructions. How cool is that? I am eternally grateful to her and it just shows how awesome the online sewing community can be!
Once I had the pattern pieces, I started working on grading them to my size. I can’t even tell you how many times I altered the pattern, sewed up a muslin, made changes, and then started over again. Actually, I can: it was 10. I made 10 muslins to get the fit right on this dress! I started last fall in a community sewing class, with a very patient teacher helping me with the fit. By the end of the class I had gotten the fit right, but I still wasn’t sure it was flattering enough to make a wedding dress out of. I decided to take a break from it over the holidays and then came back to it the next semester in another sewing class.
I had been seriously considering scrapping this pattern altogether and starting with a whole new design, but my next teacher convinced me that I was on the right track and to stick with the pattern I had chosen. The main issue had been the dolman sleeves- I loved the look on the inspiration dress but didn’t feel they were all the flattering on me. I had been adjusting the muslins over and over and still wasn’t liking it. My teacher convinced me to change the sleeves to set-in and that made all the difference! The gray dress on the right is my last muslin (though I did decide at the very last minute to change the skirt to a circle skirt rather than pleated).
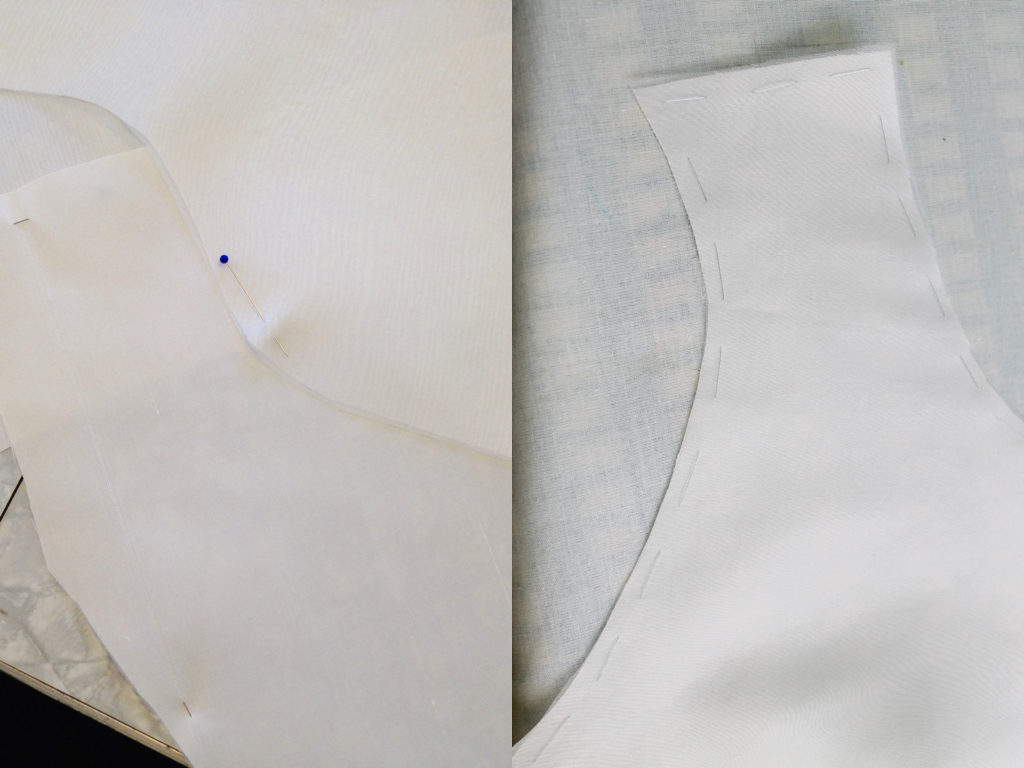
I was finally ready to buy my fabric! My mom, sister and I headed down to the LA garment district to find it. Man, was that an experience! I was originally going to buy a silk dupioni, but once I got there and saw examples I decided that it was too crisp for what I was envisioning for my dress. After many shops and more and more frustration, one shop owner showed me some silk shantung. Perfect! It had a more subtle texture and just the right amount of drape. I bought 6 yards of shantung, 6 of silk organza to underline it with, and 6 yards of silk habotai for the lining. It came to almost $200 altogether, but that’s not too bad for a wedding dress! In the photos above, I’m pinning and then hand-basting the organza to the shantung with silk thread, which is strong yet come out easily when you’re ready to remove it. It was a rather laborious process to say the least!
Once I had the fit down, actually stitching the dress together went relatively quickly. I did have to be careful not to iron the fabric directly and to wash my hands frequently as I worked.
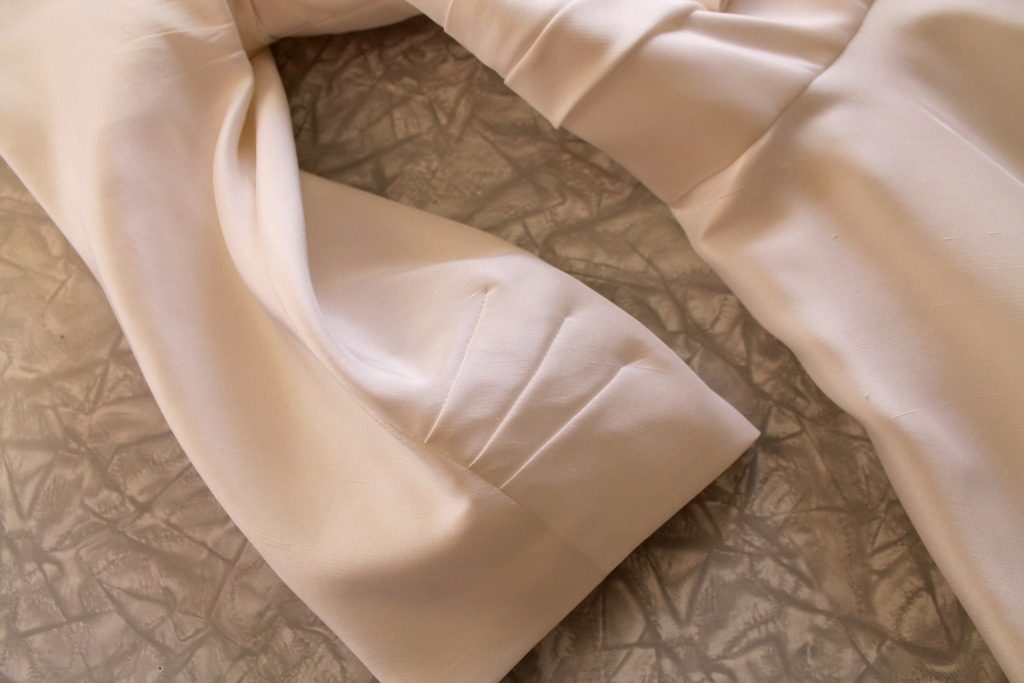
I love all of the vintage details of this dress and I did a lot of techniques I had never done before. For example, elbow darts:
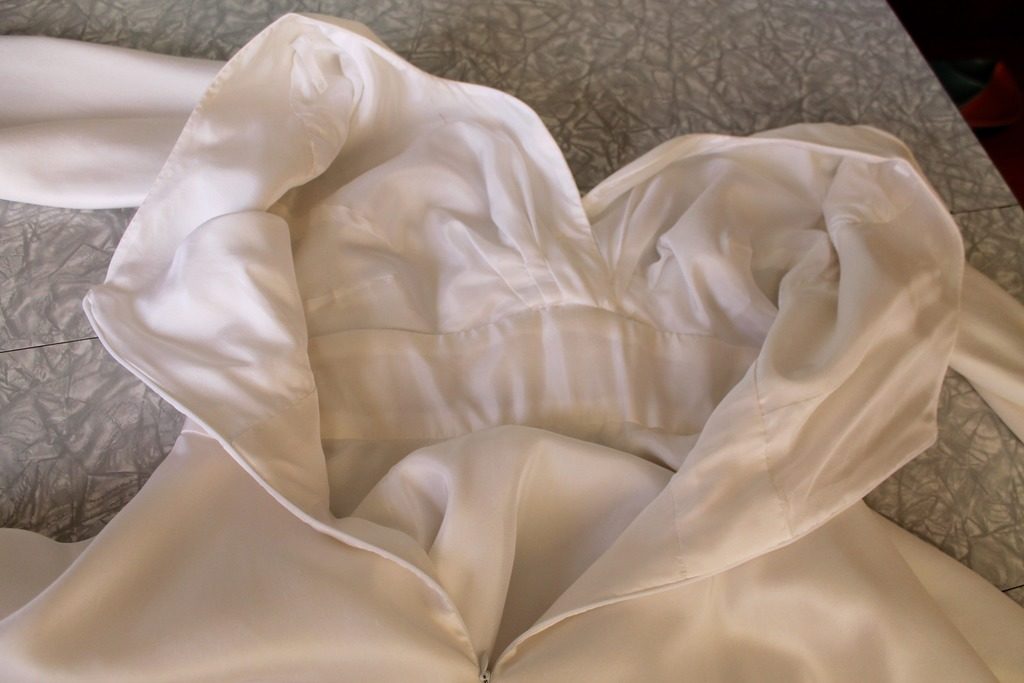
 The dress is fully lined with silk habotai (China silk). Quite a bit of hand stitching went into this!
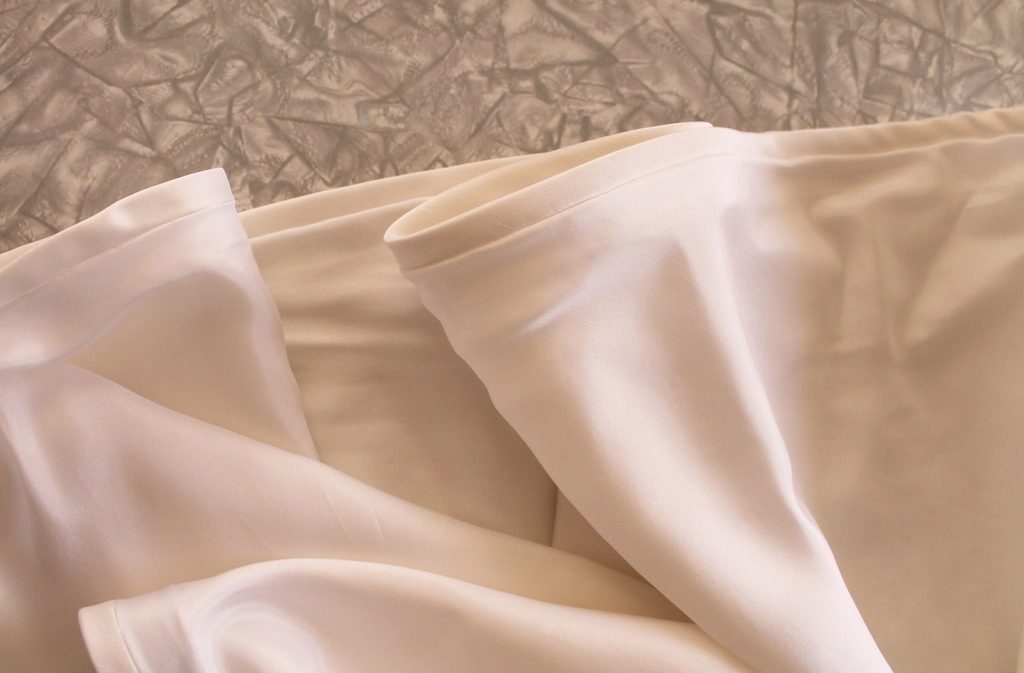
The skirt lining is actually sewn to the skirt so it’s fully encased. It makes it really easy to get into. It did take awhile to stitch that in though! The hem is also finished with 1 inch horsehair braid to give it body. I stitched the horsehair braid to the organza underlining so no stitches show on the front.
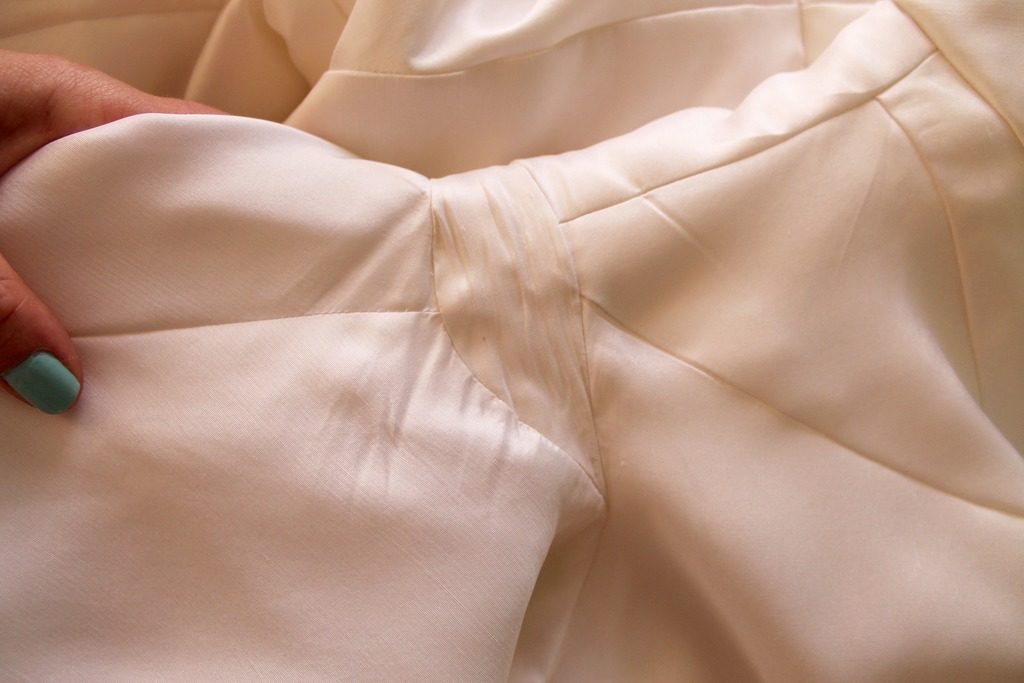
There are also gussets in the underarms to make arm movement easier. One of those classic vintage details that I had never actually done until now. In hindsight I should have photographed this before wearing it…
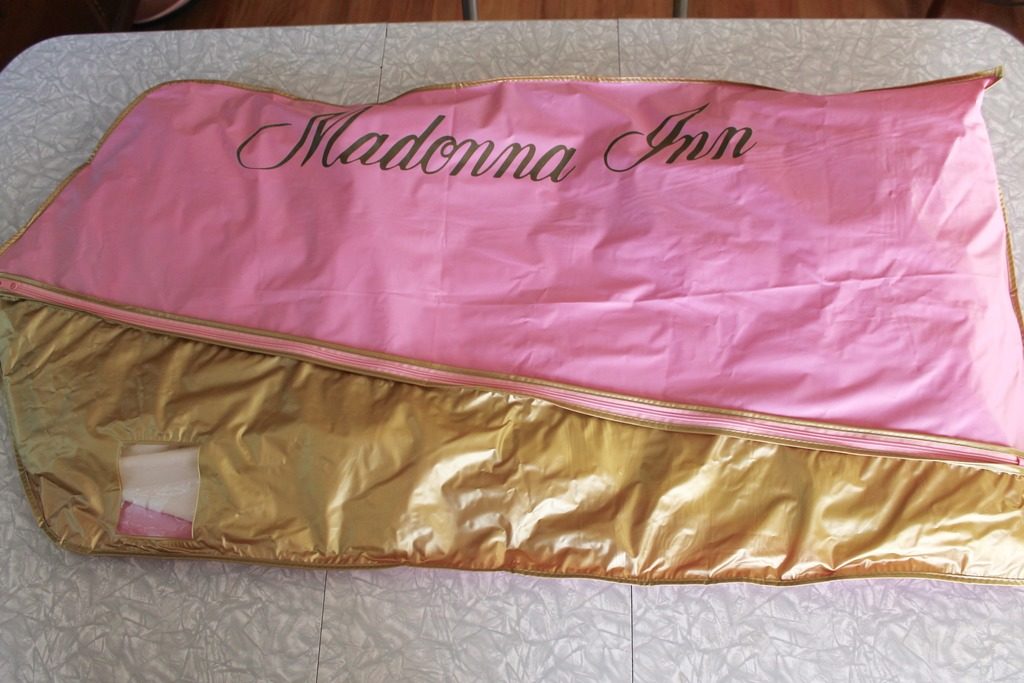
We stayed at the Madonna Inn for our wedding night and I bought this garment bag. That’s where the dress will live in until maybe one day it gets worn again…who knows?
In then end, I’m so happy with how it came out. It truly is my dream wedding dress and it’s even more special because I made it myself. It really was a “labor of love” and it was quite a lot of work and frustration, but it really was worth it!
Here are the vital stats:
Pattern: Advance 8394 (with heavy modification) Skirt from Butterick 5748
 Fabric:
Main: silk Shantung Â
Underlining: silk organza
Lining: silk Habotai (China Silk)
 Size: ?
 Alterations:
 • Graded size up
• Altered shape of neckline
• Changed sleeves from dolman to set-in
 • Changed skirt from slim to circle
Trims: horsehair braid in hem
Skill Level: Intermediate/Advanced
