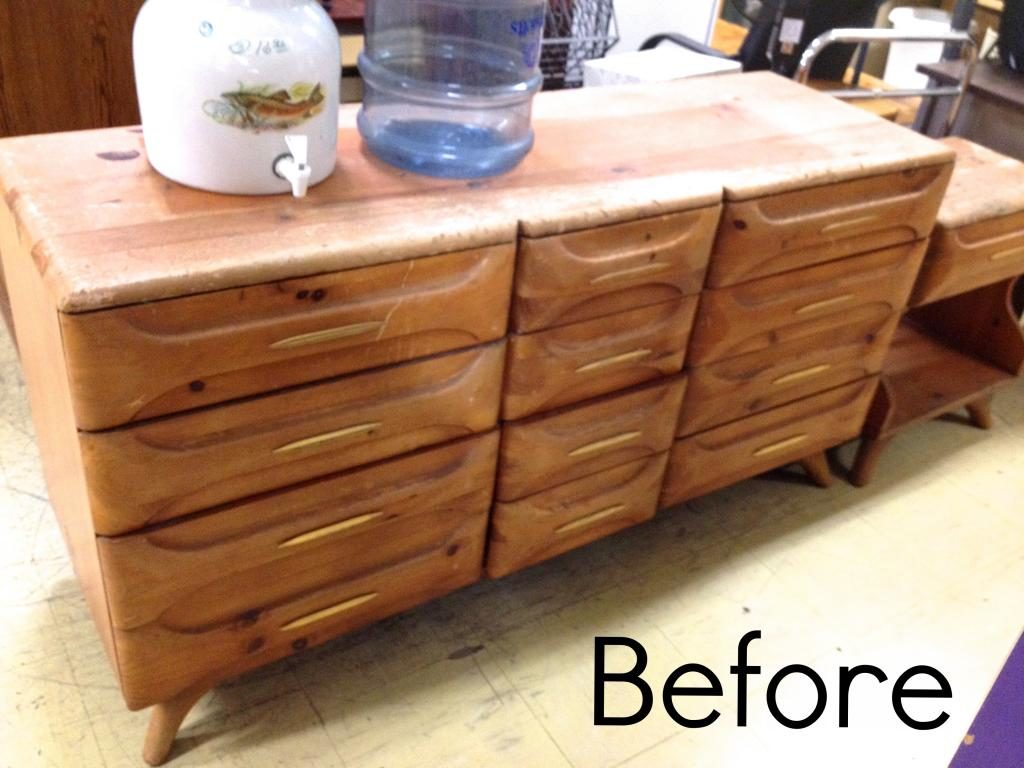
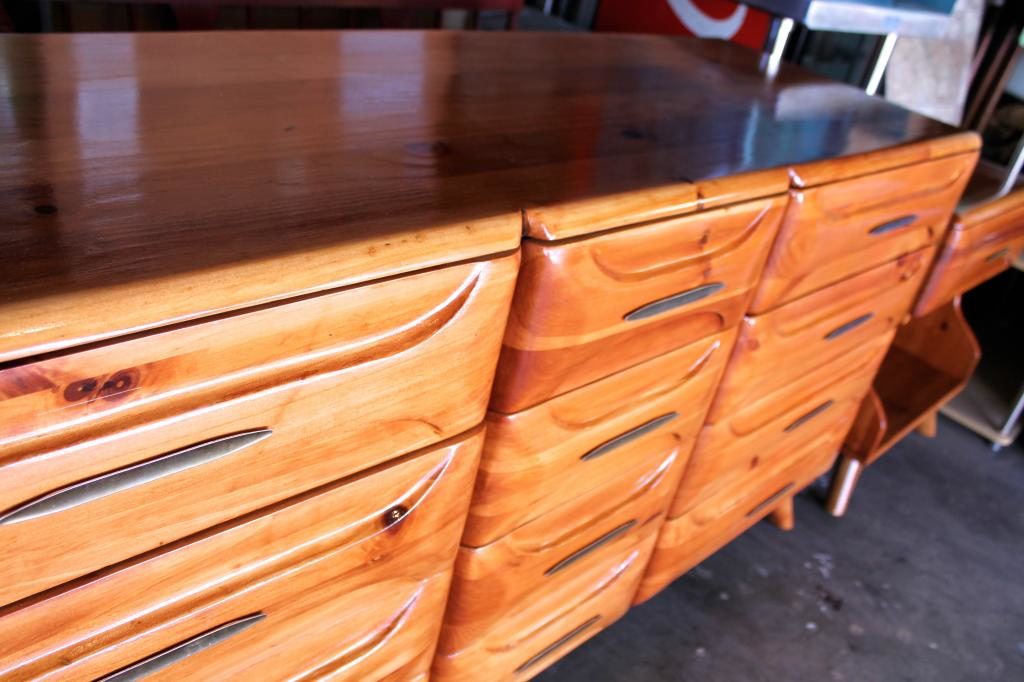
A little over a year ago, I found this dresser and matching nightstand in one of our local thrift stores. They were very beat up and the finish was in absolutely terrible shape, but I fell hard for it’s very cool, oh-so-mid-century lines and the thrift store was only asking $29 for the pair. I talked Phillip into letting me bring them home in hopes of re-finishing them that summer. Well, they ended up sitting in our garage for over a year before we finally had the time and inclination to tackle this project. It was a ton of work, but I think it was really worth it!
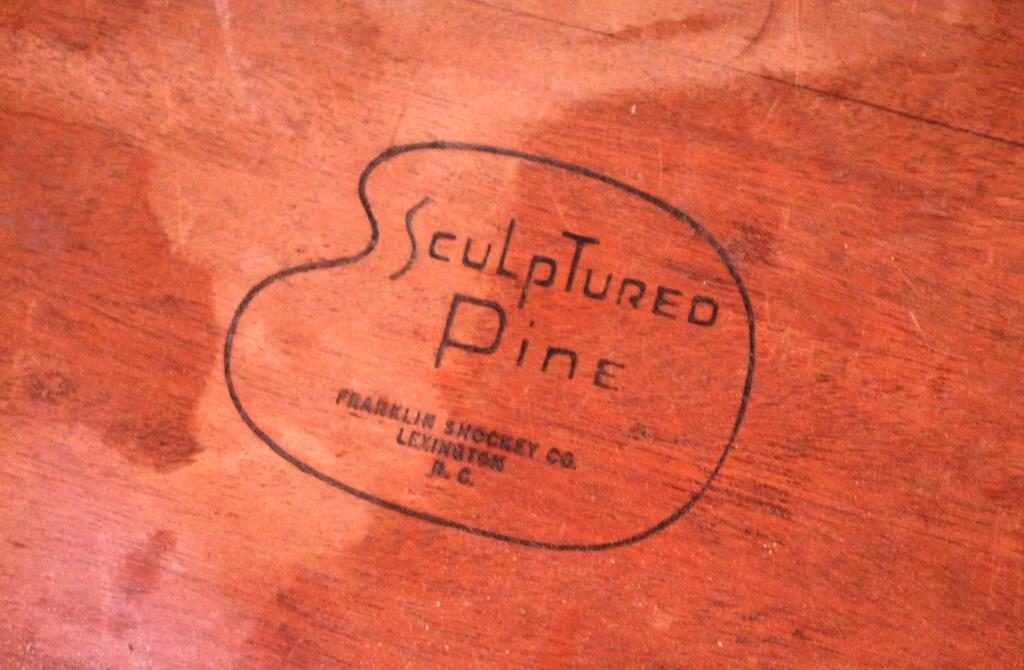
These pieces were part of the “Sculptured Pine” line by the Franklin Shockey furniture company and were made in the late 1950s. I love the interesting mix of rustic and modern in this design.
Here’s a rough outline of how we did it, for those of you who would like to undertake a similar project:
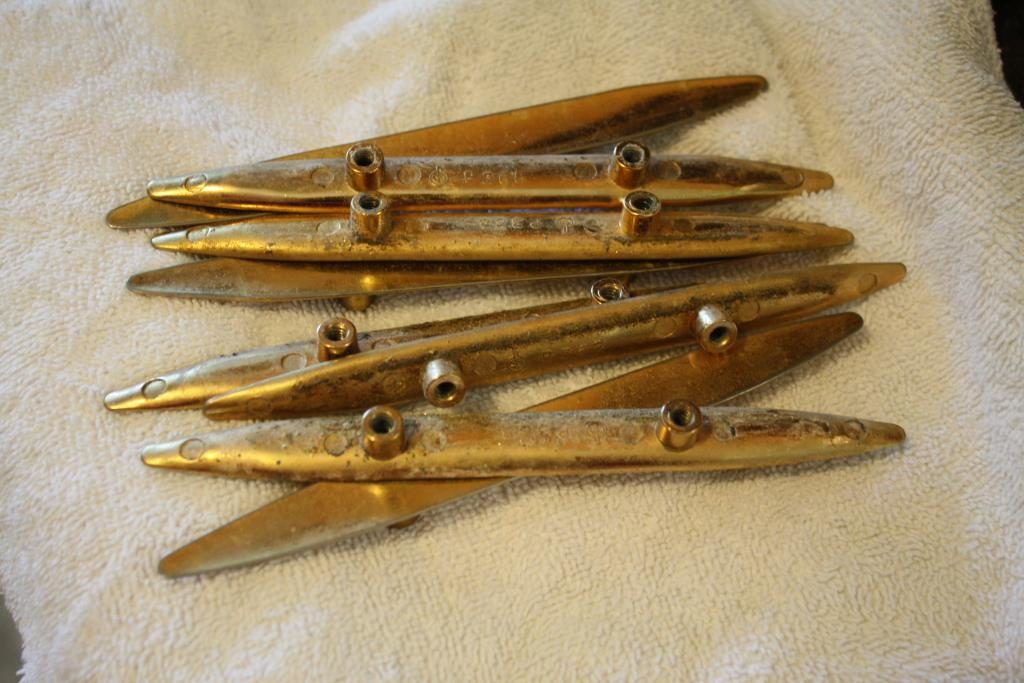
1. Remove and clean handles
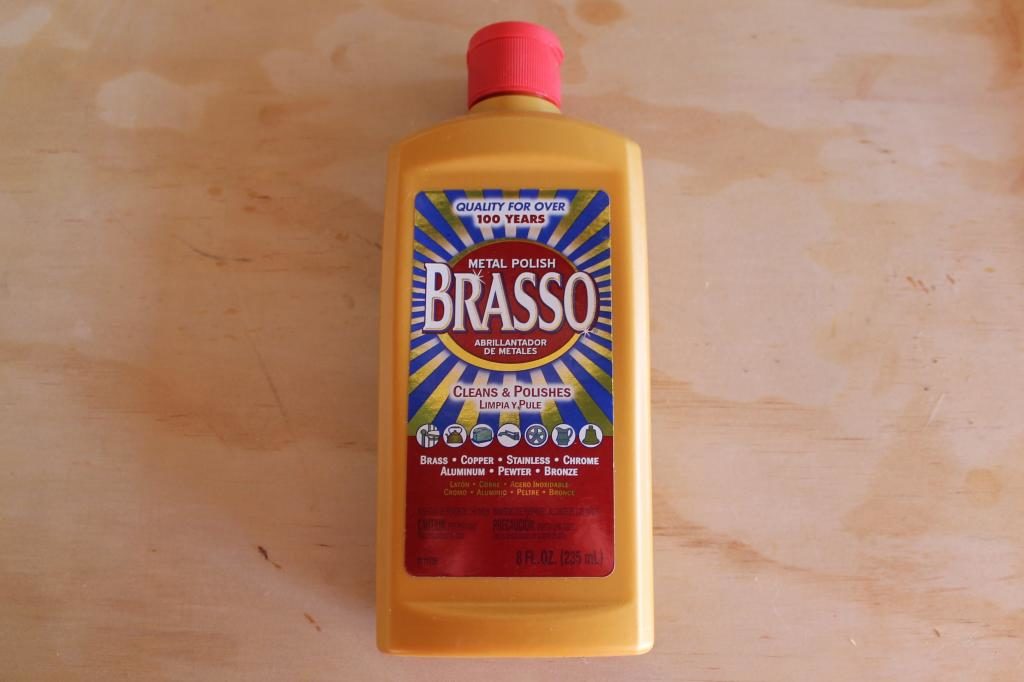
The brass handles were in pretty rough shape when we took them off. I first cleaned them with Brasso and then shined them with a magic eraser and they looked much better!
2. Strip the varnish
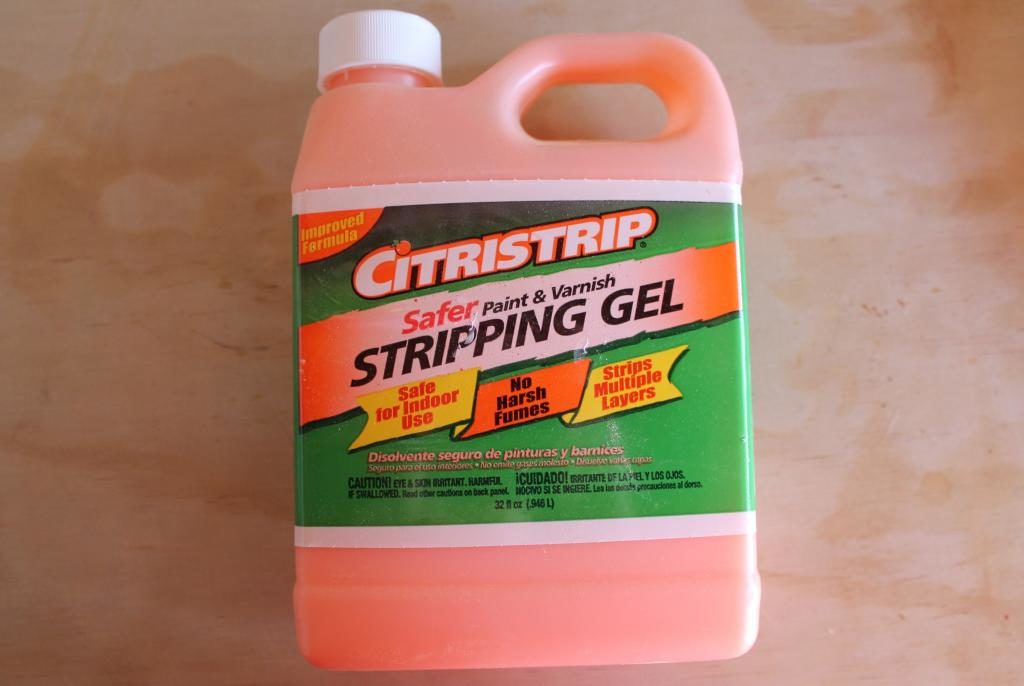
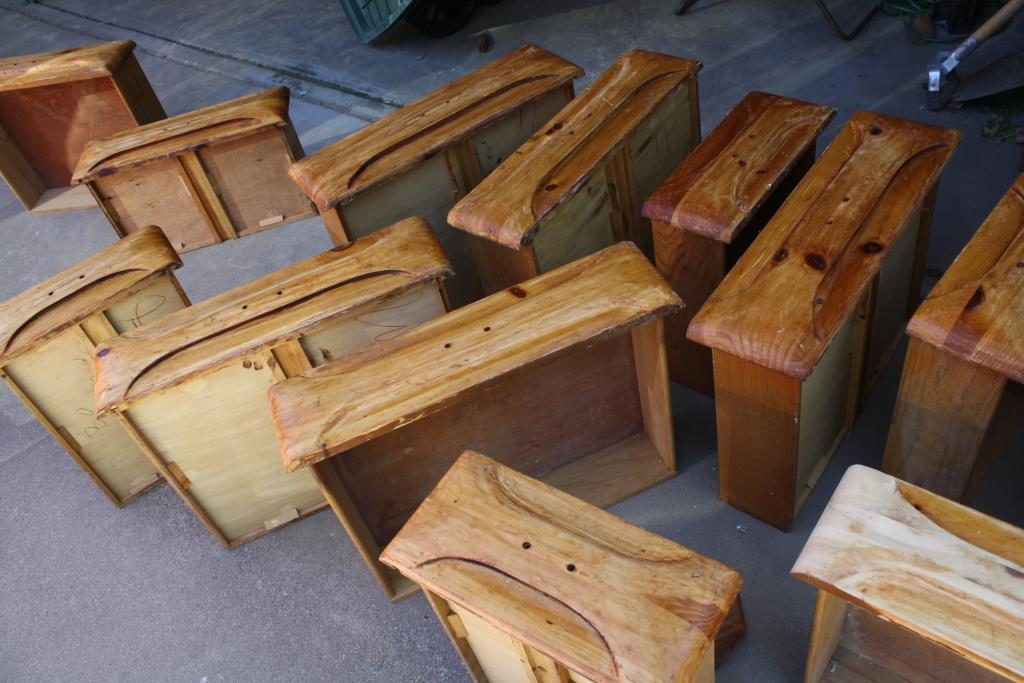
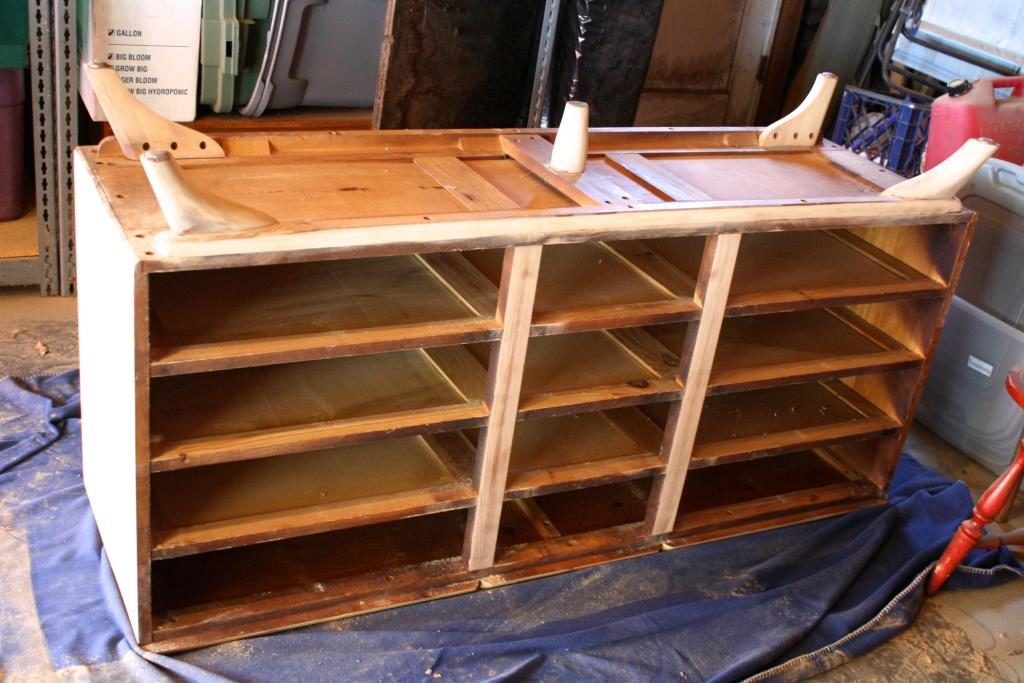
We used this citrus-based stripper to remove the old varnish, though in hindsight we realized it might have been easier to have just sanded it off. I would recommend testing a portion with the sander first to see how easily it comes off, and if it seems difficult, apply stripper. You put it on, wait about 15-30 minutes, and then you can scrape off the varnish fairly easily. It does get very messy though, so make sure to wear gloves and old clothes and make sure to keep it away from other pieces of furniture (we learned that the hard way when we ruined the paint on a bench in our garage). Let the stripped pieces dry thoroughly before moving on to the sanding.
3. Sand it down and fill gouges.
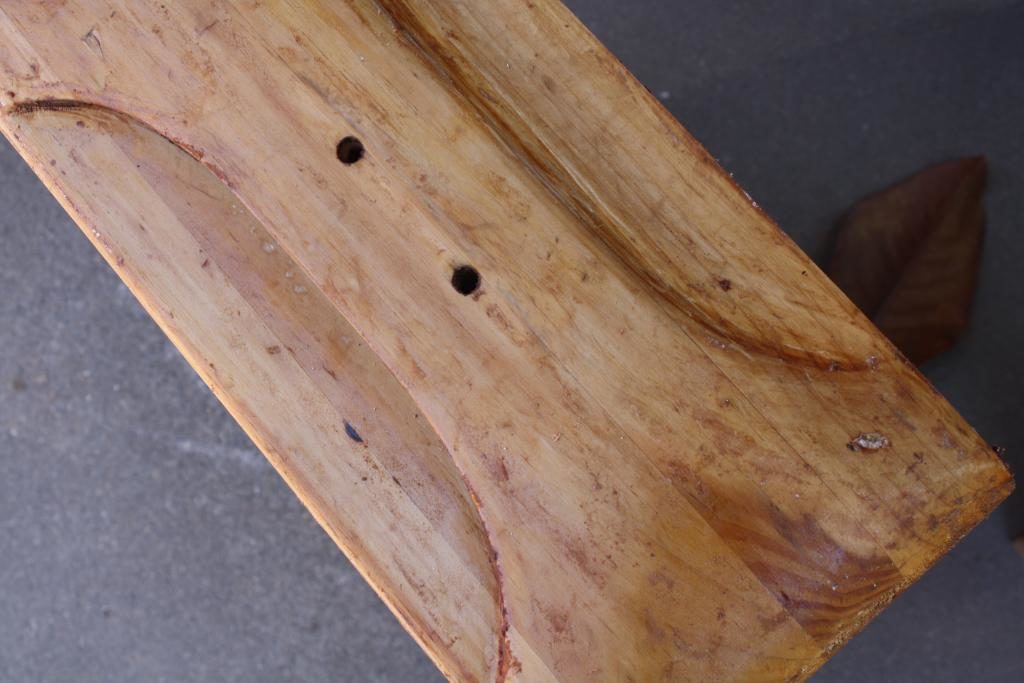
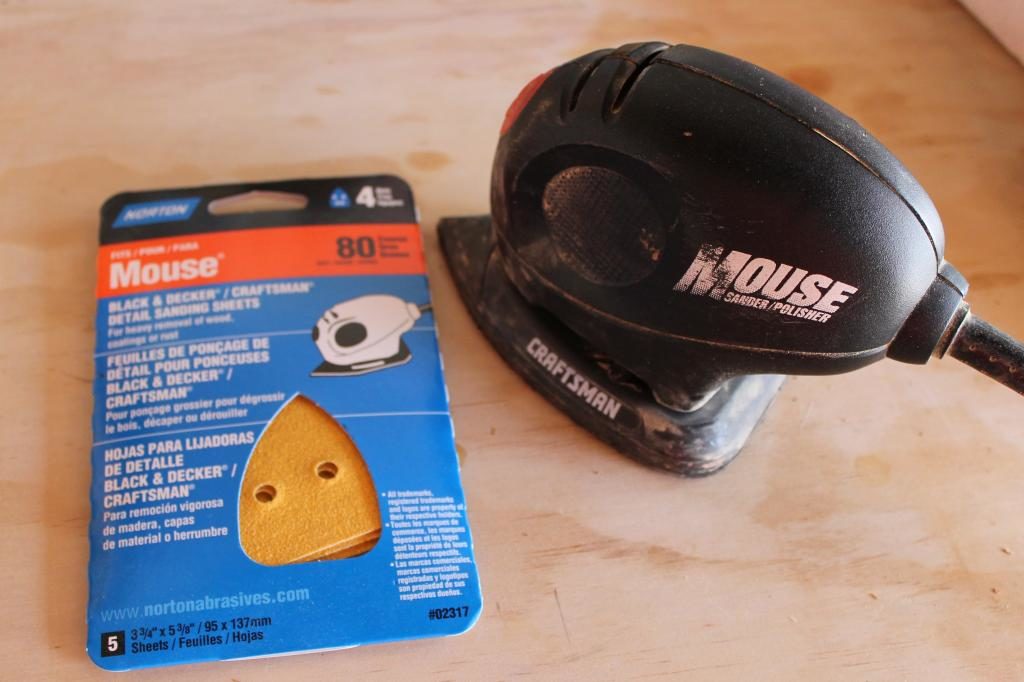
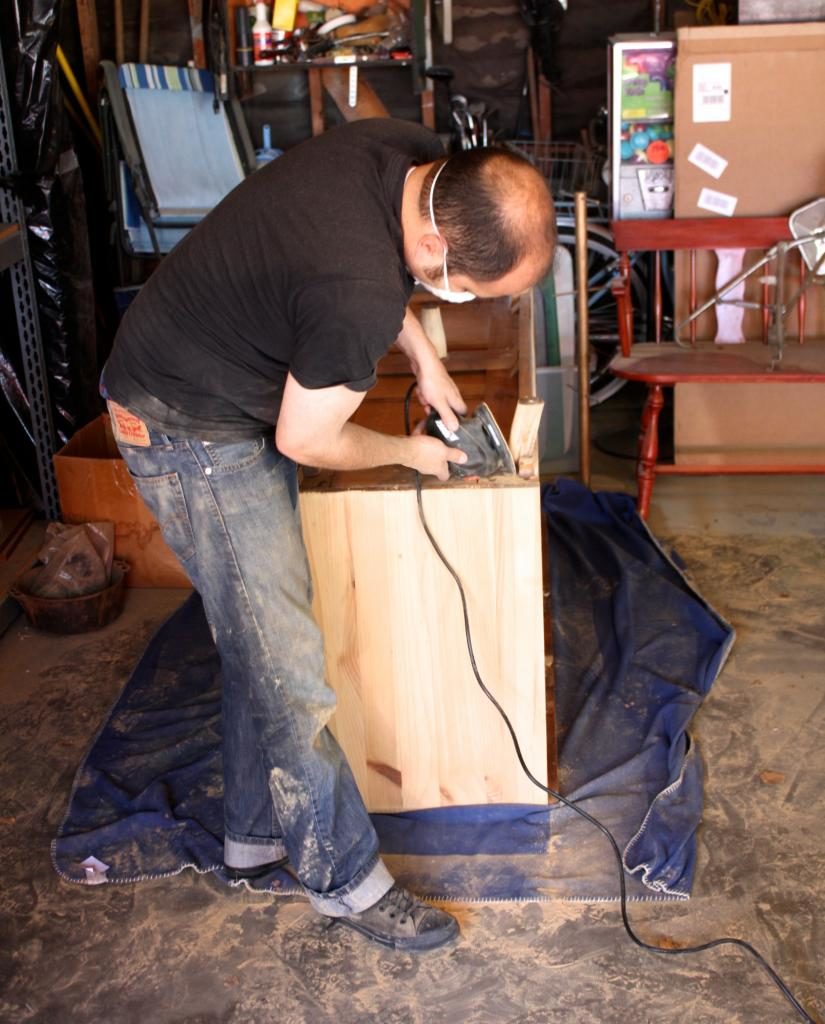
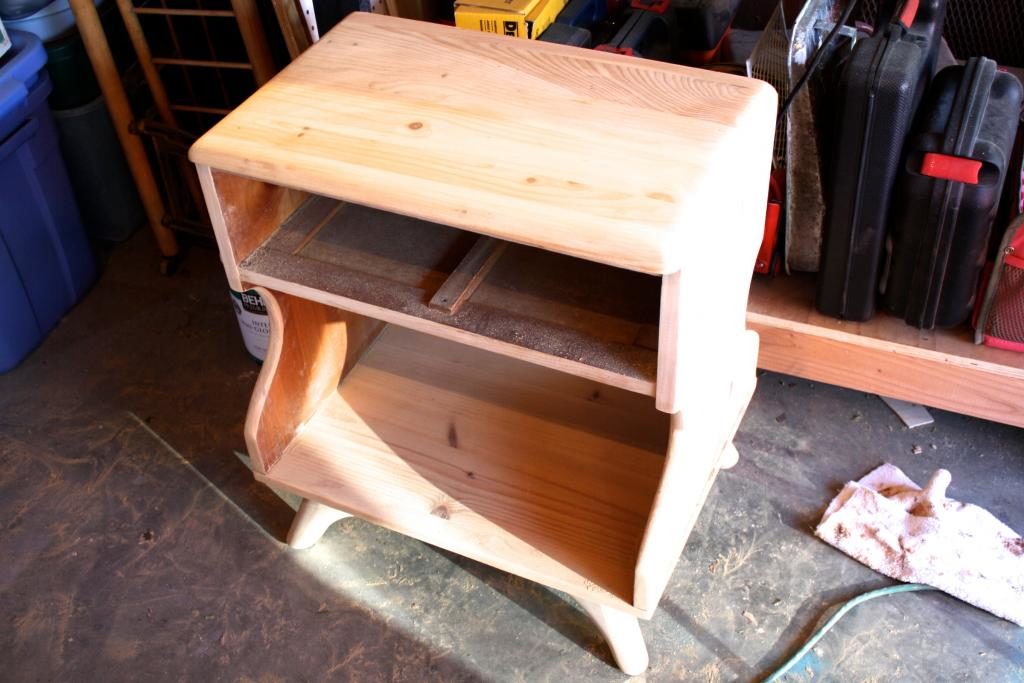
This was by far the most tedious part of the process. We used a Mouse sander with 80 grit sandpaper to get the remains of the old varnish off. We then switched to a fine 220 grit sandpaper (not shown) to get a nice smooth finish. We filled some of the scratches and gouges with sawdust mixed with wood glue and then sanded it smooth once again.
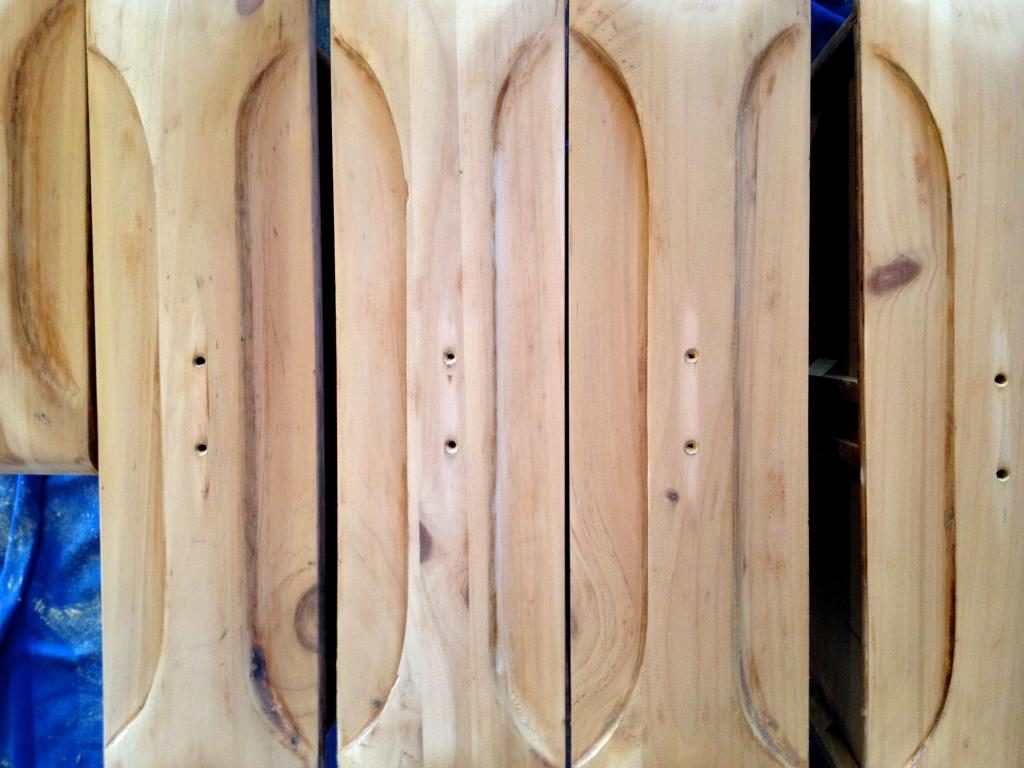
The drawers, sanded down to bare wood:
4. Stain and Varnish
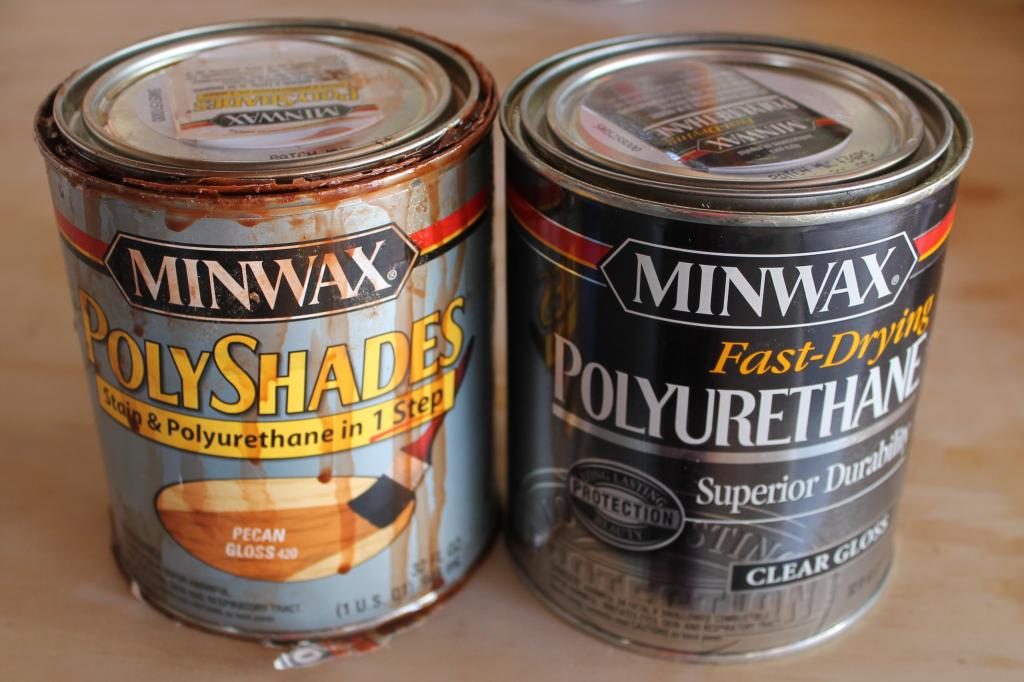
We made sure to sweep up all of the sawdust in our work area, and the wiped down everything with a damp rag and some tack cloth to get all of the sawdust and fuzzies off of the wood. We used this Minwax stain and polyurethane in Pecan Gloss. In hindsight, we probably should have used a regular wood stain rather than the 2-in-1 version, because we ended up finishing it with a clear polyurethane gloss to even everything out anyway and I’m not sure it really saves a step.
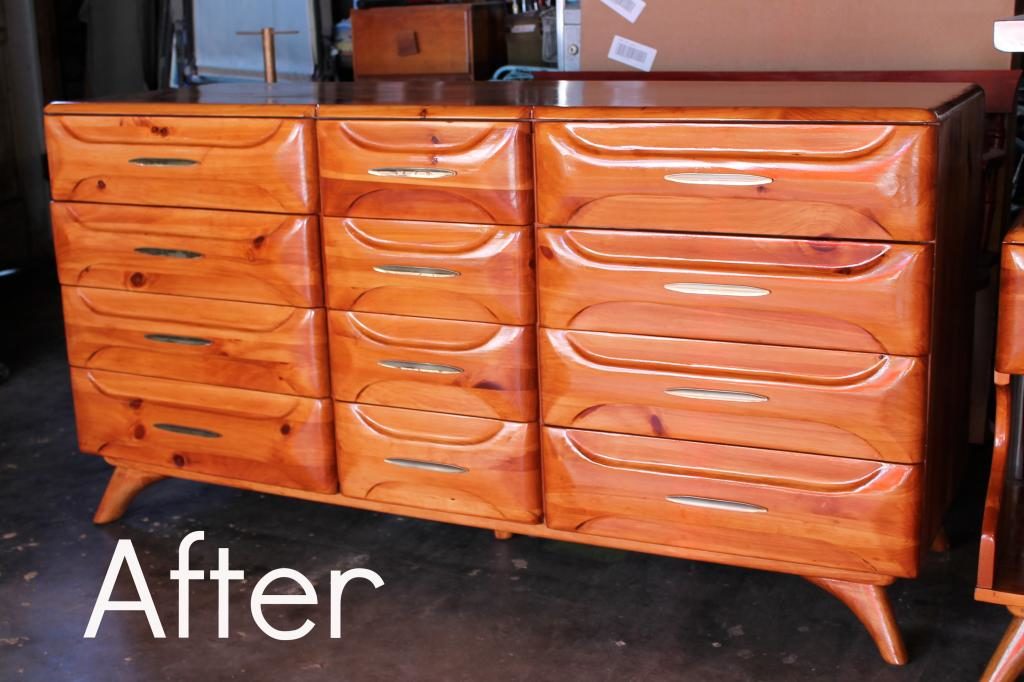
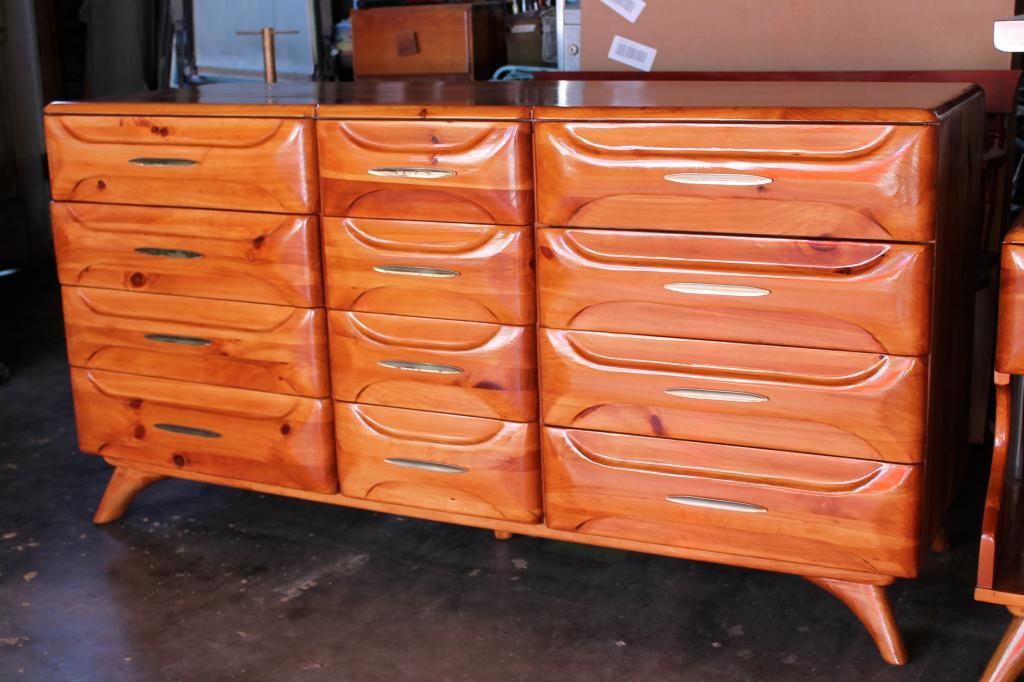
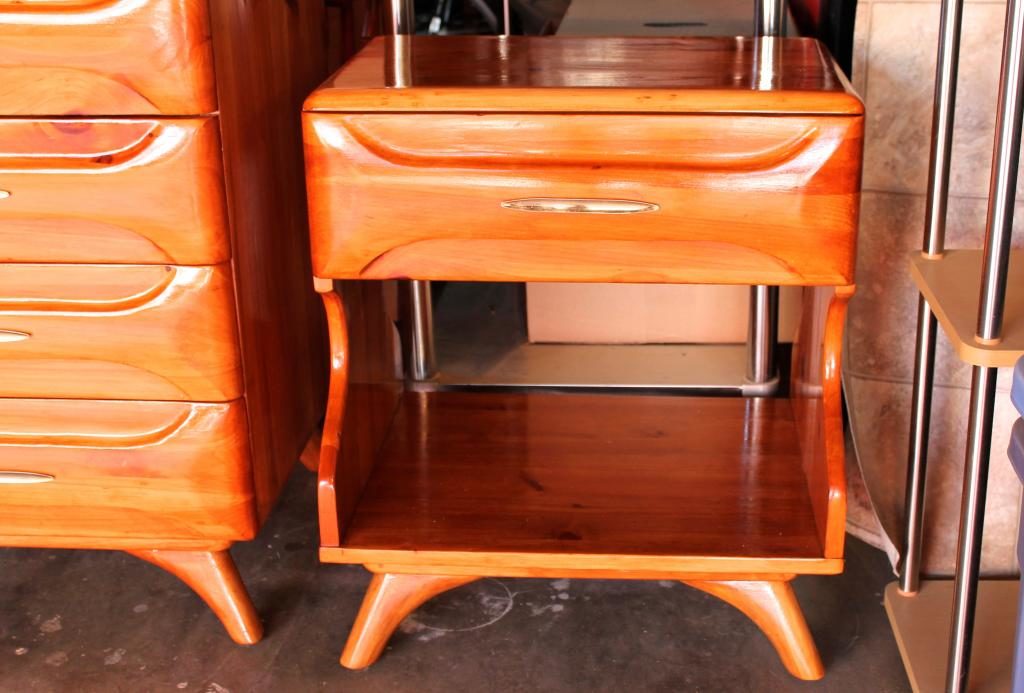
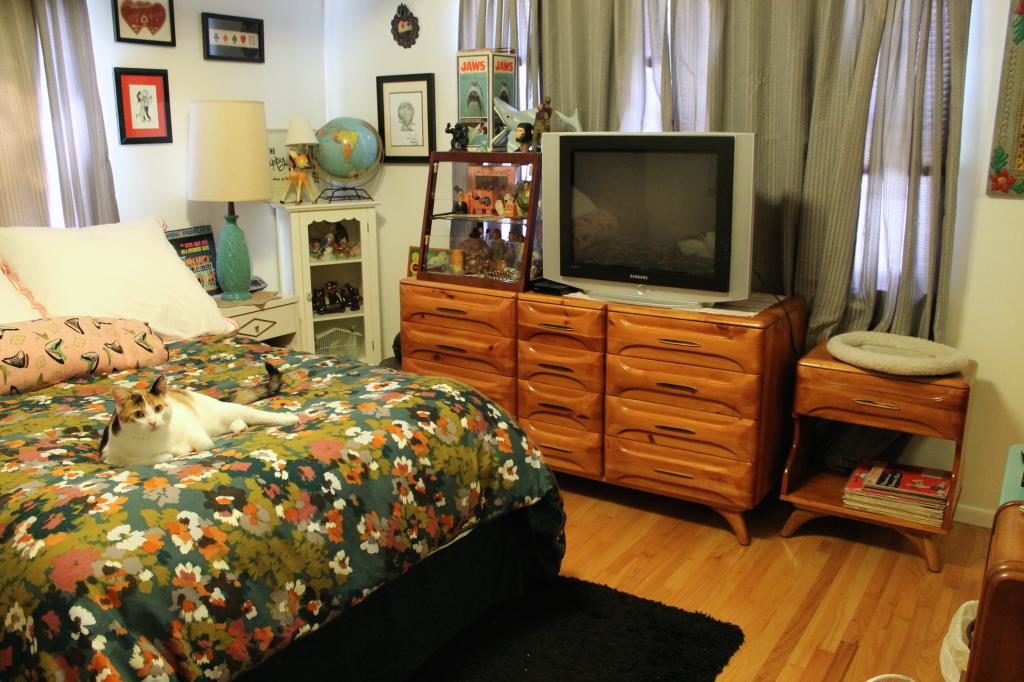
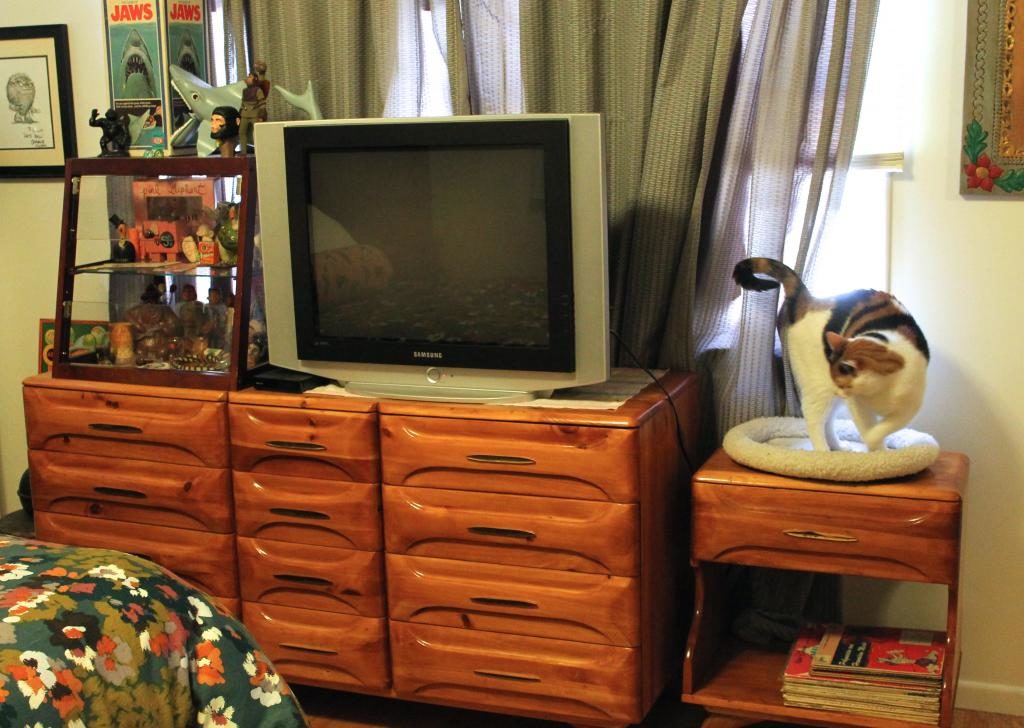
Here’s the dresser and nightstand, all finished!
I’m so happy with how it turned out! Can you believe I got these gorgeous pieces for under $30? (Well, by the time you factor in the sandpaper, stain, and everything else it’s more like $60 or $70, but let’s not focus on that!)
Here they are in the bedroom:
The dresser is really roomy and holds lots of clothes, while the bedside table is a nice little area for the kitties to sleep and look out the window.
Hurray for thrift store furniture projects (and being done with them)!
Have you re-finished or re-painted anything lately? I’d love to see it!


