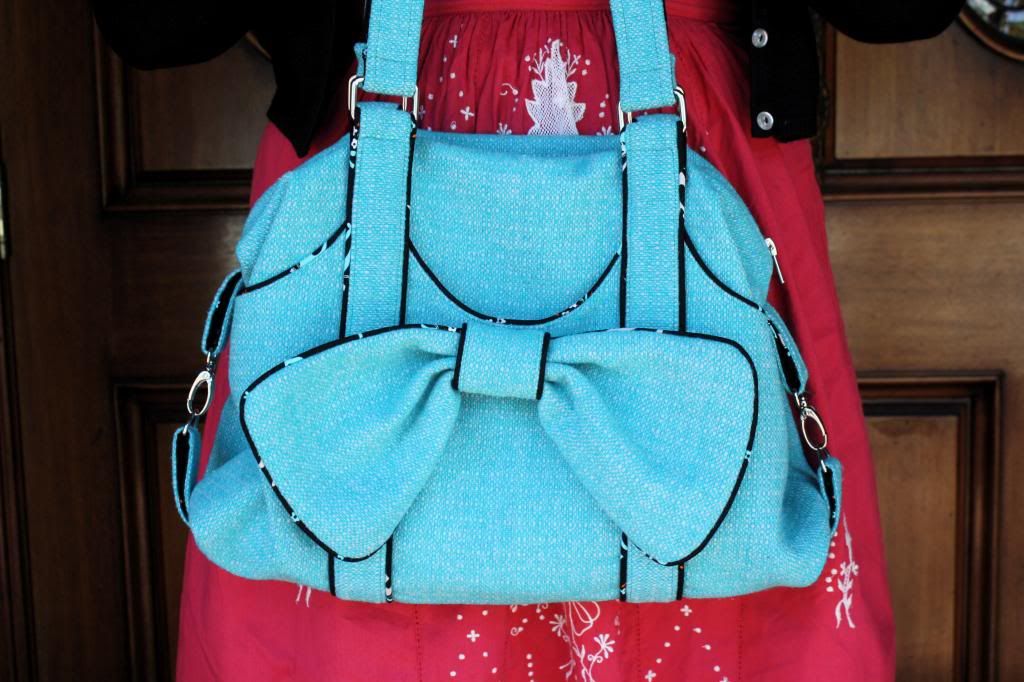
Here’s my project for Round 3 for Sew Mama Sew‘s Super Online Sewing Match. It’s the “It’s a Cinch” Tote by Lisa Lam of U-Handbag.
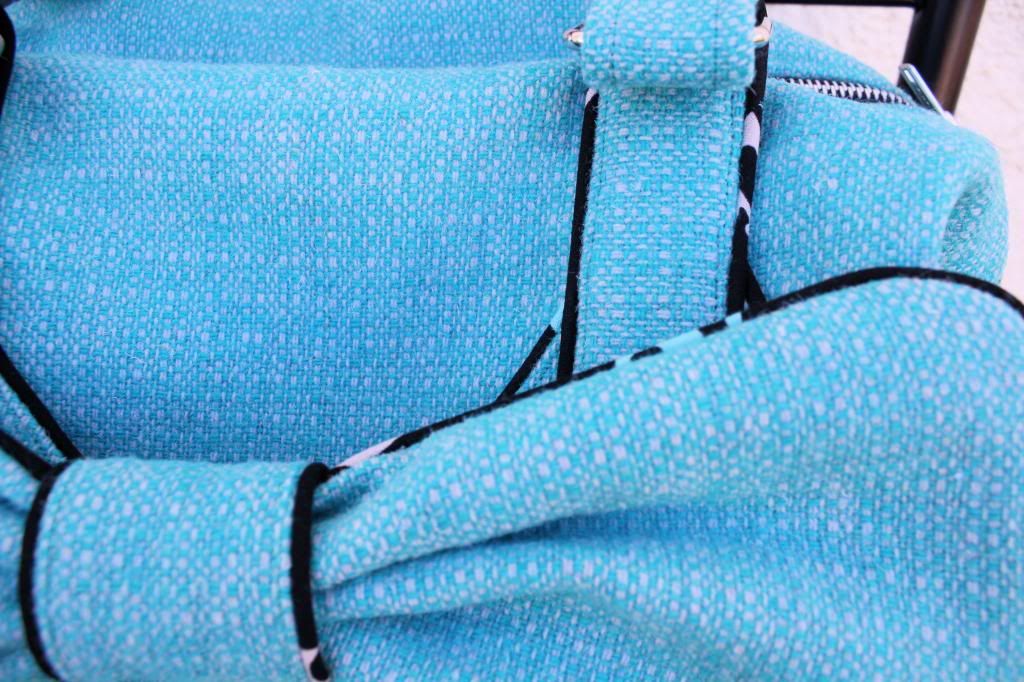
The original pattern is somewhat casual, so I decided I would try to dress it up a bit in my version. I picked this aqua and gray wool I’ve had in my stash since I found it at the Goodwill about a year ago. It’s a fairly loose weave, so I applied fusible woven interfacing to the back of all of the pieces. I really wanted to use a cute Tammis Keefe bird print fabric I have for the lining, but unfortunately I only had about a half a yard, so I went on the search for something new. My mom was planning to drive down to Thousand Oaks last Saturday, so I came along with her and we checked out some fabric stores on the way.
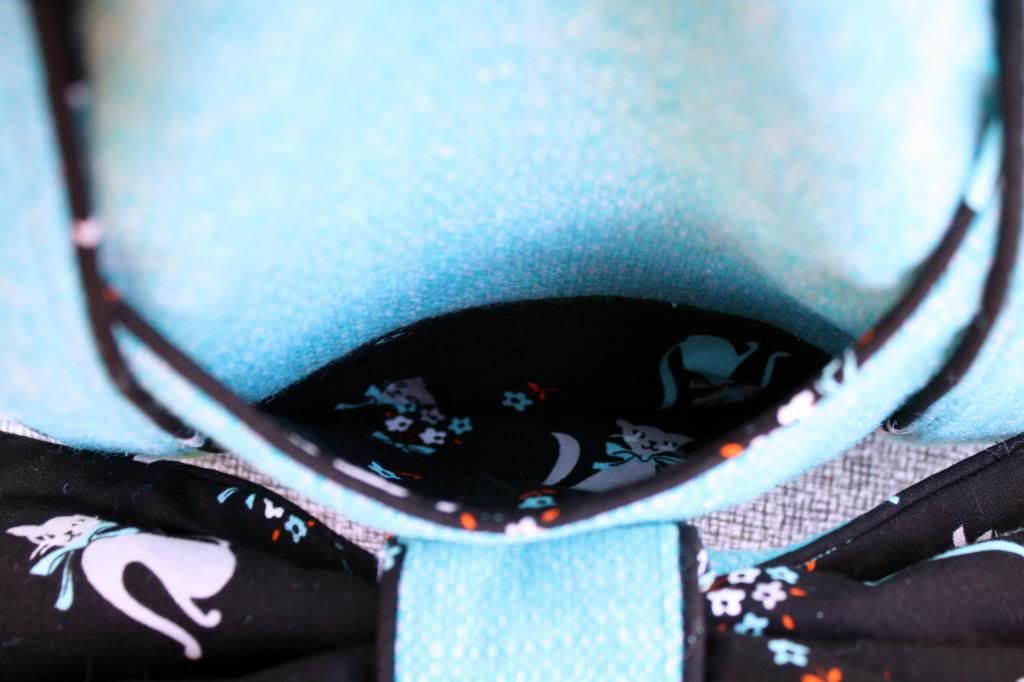
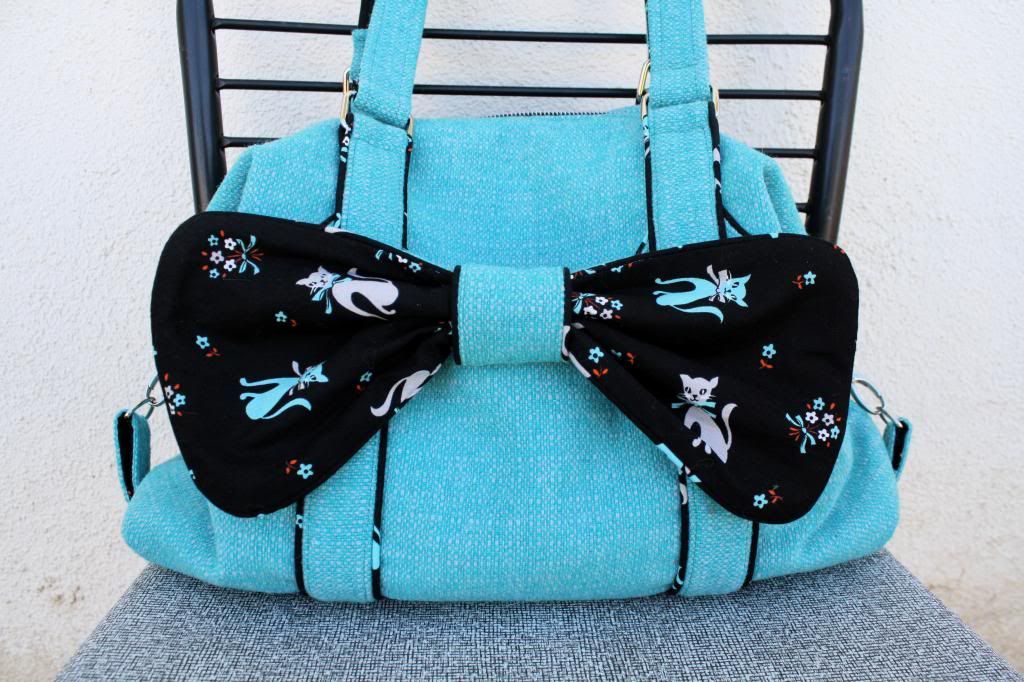
I ended up buying my fabric at Superbuzzy in Ventura. I’m so glad I discovered this shop (they also have a website you can order from)! They have an amazing selection of cute modern fabrics, including lots of hard-to-find Japanese imports and craft books. I’ll definitely be making it a point to stop there each time I pass through town! The fabric I bought is this adorable kitty print by the Japanese company Kei. The colors turned out kind of off in this picture, but they’re actually aqua and gray.
The pattern called for 1 yard of lining fabric, but I decided to get 1 and a half at the last minute, and I’m so glad I did, because I used almost all of it! I made my own piping with it, here’s a closeup:
This was actually the first time I’ve made my own piping. It’s pretty easy and really similar to making bias tape.
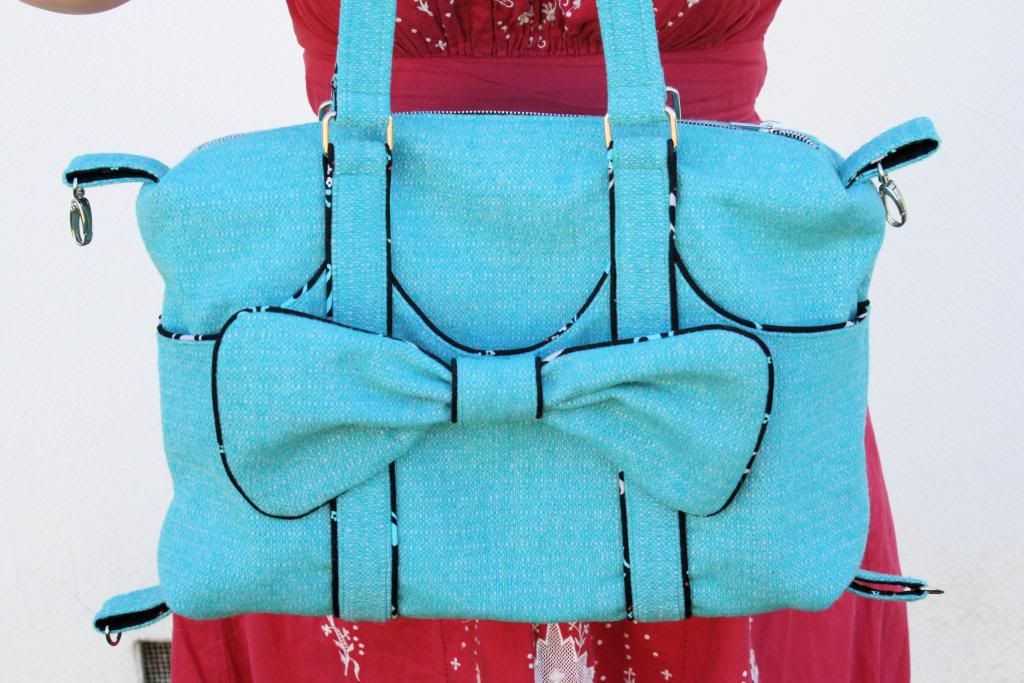
I decided to add some curved external pockets instead of doing the zipper pocket on the pattern because I thought it would look a little nicer, and I also added a bow, because I love bows! The best thing about it is that it’s actually reversible- you can have either the main wool fabric or the lining showing, depending on the look you want.
A peek into the front outside pocket.
Here’s the back side:
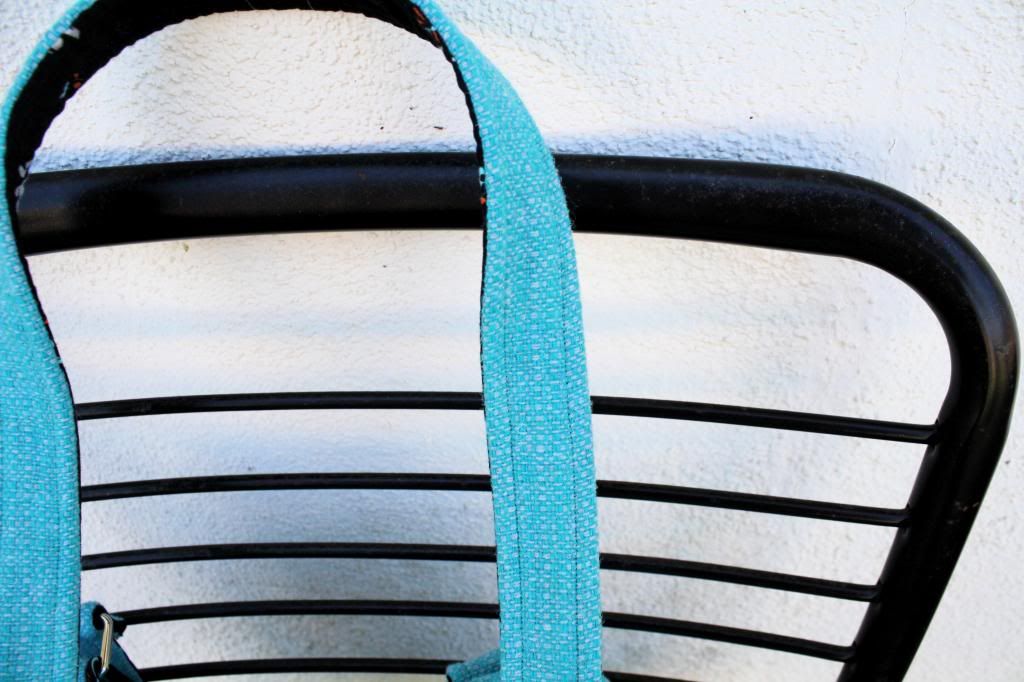
I decided that I didn’t like the look of the webbing straps, so I decided to cover them with fabric. It was kinda tricky, but I’m really happy with how they turned out!
I know this is called the “It’s a Cinch”Tote, but my case this might be more appropriately called the “Blood, Sweat, and Tears” or “It’s the Opposite of a Cinch” Tote, because making this bag had me cursing, nearly crying, bleeding from needle pokes, and almost breaking my sewing machine!
To be fair, it was my choice to make this in such a thick fabric as well as adding another layer to create external pockets, which created a lot of extra bulk. The hardest part was sewing the corners- they were so bulky that they were nearly impossible to sew through, so I had to turn the wheel by hand, which took a lot of force. It was also just very heavy in general and became very hard to manipulate- my arms are actually sore now from all of the manhandling!
I also had some difficulty reading the pattern. The directions were very wordy and I think I’m more of a visual learner. Instead of pattern pieces they just tell you the dimensions of each piece and you cut it out yourself, which requires a lot more thinking and double-checking. There are pictures included that go along with the written directions, but they aren’t necessarily located next to the written description of that step, which I found confusing. To top it off, it got all wacky when I printed it and chopped off sides, so I just read them off my laptop, which required lots of scrolling back and forth. I ended up pretty much disregarding the whole thing and just sewing it together as I saw fit based on the pictures of the finished product.
Sewing these corners was the hardest part of the whole project!
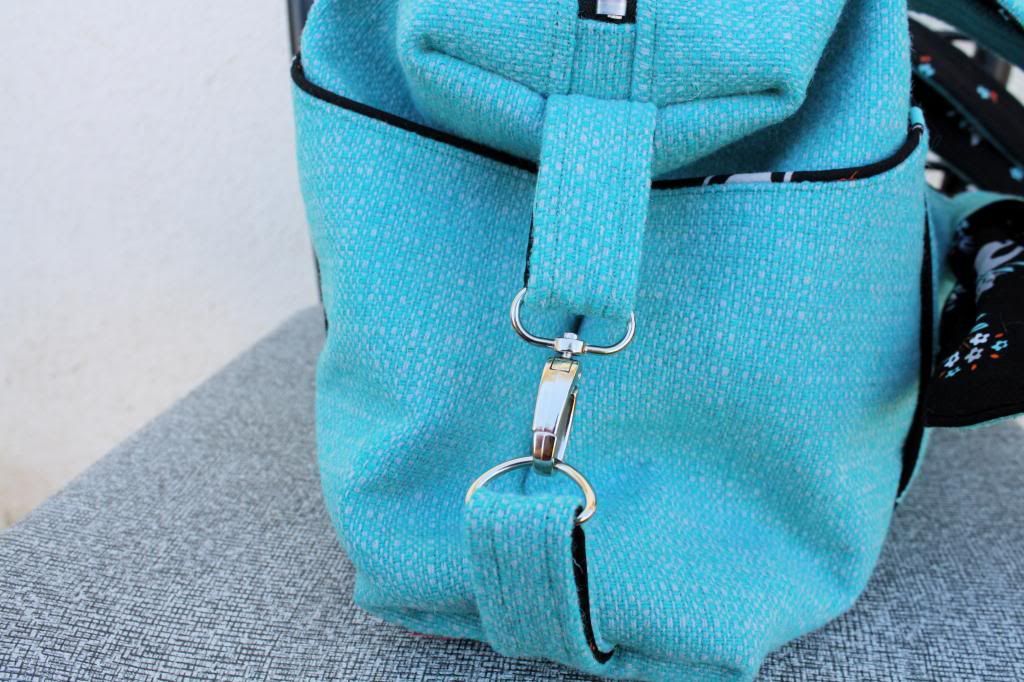
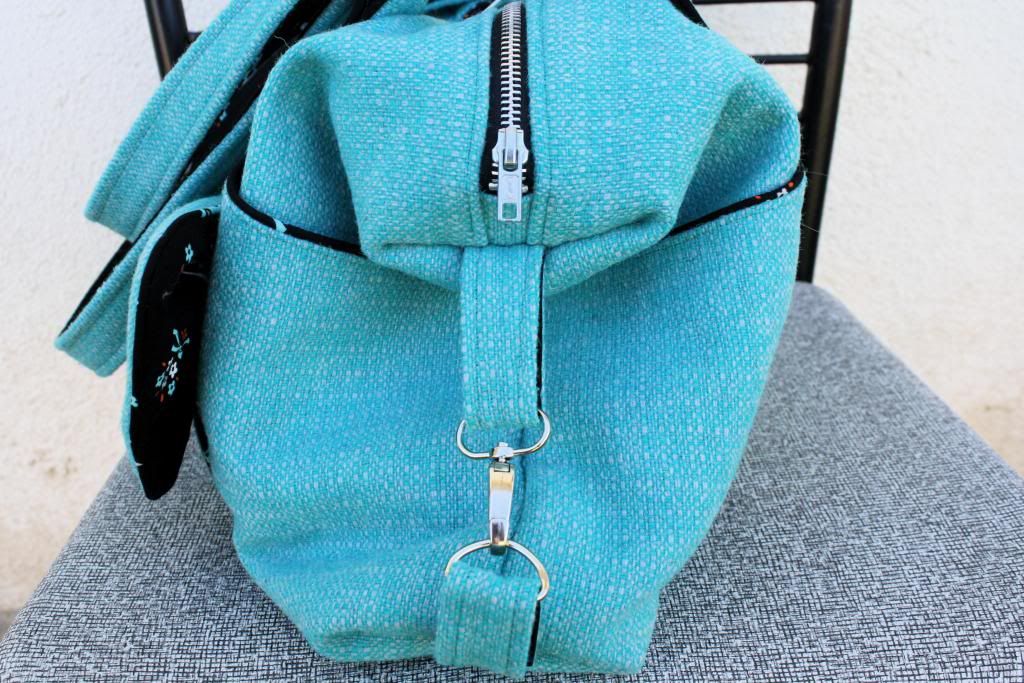
I was surprised by how much smaller the bag gets when its cinched down. Here’s what it looks like without the sides buckled:
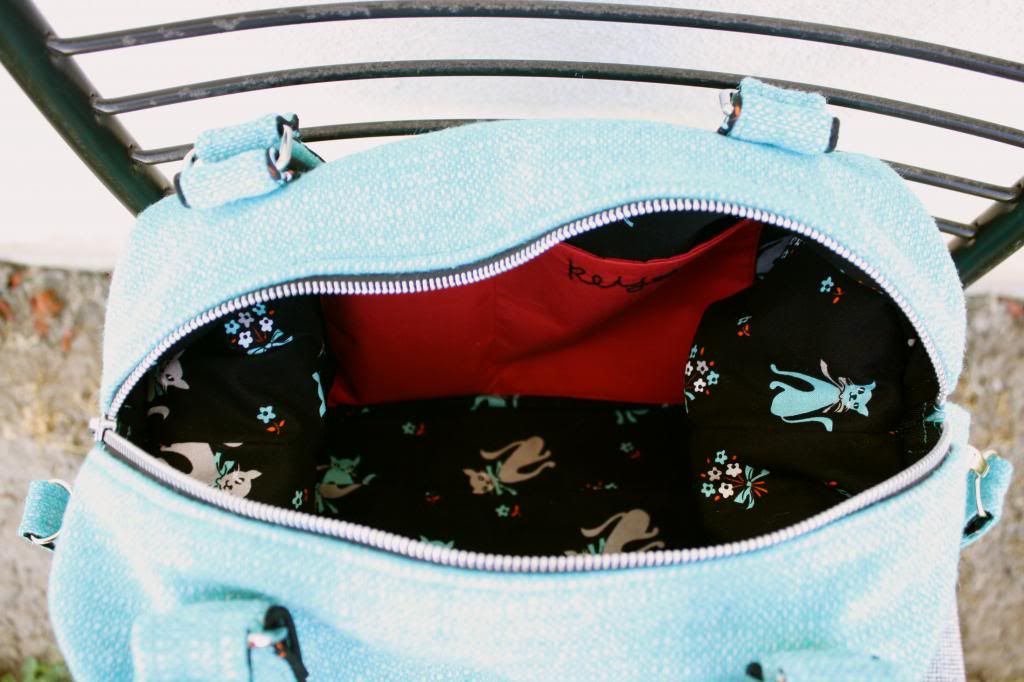
And here’s the zipper view. I decided to use a metal zipper instead of plastic. I think it was a good choice.
Here’s a view of the inside:
I changed the pocket from the one in the pattern, which had elastic on the top. I’m always digging for my keys and my phone, so I decided to make special pockets for them and labeled them:
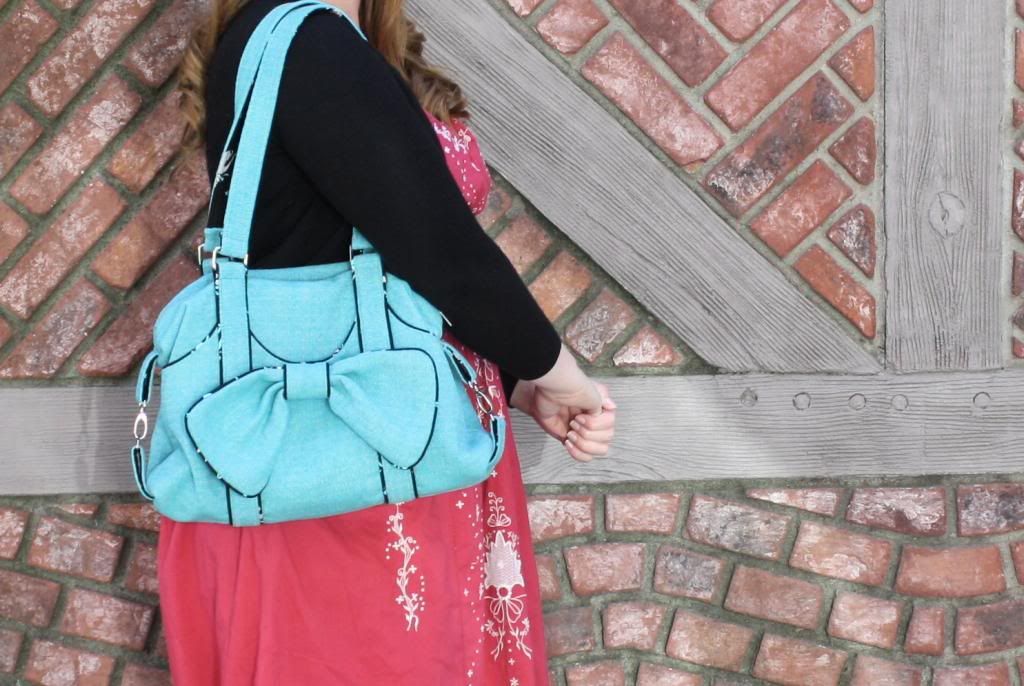
And last but not least, here’s me using it for the first time! We went on a little trip to Solvang today and I brought it along. It held all of my stuff with room to spare!
PS: I had to crop out my face because I shut my eyes in this picture, ha ha!
Phew, thanks for getting through all of these pictures! I hope you enjoyed my latest project, wish me luck!
PS: Just in case you missed them, here are my Round 1 and Round 2 projects 🙂

