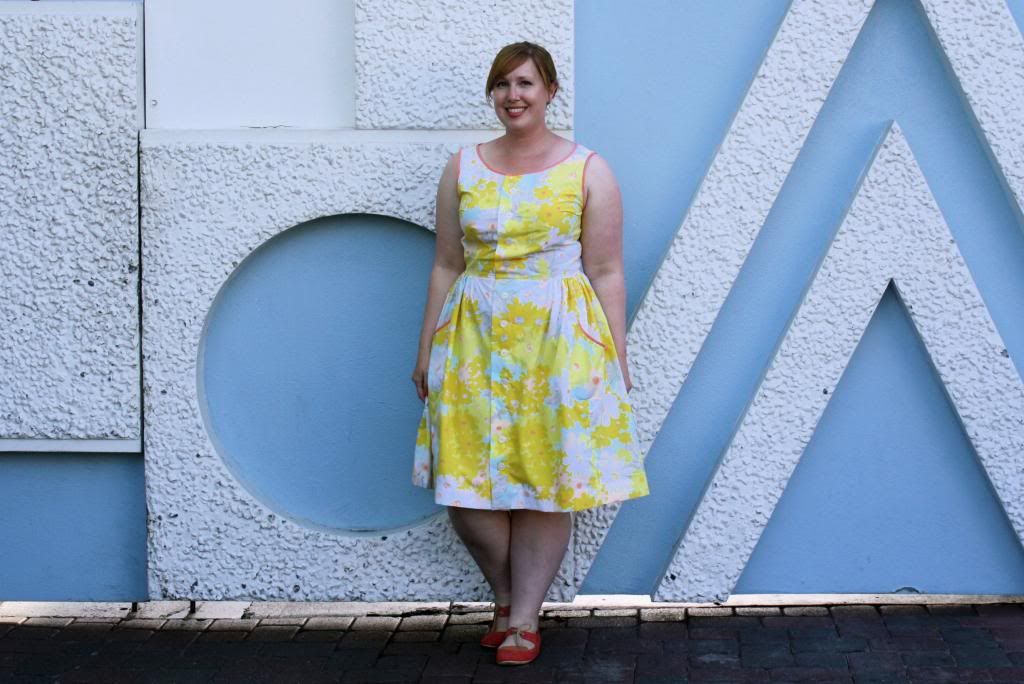
I made this dress from a sheet I found at a thrift store last winter. I’m absolutely in love with the print and color scheme and I always planned on making a pretty summer dress with it. Our recent trip to Disneyland provided a perfect excuse for a new dress and I whipped it up in record time (about 3 days). Here I am at the Small World ride. It’s very light and comfy and it was perfect for a warm spring day!
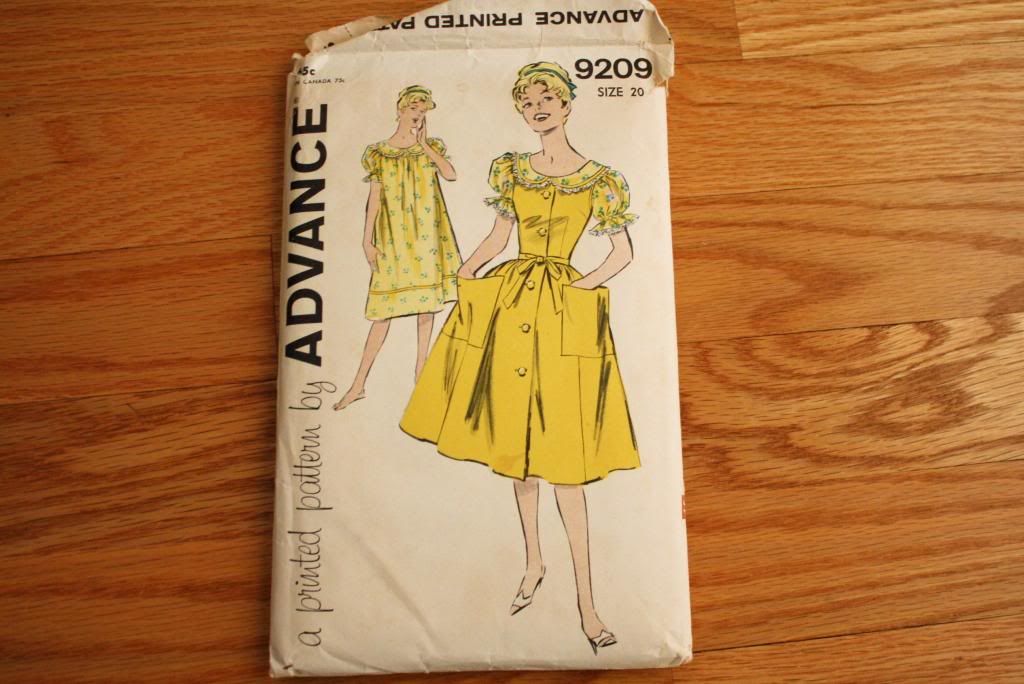
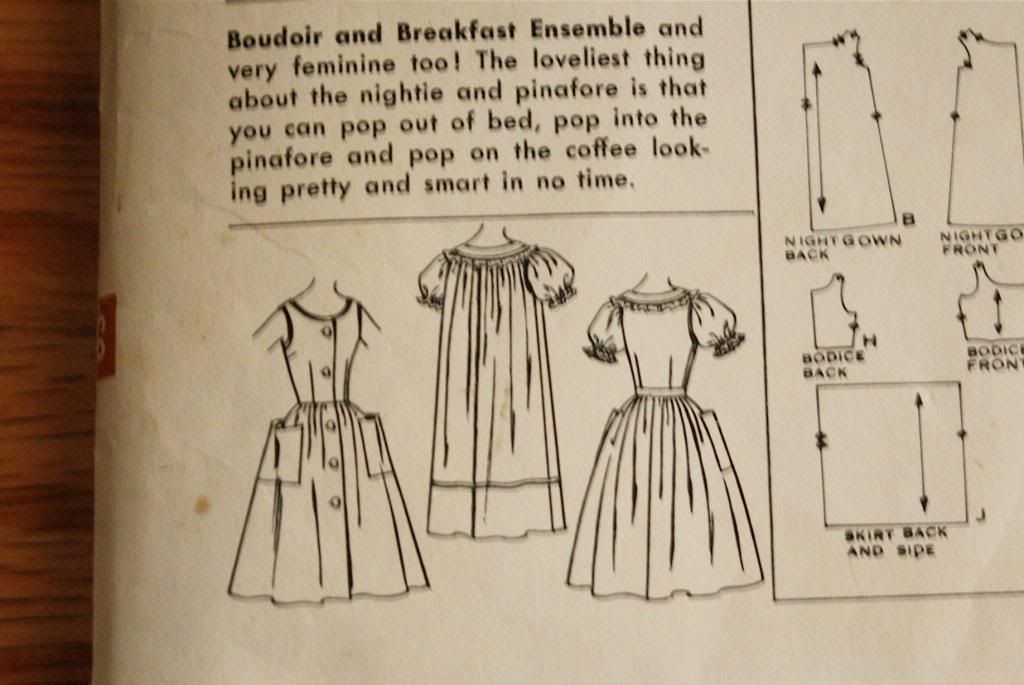
Here’s the pattern I used. It’s been in my collection for quite a while and I can’t remember exactly where I picked it up. It’s actually for a “Boudoir and Breakfast Ensemble” and the pattern is for a pinafore to be worn over the nightgown. I didn’t care for the nightgown but I loved the shape of the pinafore as a summer sundress. You can see the pattern more clearly in the line drawing below.
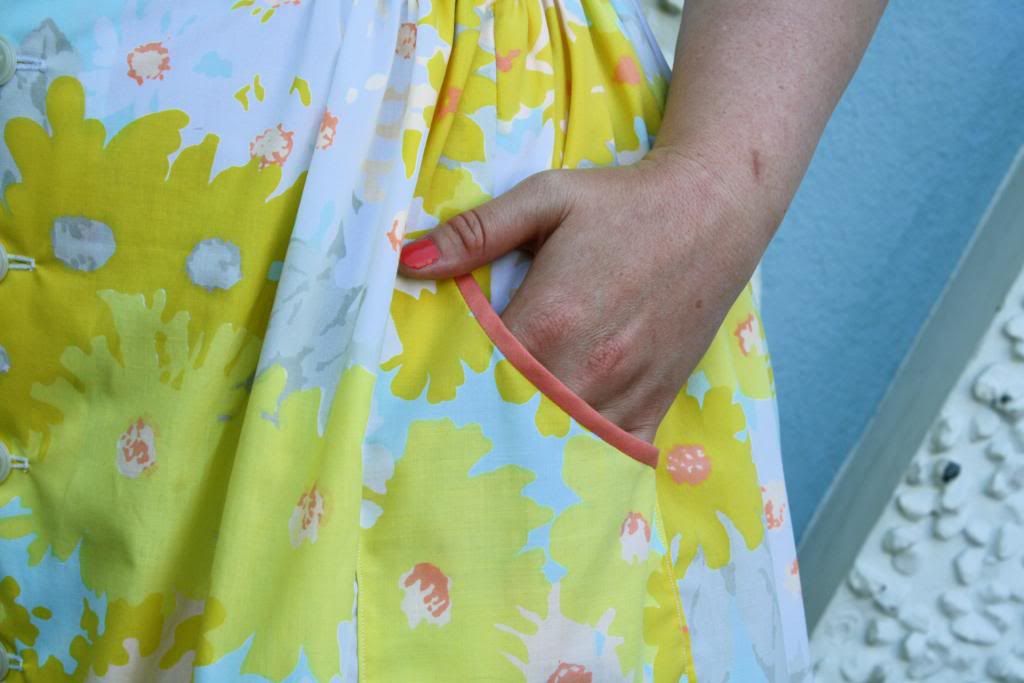
I made a few tweaks to the pattern to make it work better as a dress. I added more buttons (I didn’t think five was going to suffice in keeping the dress closed!) and I also changed the shape of the pocket, made it a little smaller, and added bias tape to the top. The pattern was conveniently already my size- no grading required! It actually turned out a tiny bit big, but I wanted it to be comfortable so I didn’t take it in too much. The one thing I still would like to do is to add a waist tie (in salmon pink of course). I didn’t have time for it as I finished up the night before we left for Disneyland.
I made my own bias tape for the very first time for this project and I was pleased with how easy it was! I wanted a salmon pink to match the insides of the flowers, and I couldn’t find anything in the limited color selection of pre-made bias tapes at my local fabric shop. I used the continuous bias tape-making method in the Collete Sewing Handbook and it worked like a charm. My only problem was that I made WAY too much and now have a pile of salmon pink bias tape left over!
Another great sewing revelation I made with this project was finally learning how to make buttonholes with my machine (don’t judge me). It had come with an intimidatingly complicated-looking contraption that I had tried and failed once to figure out years ago. I decided to give it another try this time, going slowly, step-by-step through the manual, and low and behold: perfect buttonholes! You don’t even have to figure out how long to make them- you stick a button in the attachment and it does it for you. A whole new world of button-down shirts and dresses has opened up for me!


