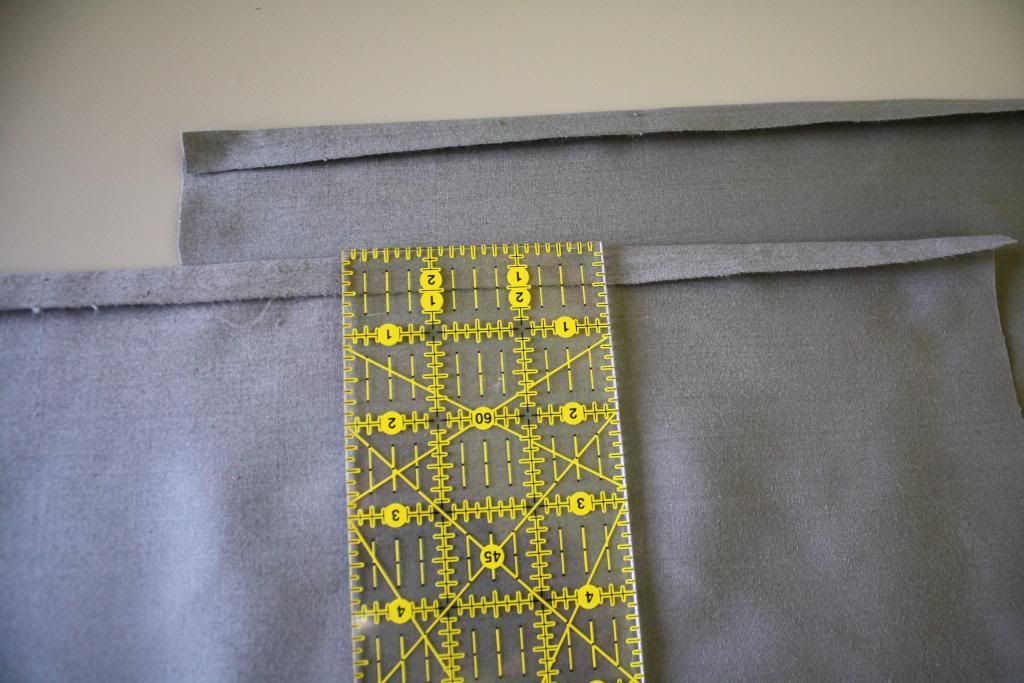
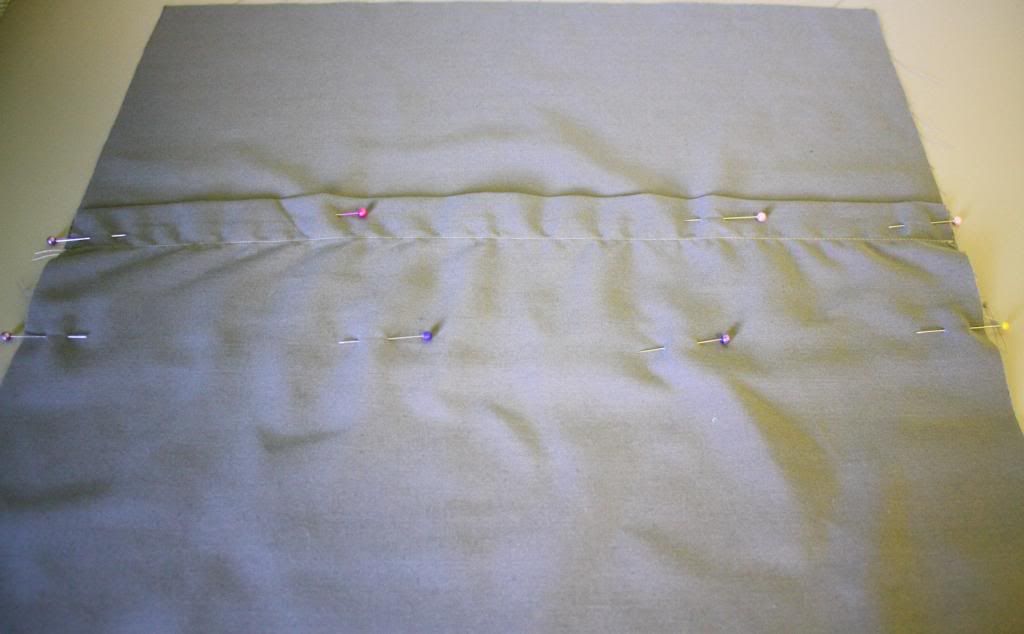
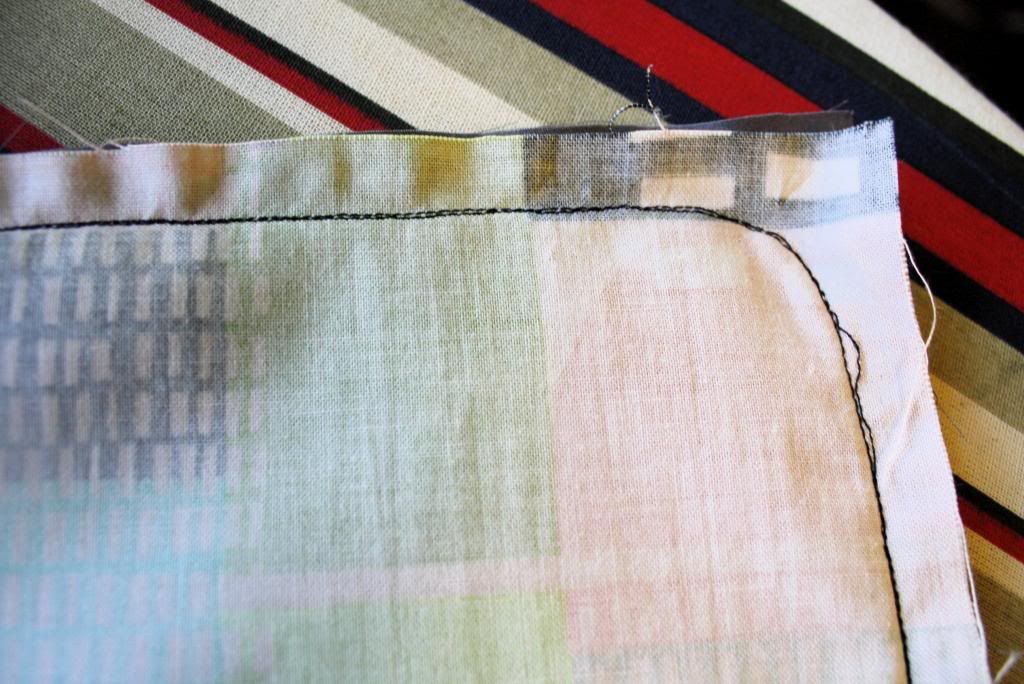
Step 5: Pin that side as shown.
Step 6: Stitch close to the fold.
(Note: your stitching should NOT look weird and pucker-y like mine does in the picture. The thread tension was off on my machine and after trying several times unsuccessfully to correct it, I just gave up. It’s in the back anyway, right?)
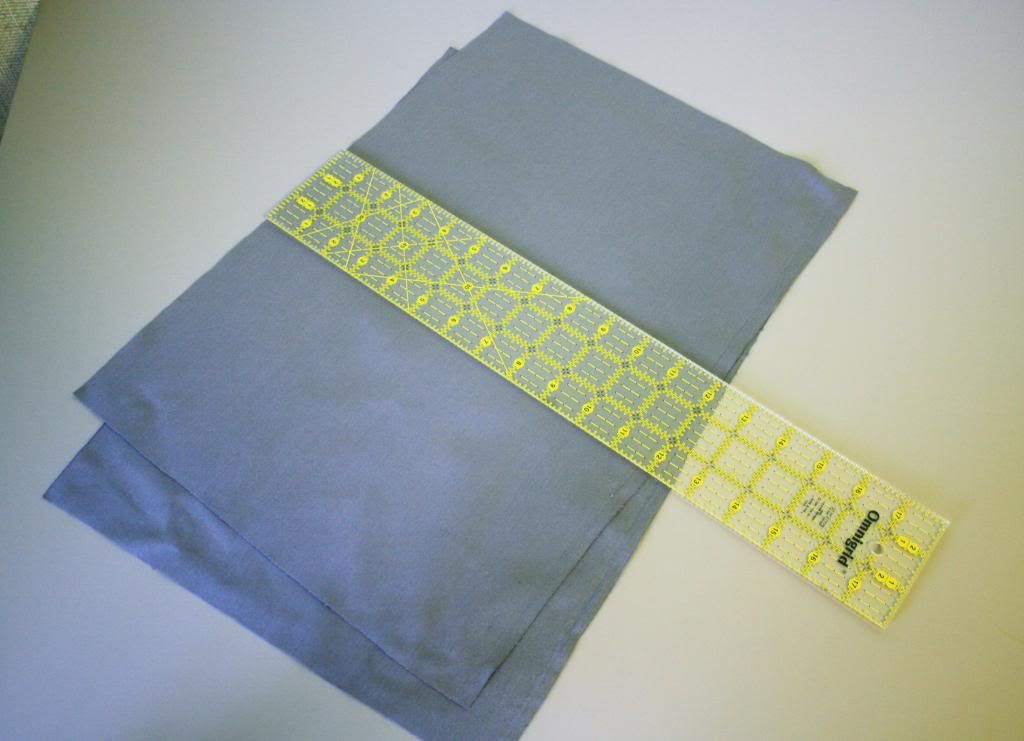
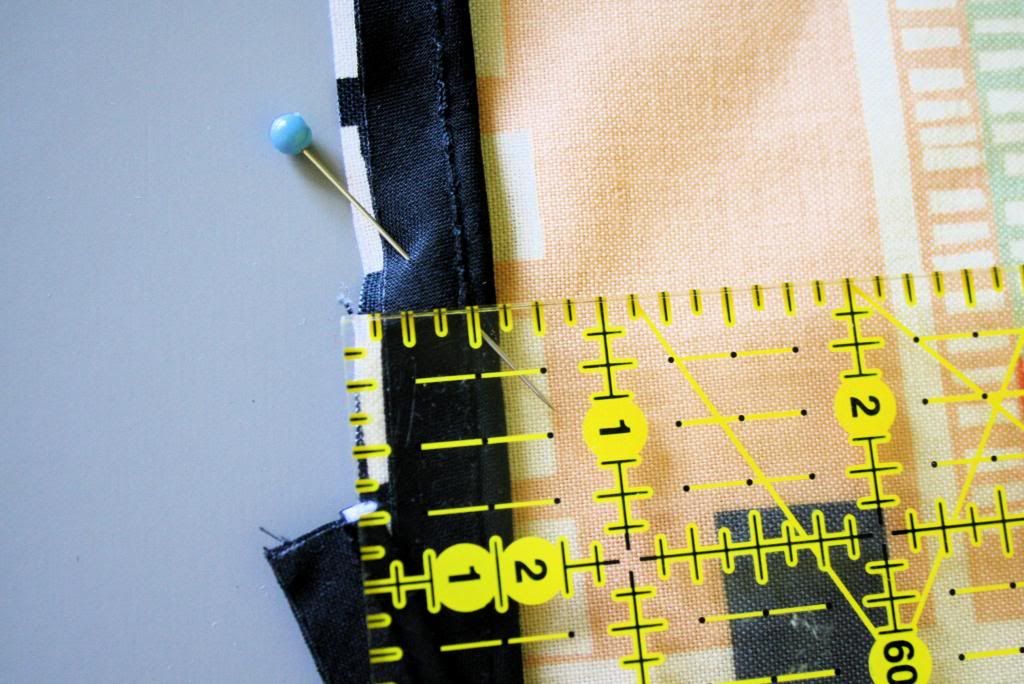
Step 7: Overlap your two pieces, using the ruler to make sure each side measures 17 inches.
Step 8: Pin the gap shut.
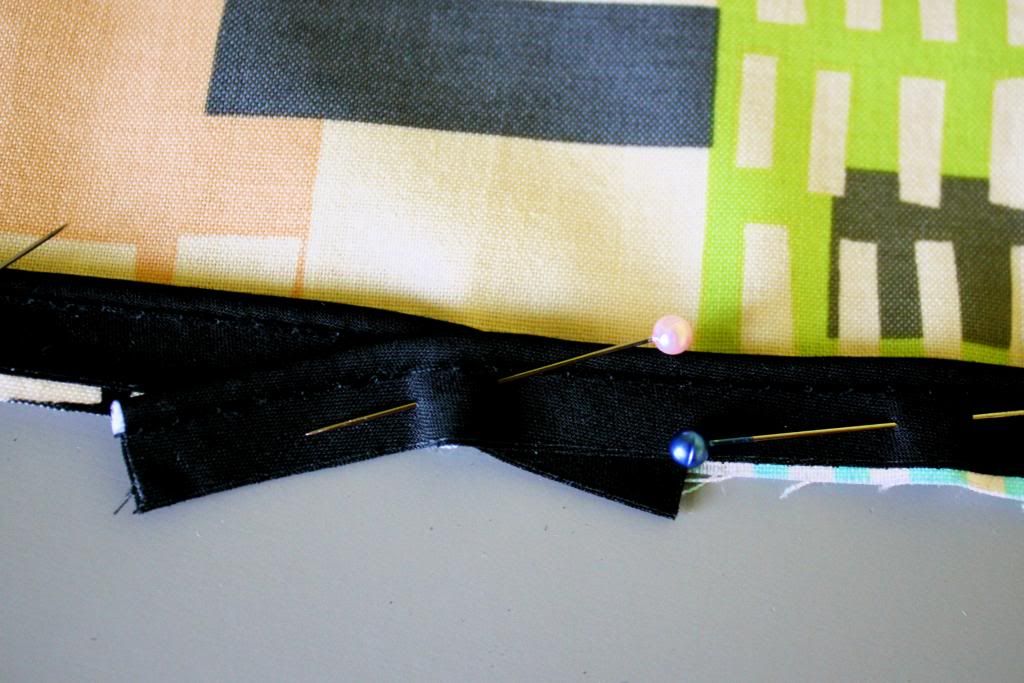
Step 9: Pin the piping to the RIGHT side of your main fabric.
•Pin so that the stitching on the piping is roughly 1/2 inch from the edge of the fabric, with the raw edge of the piping pointing OUT toward the edge of your fabric.
•Have the two ends of the piping overlap somewhere in the center of the bottom side, and overlap them like this. This will ensure that you won’t have one of the ends of the piping sticking out of your seam.
•On the corners, rather than bending or folding it, curve the piping around like so:
This is what it should look like with the piping pinned on:
Step 10: Sew the piping onto the main fabric.
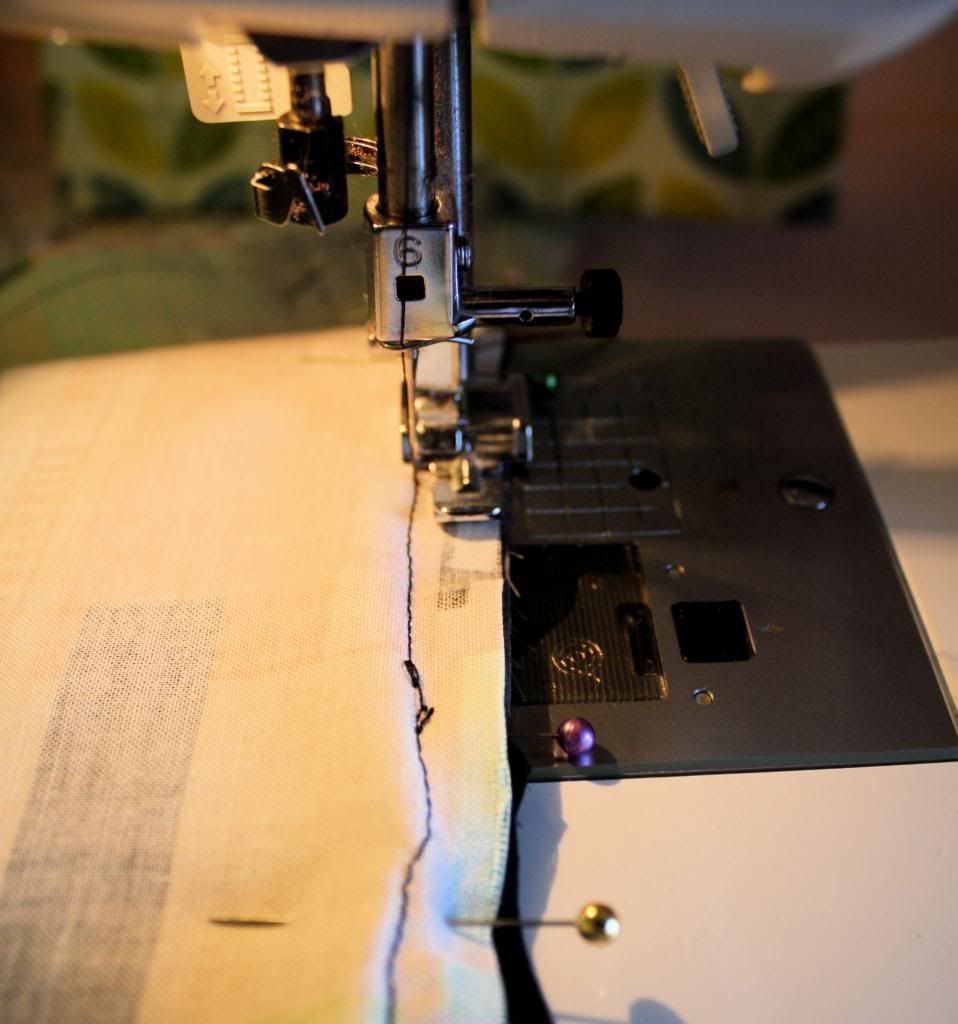
•Put your zipper foot on your machine. It should look something like this:
•Align your needle to stitch slightly to the left of the stitching on the piping. This will ensure that your piping will not have stitching showing when you turn it inside out.
•Do your best to stitch slowly and steadily and keep your stitches to the left of those on the piping, especially around the curves, which can be tricky!
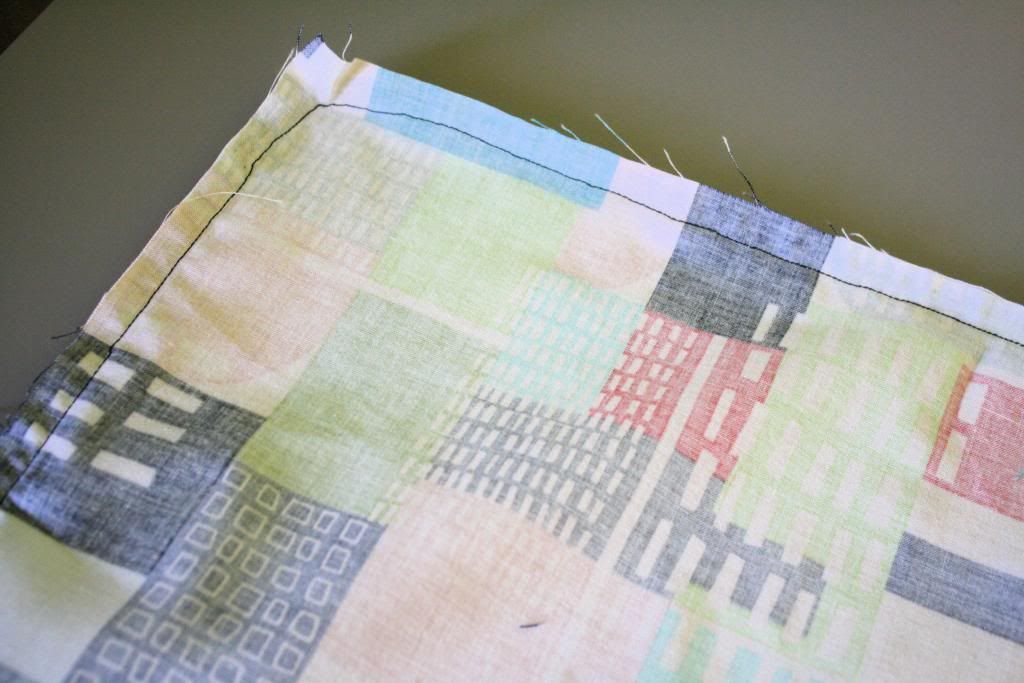
Here’s the other side of the fabric after you’ve sewn on the piping. See that nice clear line?
Step 11: Stitch the main fabric and back fabric together.
•Pin the main fabric to the back fabric, right sides together.
•Now, you’re going to stitch them together, sewing right on top of the line you just made by sewing on the piping.


