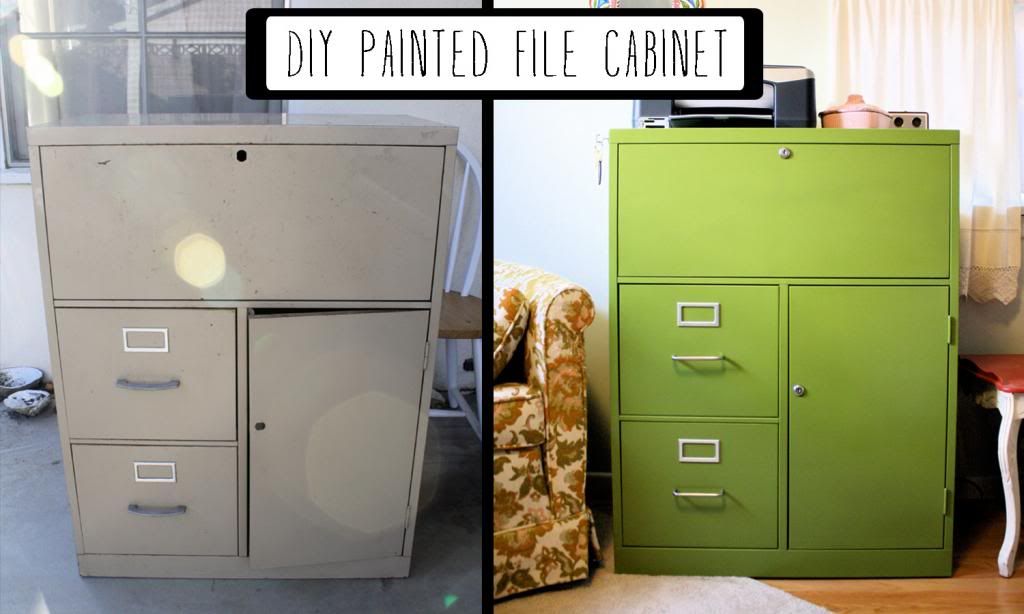
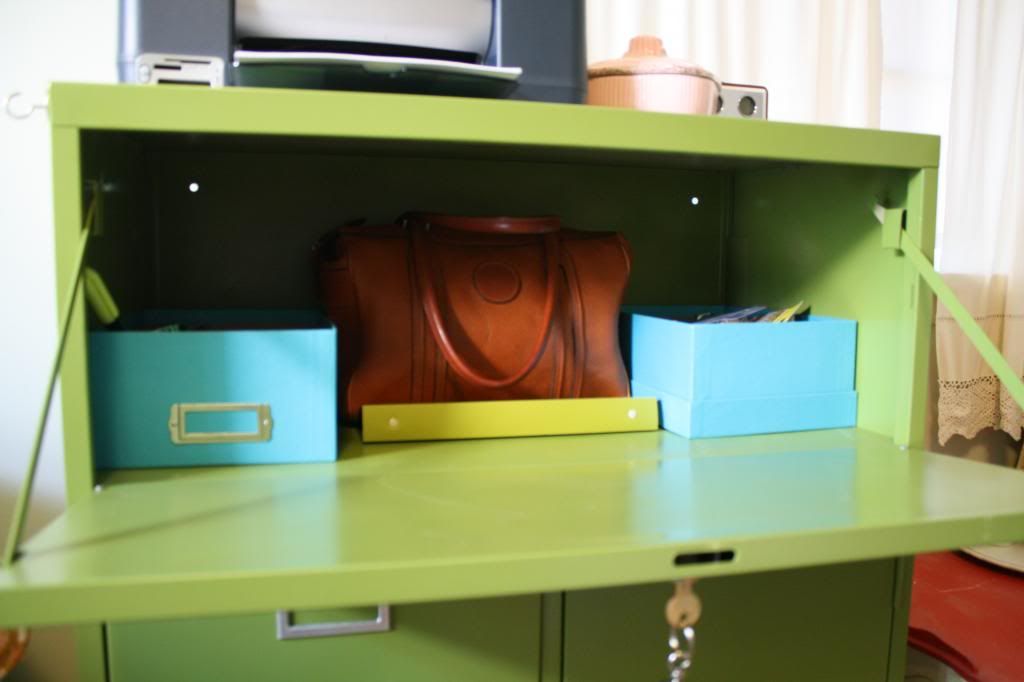
I’m so excited to finally share this project with you! This is one I had been working on for a while. I am in the process of fixing up our spare room and I decided that I really needed something to hold my printer (which had been sitting on a stack of plastic boxes!), my files, and my office supplies.
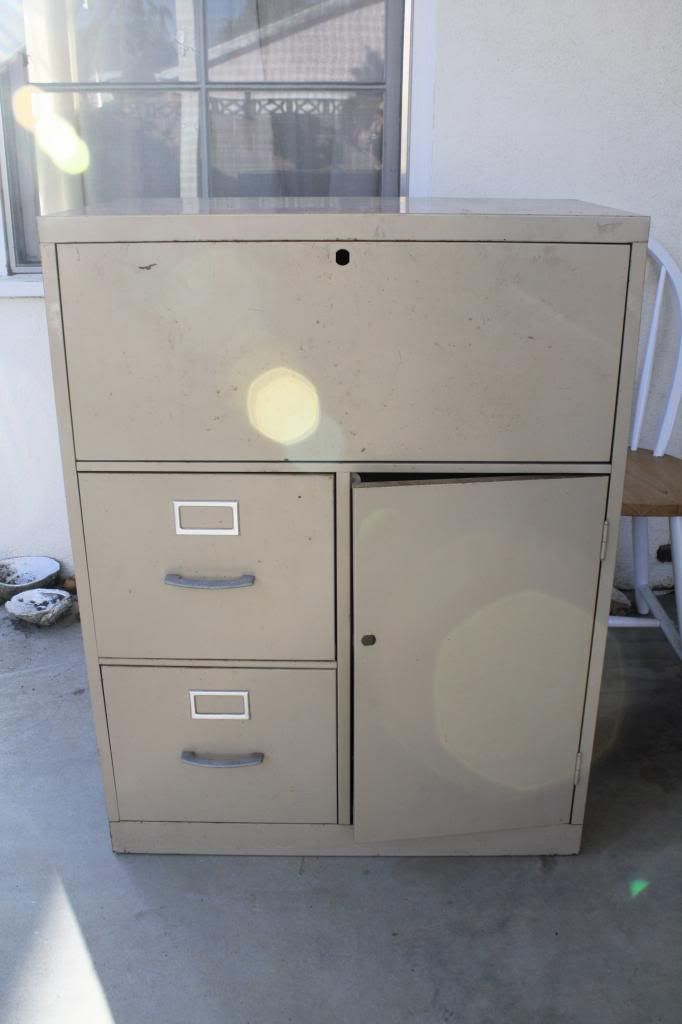
After seeing this post, I was inspired to try painting my own filing cabinet, so I kept any eye out at the thrift store until I found the perfect one, which I really liked because it had both drawers and storage compartments and wasn’t too tall.
For me it was one of those projects I thought would be relatively easy and cheap and that you can do in one weekend, but then ended up dragging on for a month and costing a lot more money than I thought. I was so glad to be done with it by the end! However, despite the challenges it posed, I’m really happy with the finished product and I know it’s something that I’ll be using for years to come.
If you’re interested in painting your own, here’s how I did it. I also added some notes and tips so you can learn from my mistakes:
1. Buy a secondhand filing cabinet.
I picked up this beauty at a local thrift store for $7. It was originally $14 but they gave it to me for half off because it didn’t come with a key (which it needs to stay shut). Turns out, making a new key ended up costing me over $24, so that wasn’t such a great deal after all. I would recommend only buying one that has the original key with it and doesn’t have rust or any dents, because fixing those issues will cost you more time and money in the long run.
2. Get your materials.
You’ll need:
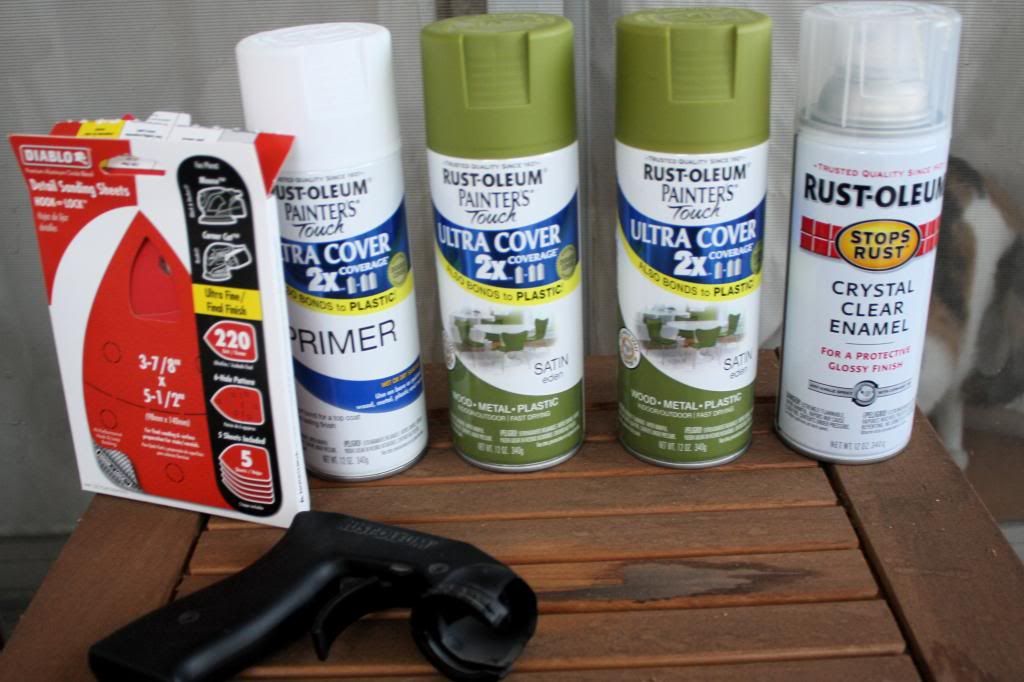
–Spray primer (I originally bought one can but ended up needing two)
–Spray paint (I ended up needing four cans, and I wish I had gotten a gloss instead of a satin because I think it soaked up the clear spray too much)
–Clear protective spray (I needed so many cans of this that I lost count! I think it was six) I would recommend getting the slightly more expensive Minwax brand rather than the Rust-oleum brand I originally bought. It went on much thicker and more evenly.
-A sprayer handle for your paint (optional, but it’s much easier on your hands!)
-220 (fine) grit sandpaper
-A handheld sander (optional but seriously recommended! Go rent one if you have to)
-A drop cloth (Just buy a cheap sheet or two at the thrift store)
3. Clean your Cabinet Thoroughly
I started by vaccuming mine out, then wiping down the surfaces with soap and water. That thing was dirty!
4. Take off the Hardware and take out the drawers/cabinets.
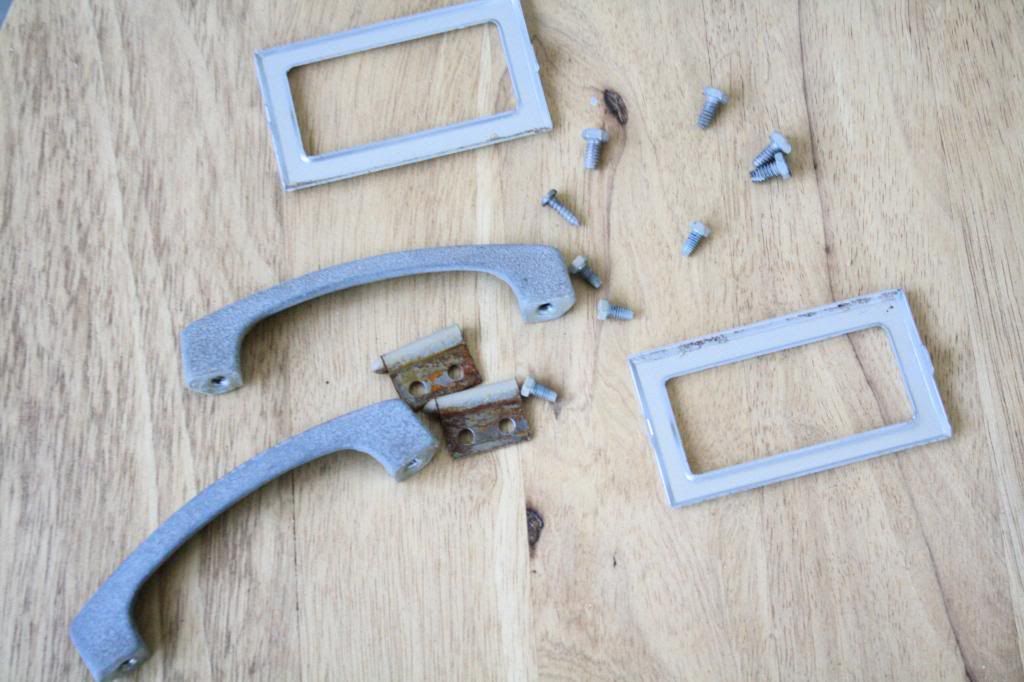
Take it apart as much as you can. Make sure you keep all of the hardware together in a ziploc bag. There’s nothing worse than missing one screw when you go to put it all back together!
5. Sand it!
You don’t need to take off the paint, just get it a little rough so the primer will stick. Wipe it down again with a microfiber cloth to remove all of the dust.

