Hi guys! I wanted to share a little easy project with you today. As you know, I’m working on selling at my Hello Camellia wares at some craft fairs this year and I’m trying to get my booth looking great.
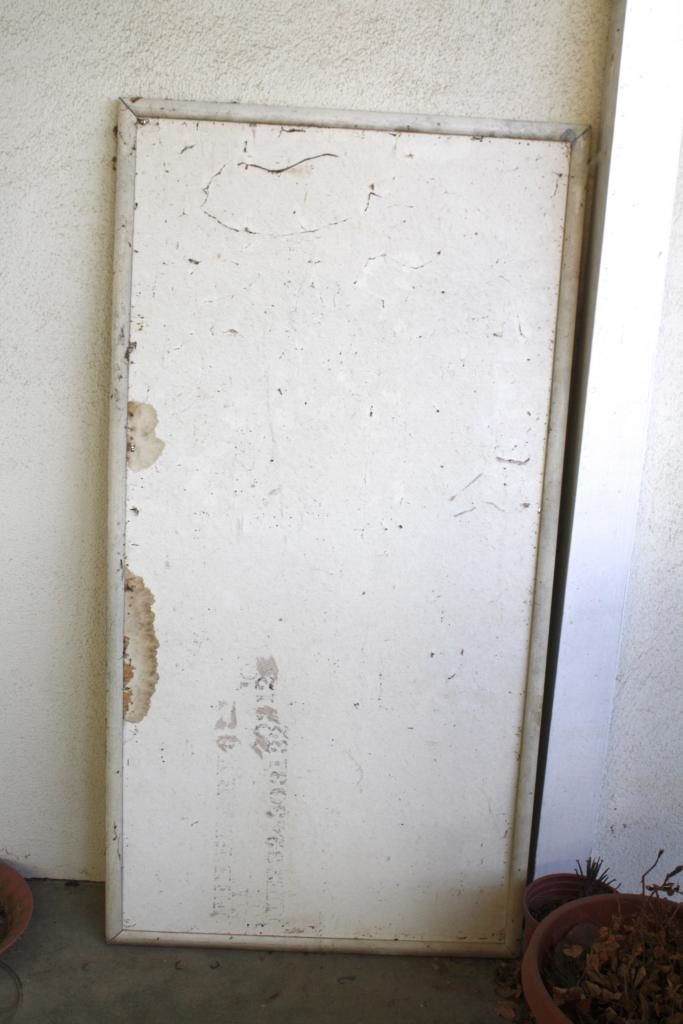
Cork boards are a great way to display items and I was really stoked to find a large one for free in a musty corner of our garage. I knew it would be a great addition to my booth with just a little tlc.
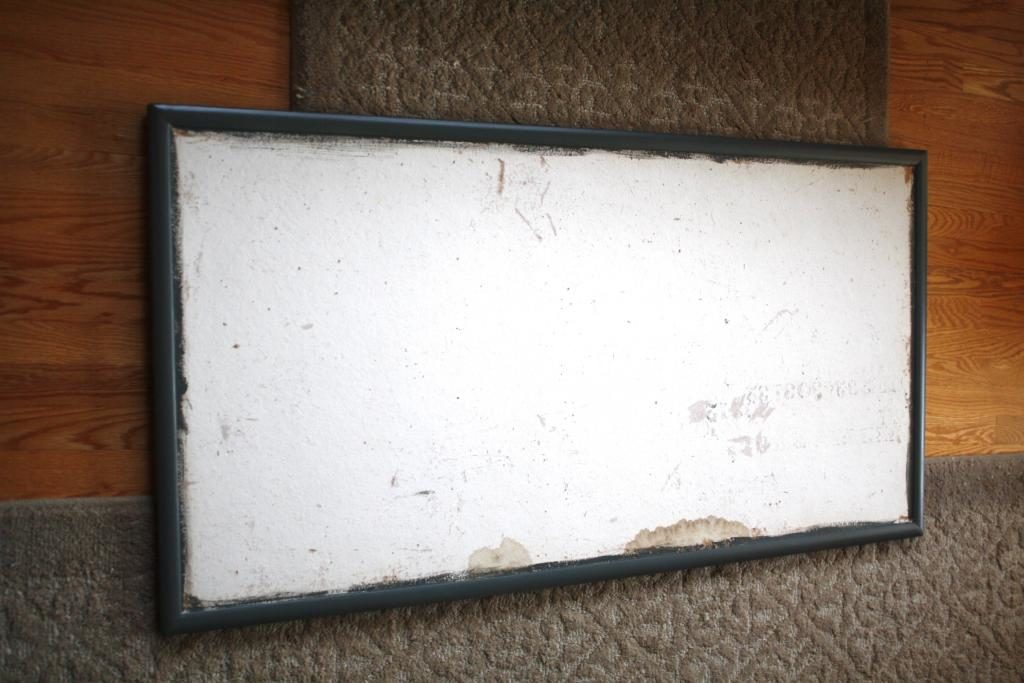
Here it was, in all of it’s spiderwebby glory:
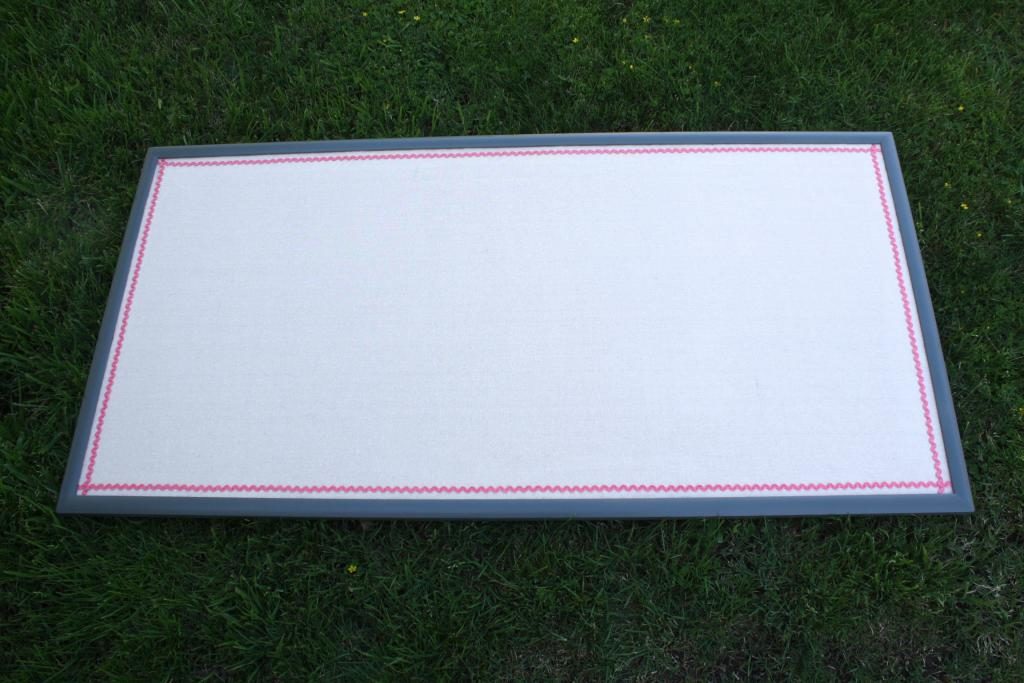
And here it is after I gave it a makeover. Much nicer, right?
Go ahead and read on if you’d like to know how to make your own. I think this would be a great project for an office or bedroom as well and you could get so many different looks depending on the fabric you use.
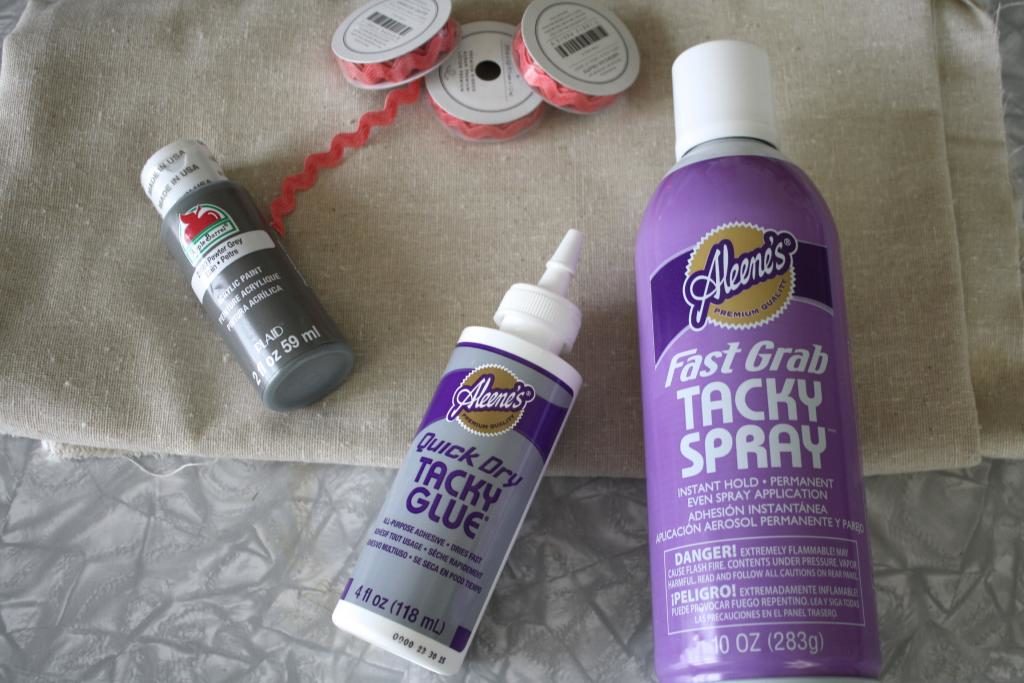
Materials:
Cork board
Fabric (I used muslin)
Craft paint
Spray adhesive
Tacky Glue
Rick-rack or ribbon
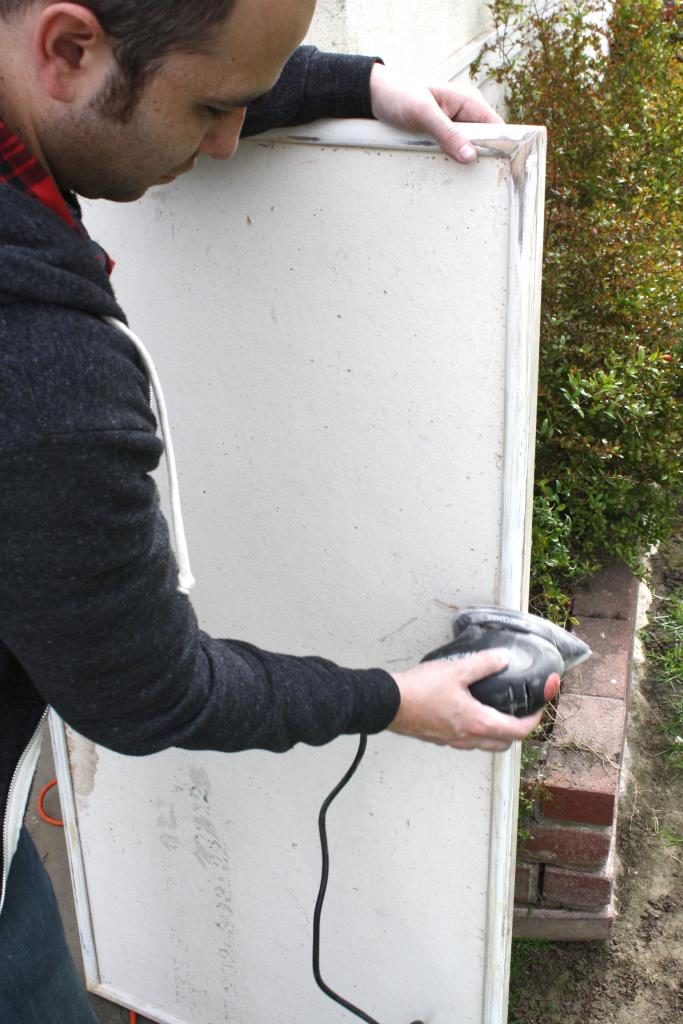
Step 1: Clean and (possibly) sand your board.
Since our board was in such rough shape, we decided to sand the goopy old paint off of the frame. If you get a newer, unpainted board, you could probably skip this step.
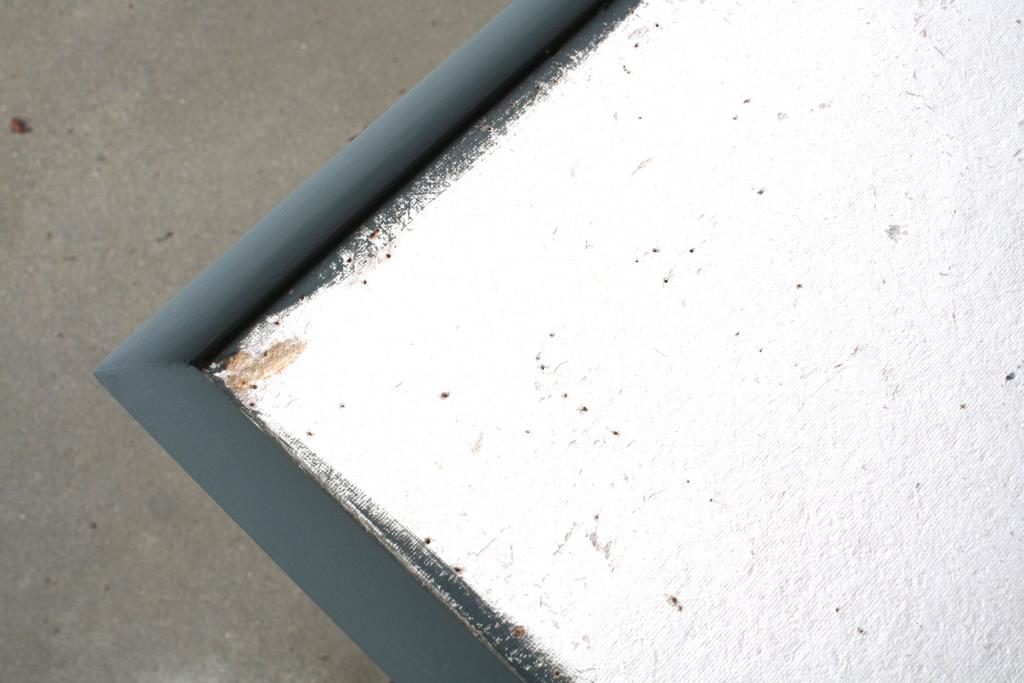
Step 2: Paint the frame.
I used inexpensive acrylic craft paint for my frame and it worked great. Don’t worry about getting a little paint on the board- it’ll get covered later on by the fabric. I also gave my frame a coat of clear acrylic sealant over the paint to make it a little more resistant to scratching (I figure I’ll be hauling it around a lot for craft fair purposes) but that’s totally optional.
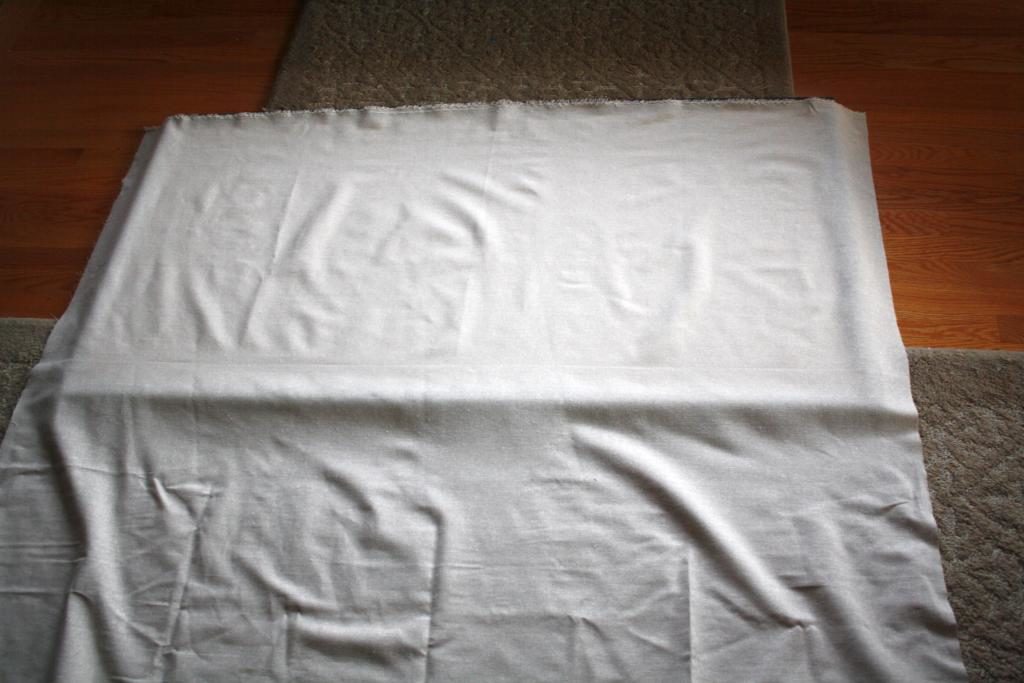
Step 3: Lay out the fabric and cut to size.
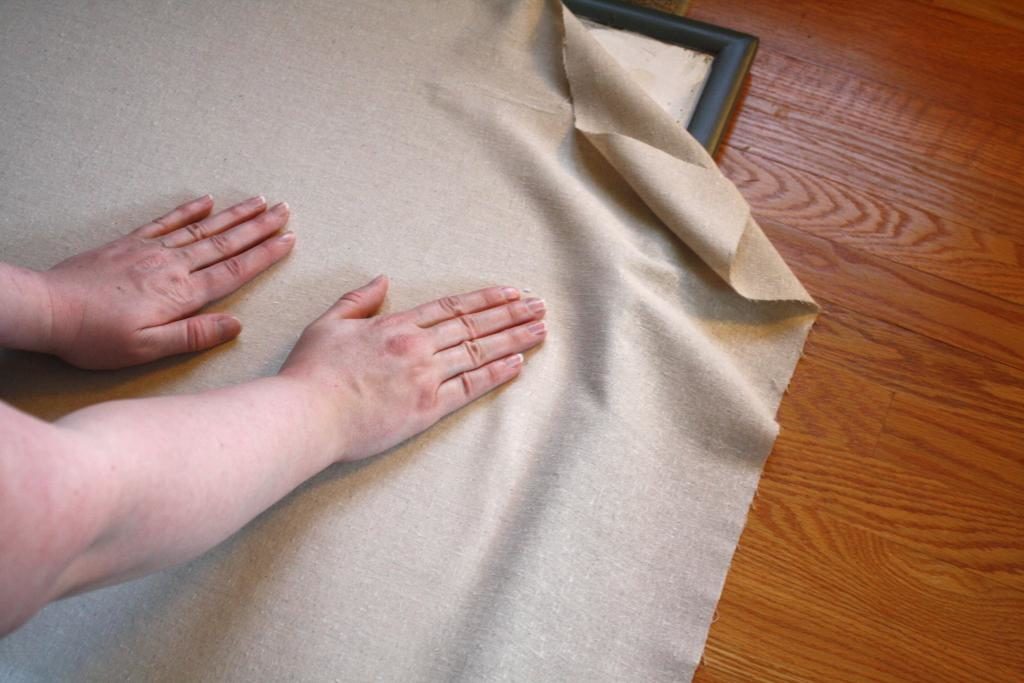
Here’s my board on my living room floor. I then draped my fabric on it and cut it to roughly the size of the board. Make sure to leave at least an inch of extra fabric around the edges initially- you can always trim it down after you apply the adhesive.
Step 4: Glue fabric to board with spray adhesive.
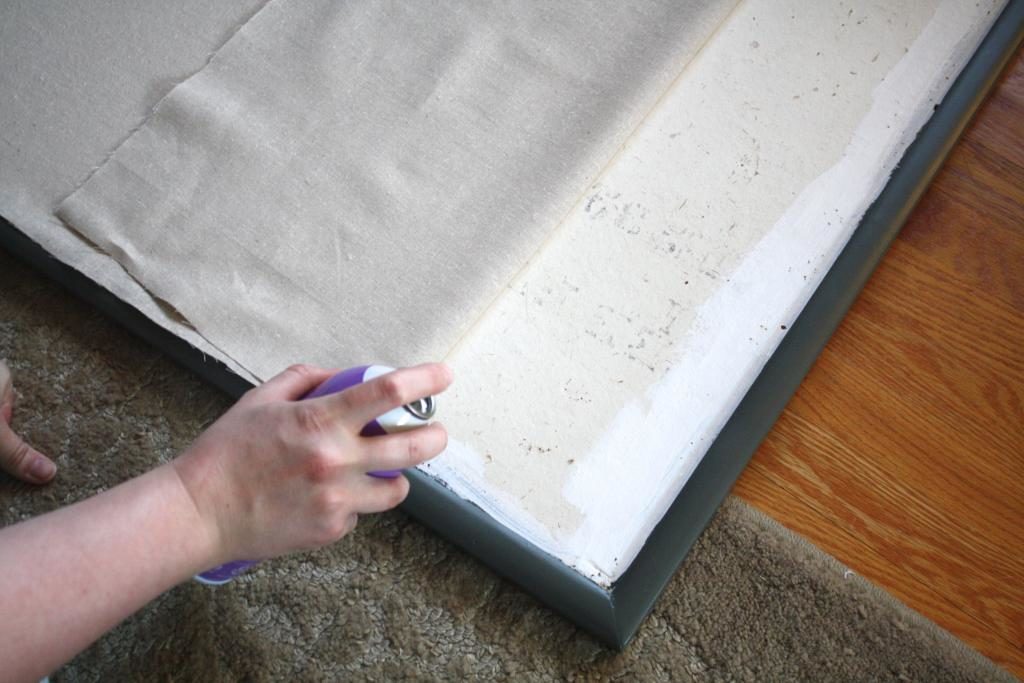
Press your fabric well with your iron to get it as smooth as possible, and then, starting on one side, spray the adhesive on the board and then smooth the fabric over it. I went slowly, spraying about 6 inch strips of board at a time and then smoothing the fabric over it. You might also consider taping off your frame to keep the adhesive off (I didn’t and it was hard to scrub off in spots!).
Smoothing the fabric down after each spray.
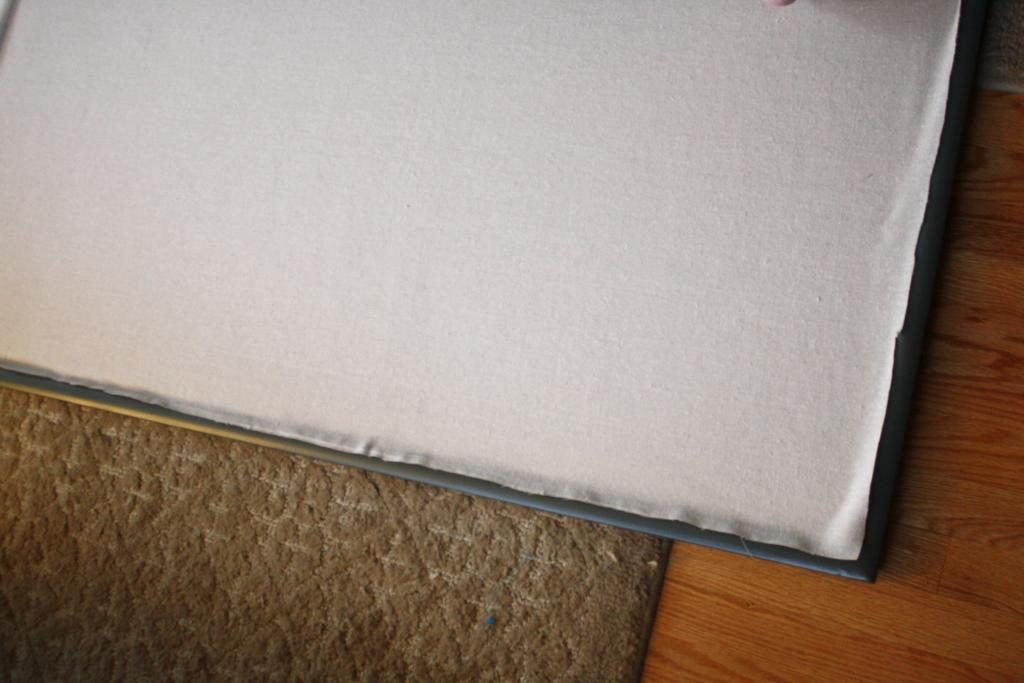
Step 5: Tuck the fabric edges under the frame.
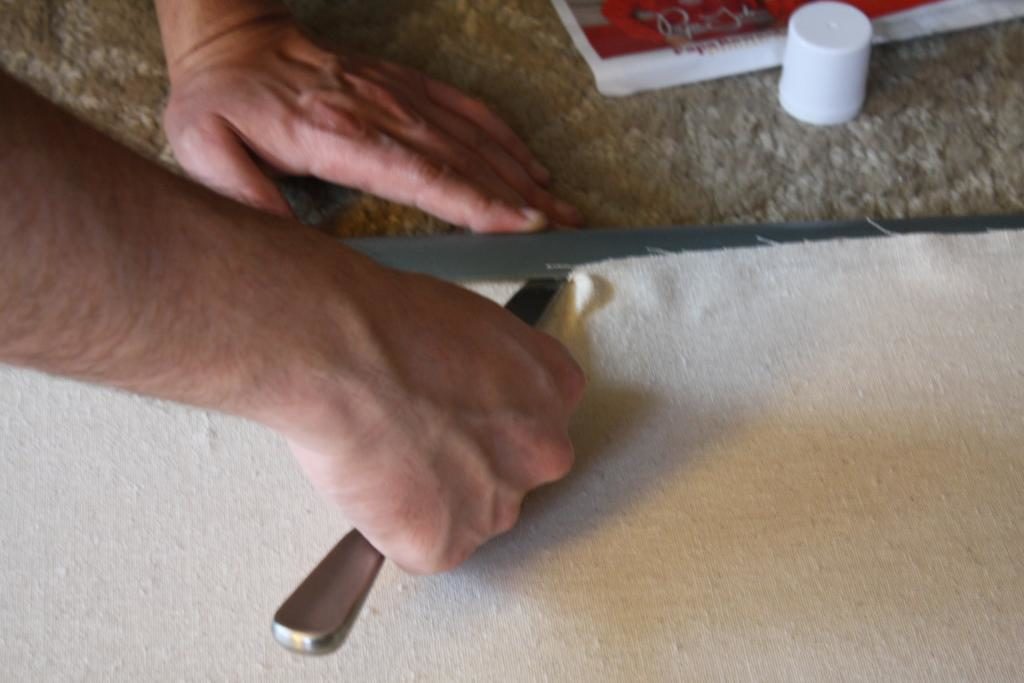
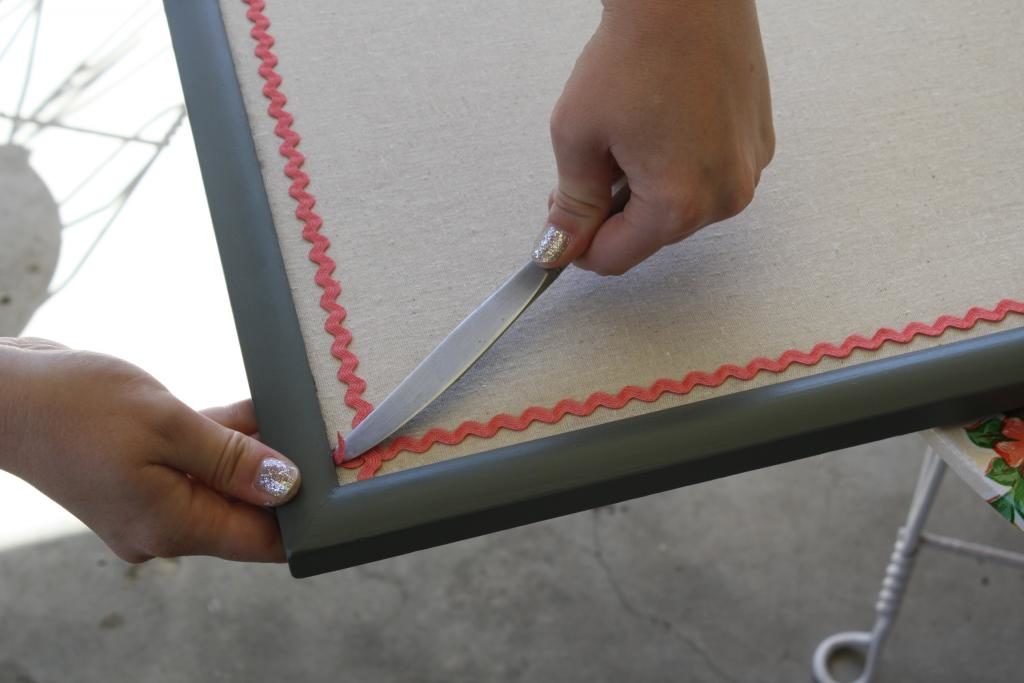
At this point, you can trim your fabric a bit more, until you have about 1/2 to 1 inch of extra fabric along the edges. Use a butter knife to tuck these edges under the frame, as shown below:
Step 6: Add your embellishment.
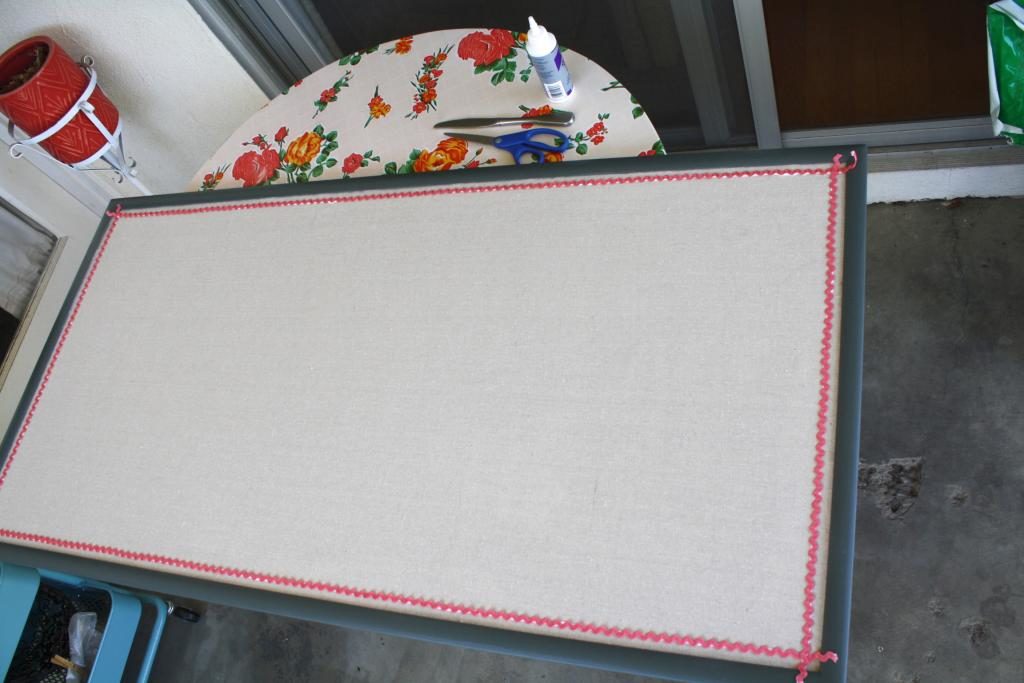
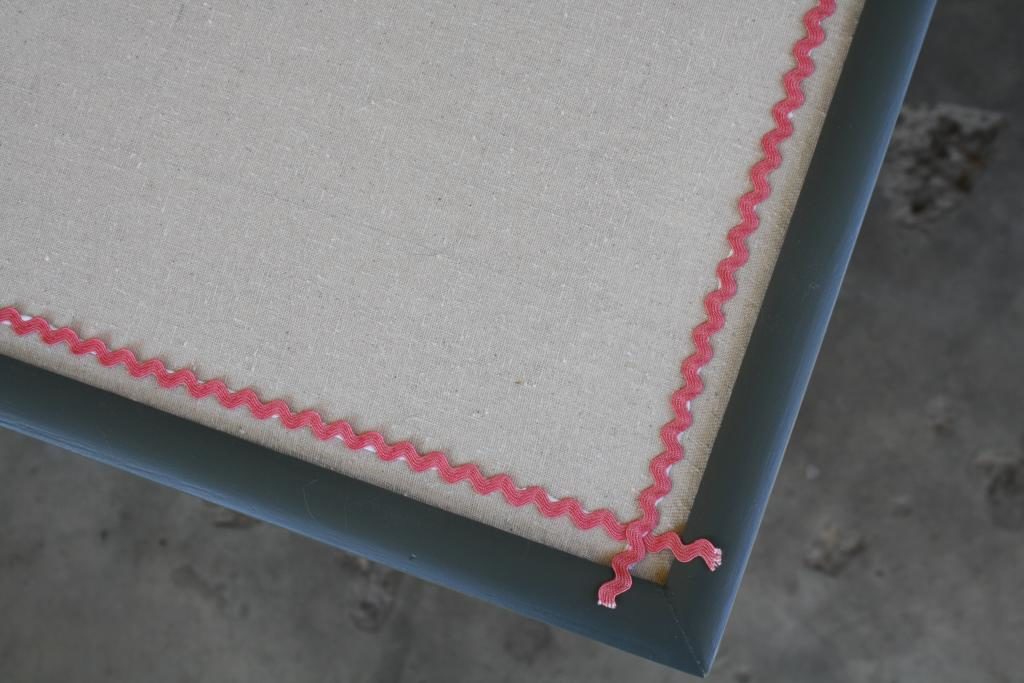
Decide where you want to put your rick-rack (or ribbon or whatever else you want to use). Move it aside, draw a line with the tacky glue, and then carefully place your trim on top of the glue. I just eyeballed it, but you could also use a ruler if you want to make sure it’s perfect. Let the glue dry completely, and trim the ends to about 1/2 inch extra, as shown in the photo below:
When the glue is completely dry, use the butter knife again to tuck your ends under the frame.
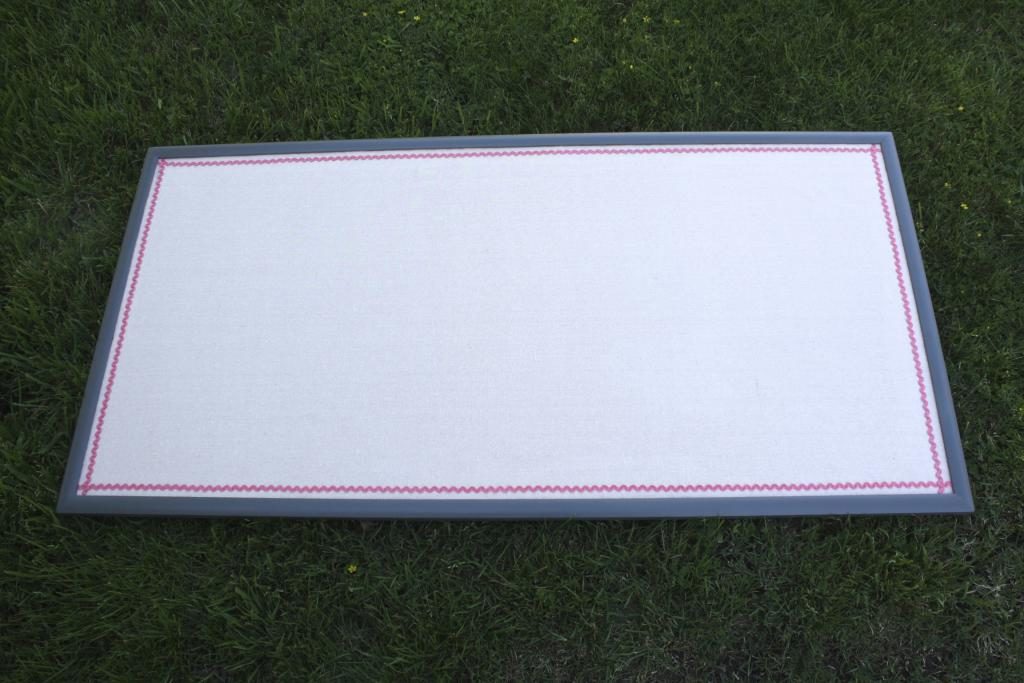
Step 7: Enjoy your pretty new cork board!
Isn’t it beautiful? I’m going to use it to hang up my hoop art pieces in my booth.
Hope you enjoyed this little tutorial! If you have any questions, feel free to ask them in the comments.
