
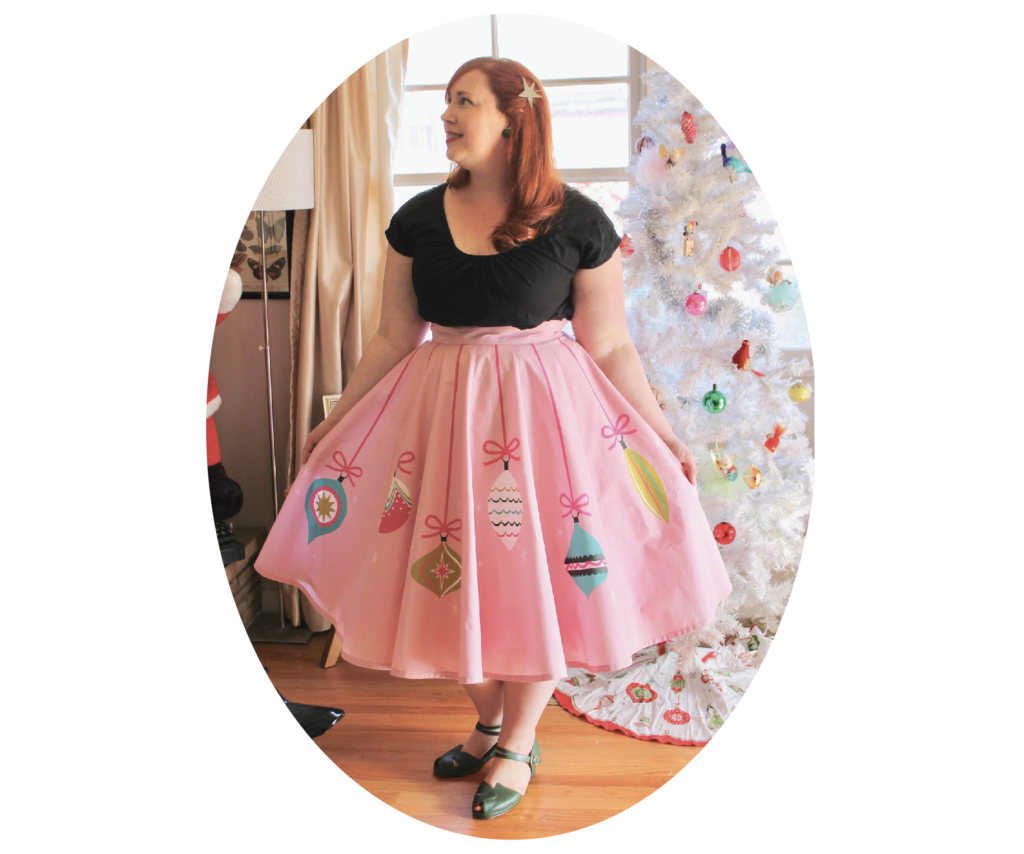
INSTRUCTIONS
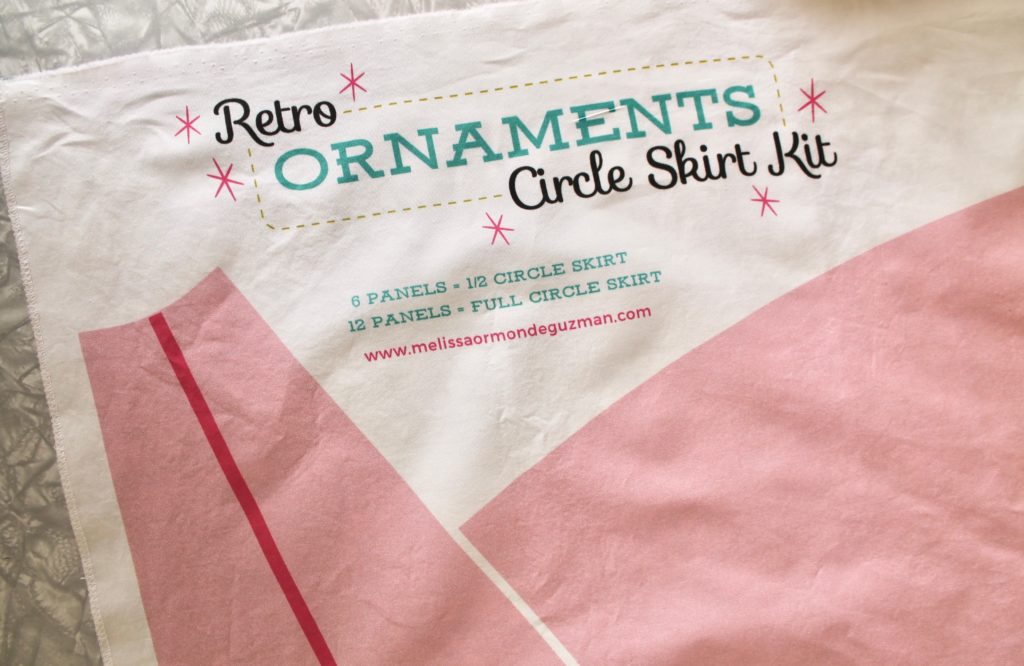 Fabric is available for purchase in my Spoonflower shop in several color ways. I recommend using cotton poplin (shown in tutorial) or cotton sateen. I have set up separate versions for different fabric widths so make sure to read the descriptions before ordering.
YOU WILL NEED
• about 1/4 yard of fusible interfacing for waistband
• 1 package of single-fold bias tape
• 9 inch invisible zipper
• hook-and-eye or button for waistband
PLEASE NOTE:
The skirt sizing guide provided is for the full 12-panel circle skirt. If making the half-circle skirt you will need to remove twice as much fabric from the top to make the opening large enough to fit the waistband.
STEP 1- WASH AND PRESS FABRIC
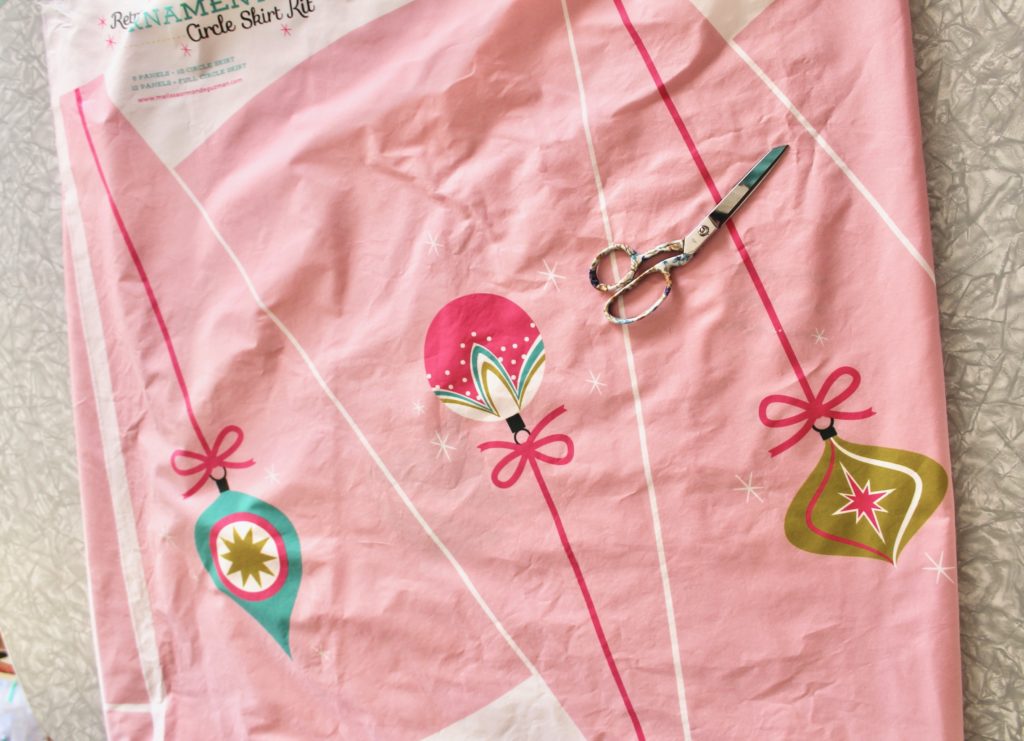
Wash and press your fabric to pre-shrink and remove chemicals. It’s best to wash in cold water on a gentle cycle.
STEP 2- CUT OUT PANELS AND TRIM TO YOUR SIZE
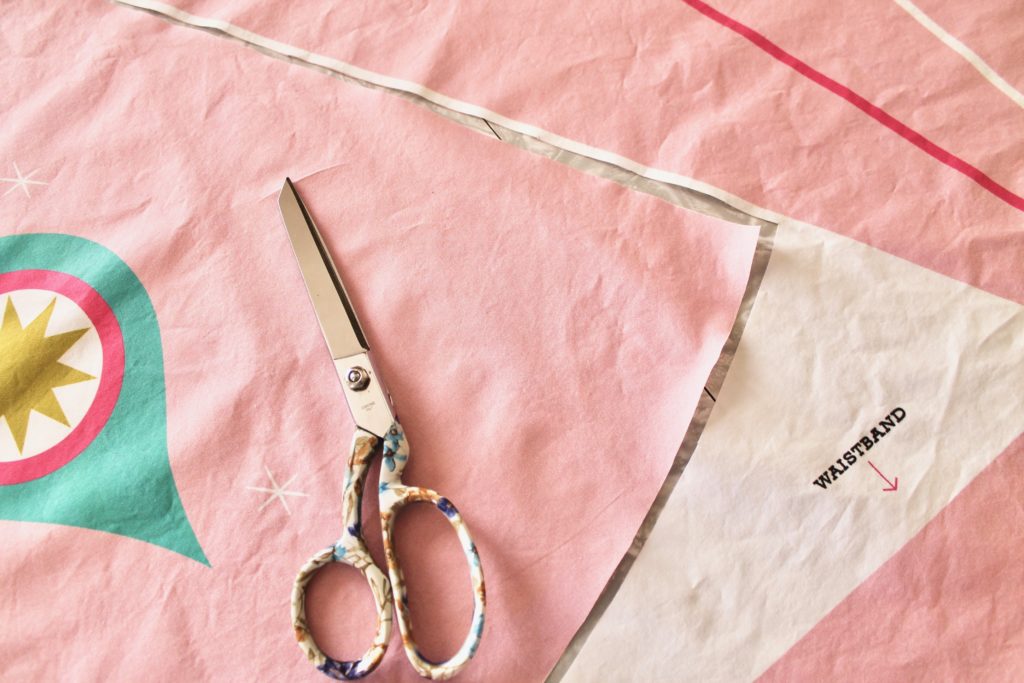
Cut out skirt panel pieces and waist band. Finish sides with a serger or zig-zag stitch.
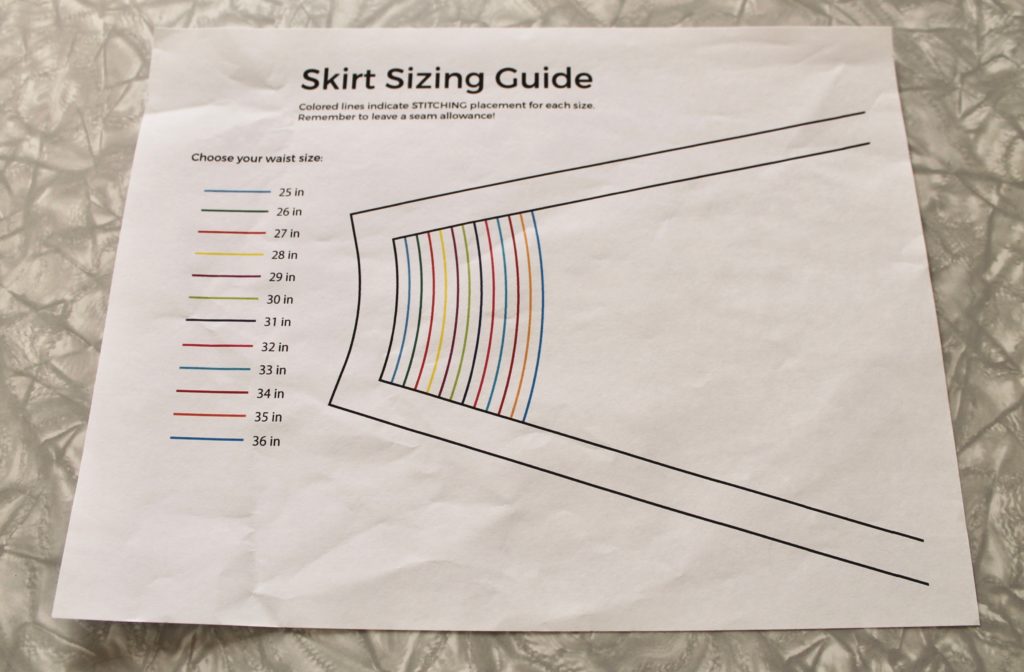
Download and print color-coded skirt sizing guide. Measure your waist and add 1 inch for ease. (For example, if your waist measurement is 25 inches, use the 26 inch line.)
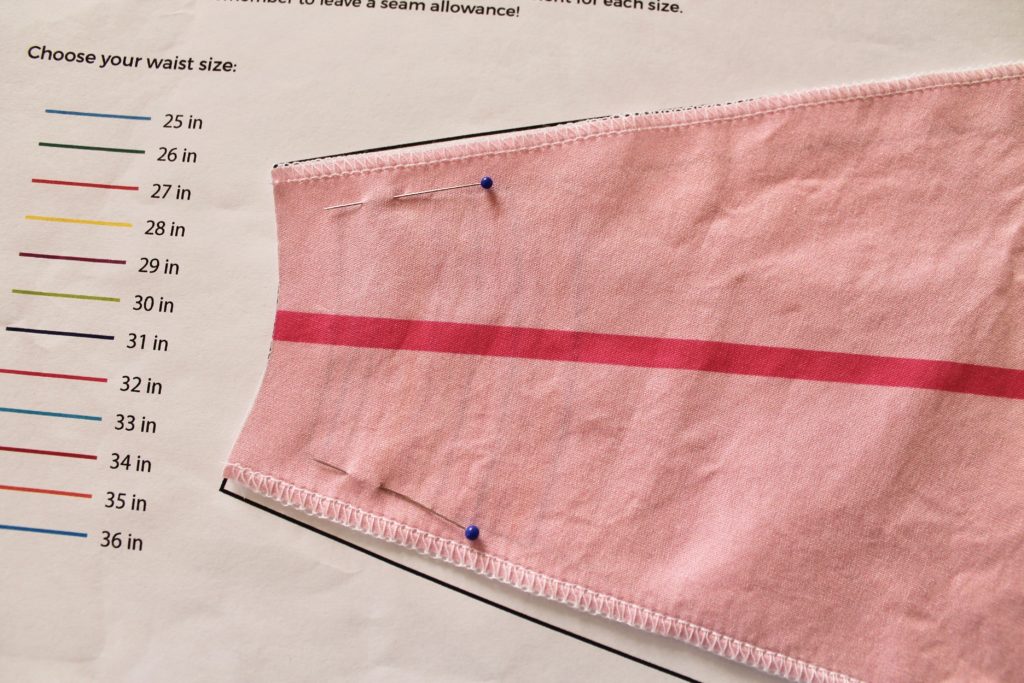
Mark skirt at the correct line for your waist size. This will be the sewing line, NOT the cutting line. Put pins where seam allowances should be. They are set up with 1/2 inch seam allowances, but you will need to make sure to account for the shrinkage of the fabric due to washing.
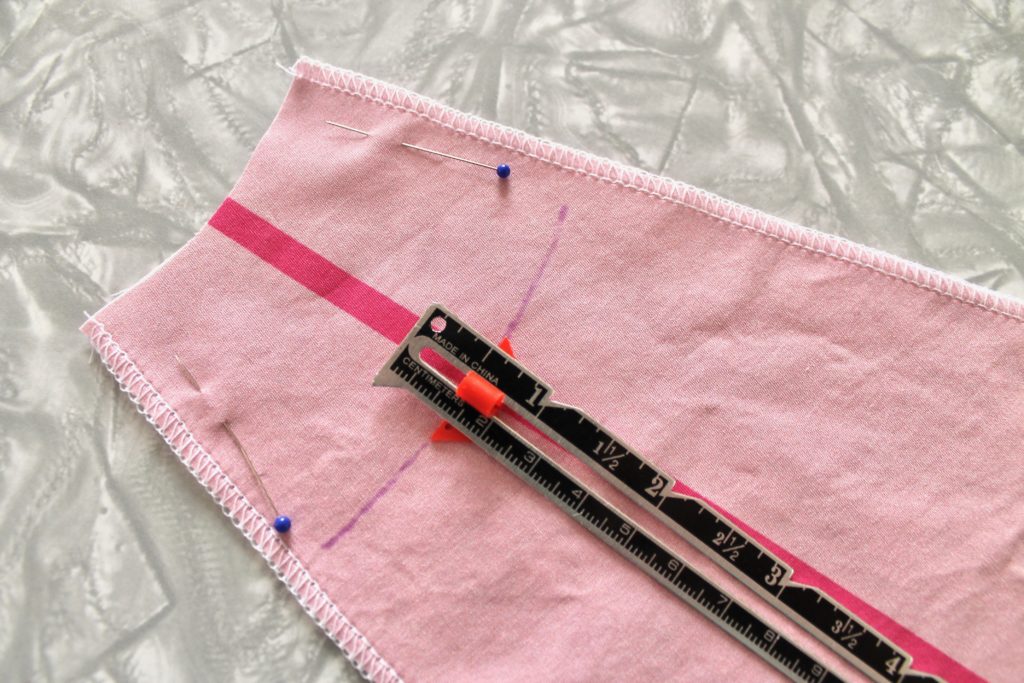
Draw another line 1/2 inch above your seam line for a seam allowance.
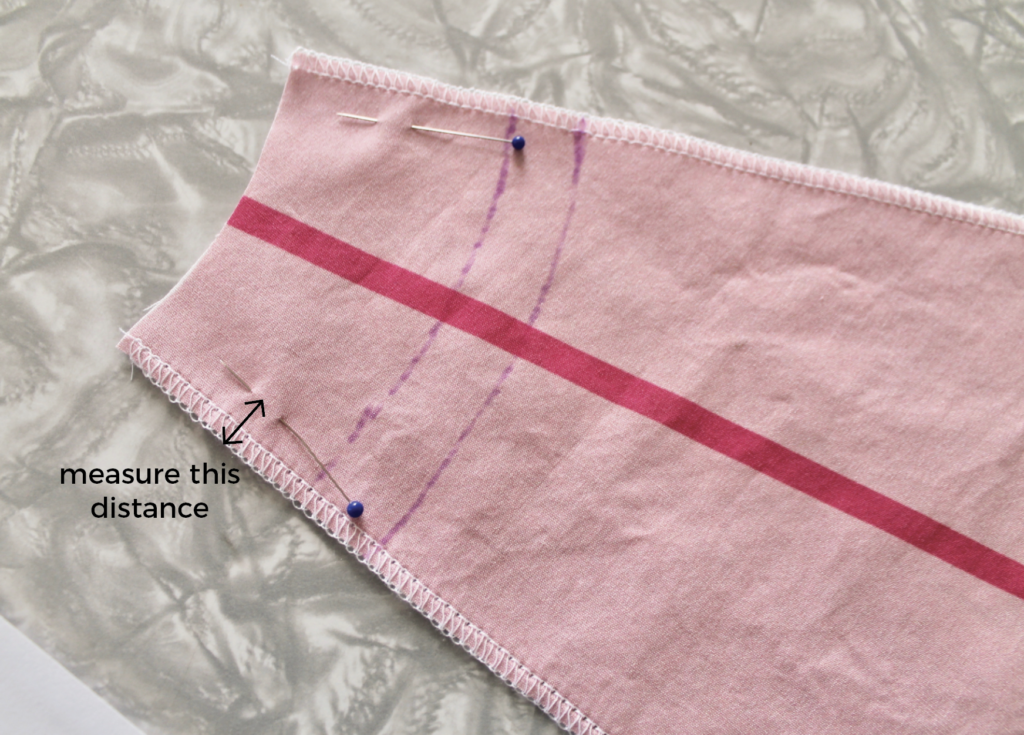
Measure the distance to the pins on the side seam. I adjusted my seam allowances to 3/8 inches due to shrinkage from washing (otherwise your skirt will end up too small).
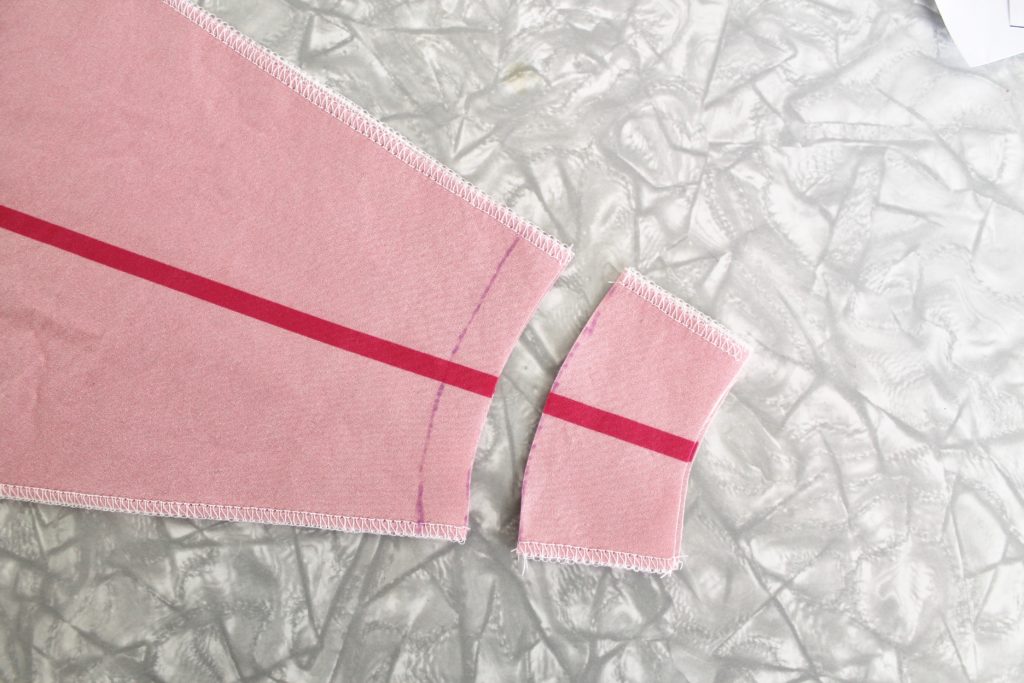
Cut the tops of skirt panels at the seam allowance line.
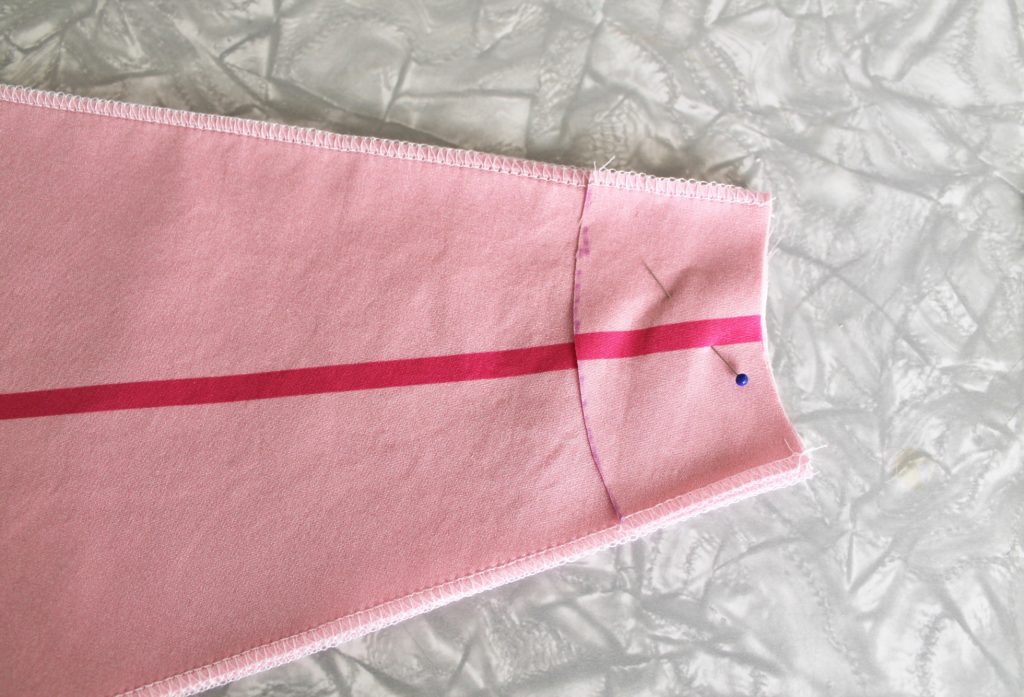
Use the portion you cut off the first panel as a template for the others.
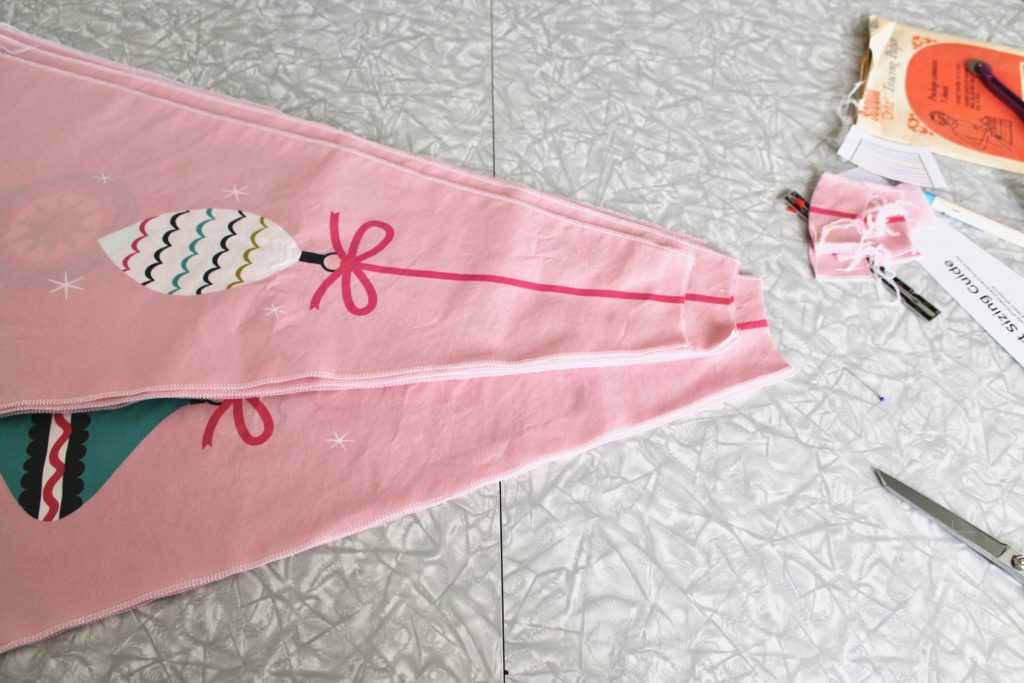
Cut all tops of panels to the correct size and pin sides together in the correct order. See the photo of completed skirt for guidance.
STEP 3- SEW SKIRT PANELS TOGETHER
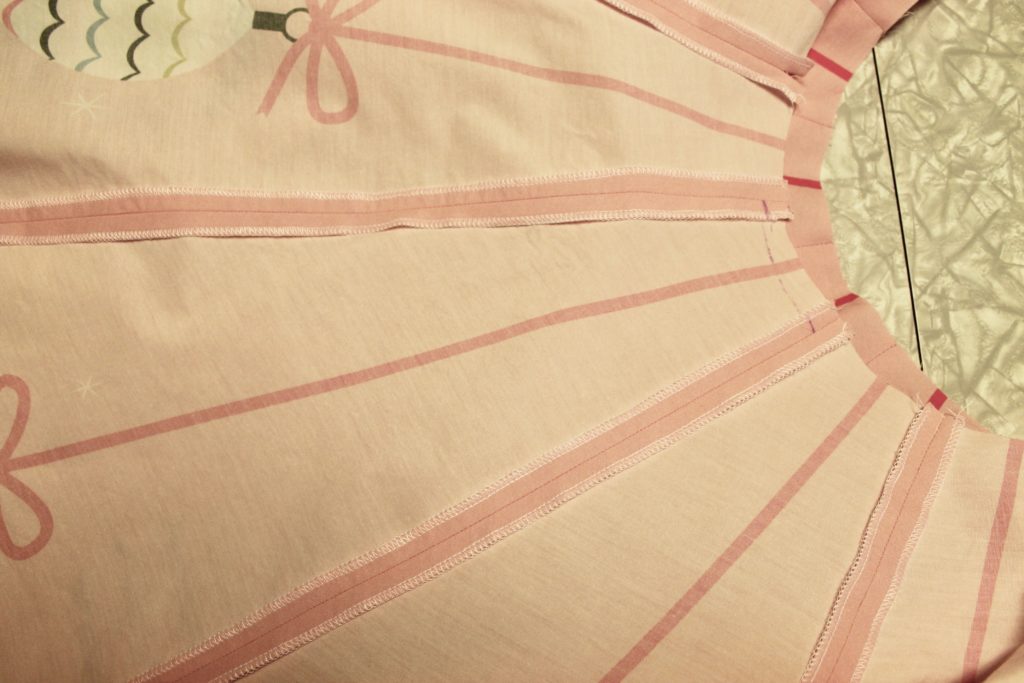
Sew your skirt panels together at the correct seam allowance (probably about 3/8 inches). Press seams open and leave one seam un-sewn for zipper insertion.
STEP 5- INSERT ZIPPER
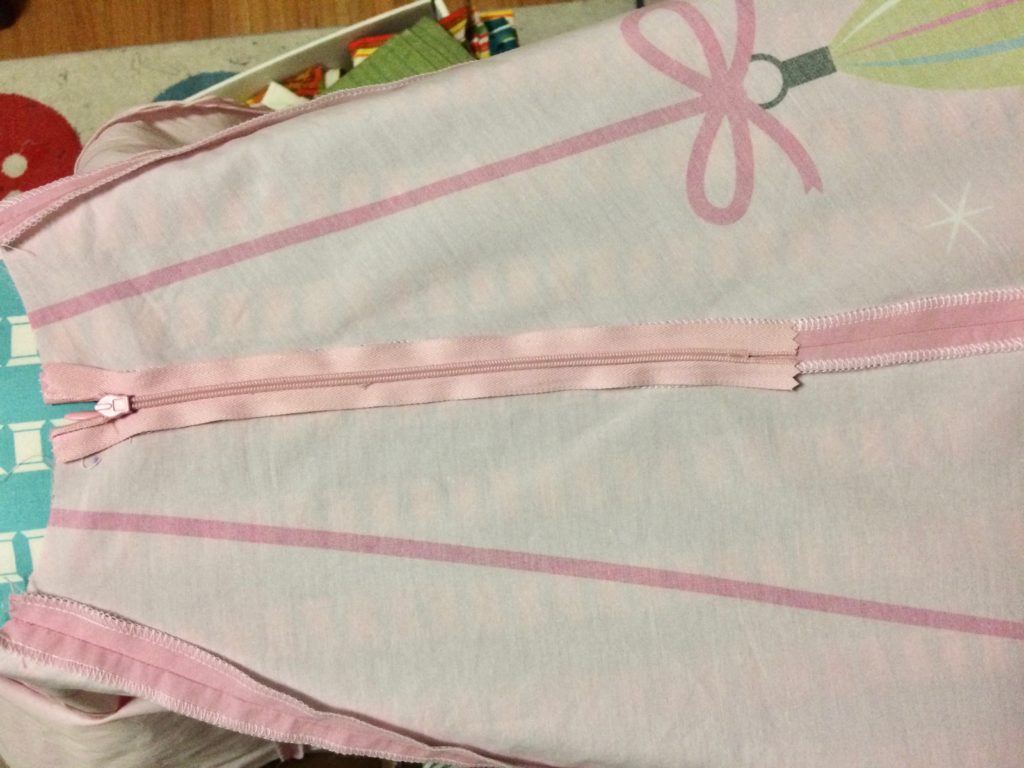
Insert your invisible zipper according to instructions and sew seam below zipper. Press seam open.
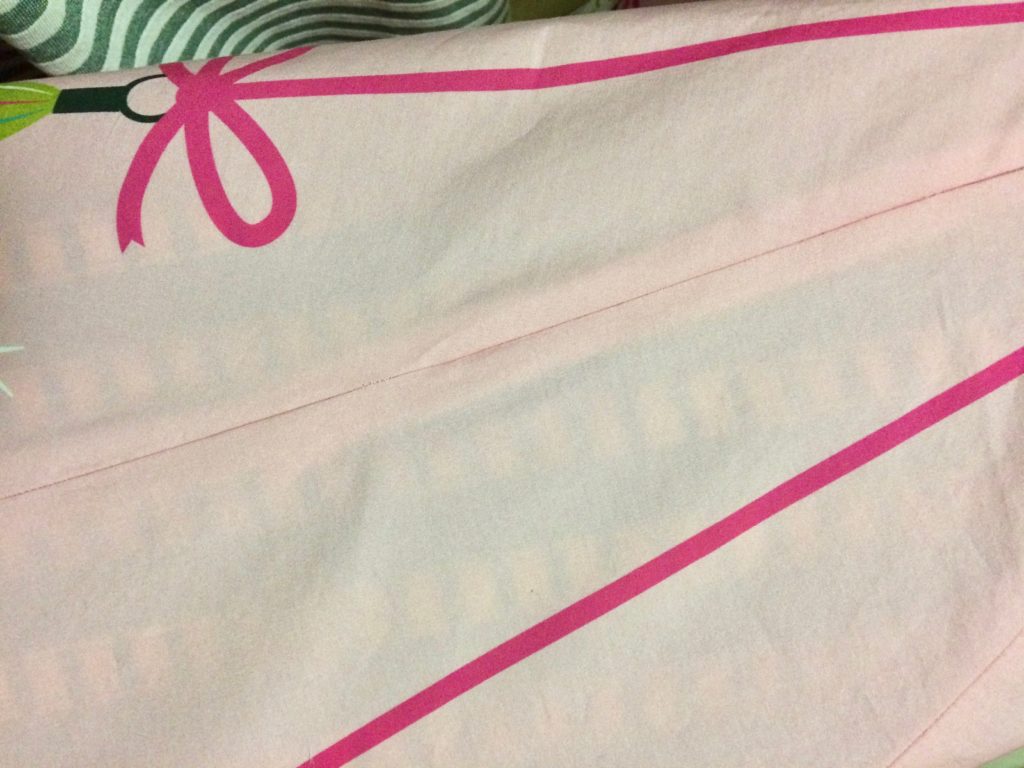
Press zipper seam lightly on the front- invisible zipper should blend in nicely with the side seam from the outside.
STEP 6- WAISTBAND
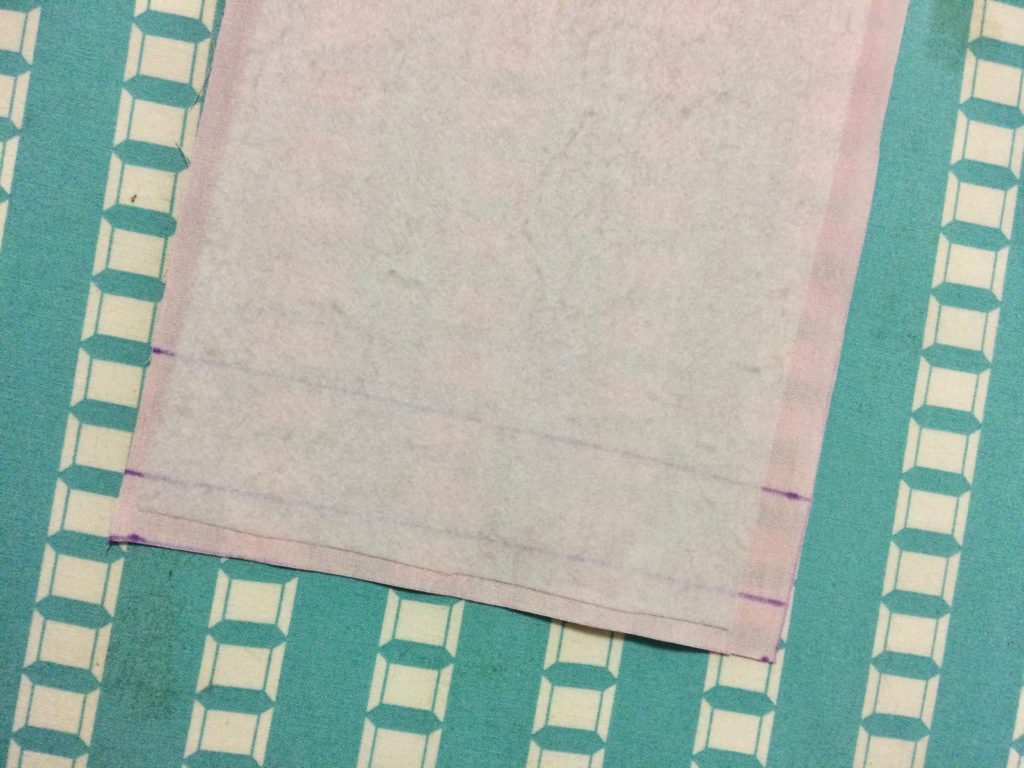
Cut waistband to size (measure your waist and add 3 inches). Apply fusible interfacing to the wrong side. Finished waistband is 2.5 inches wide by default but you can make it narrower if you like.
Draw a line with chalk or fabric marker 1/2 inch from each edge. Then, on just one side, draw a line 1 inch in from the line you just drew. The first lines are for the seam allowance and the second is for the button tab. They will help you line up the skirt when sewing to the waistband.
STEP 7- SEW SKIRT TO WAISTBAND
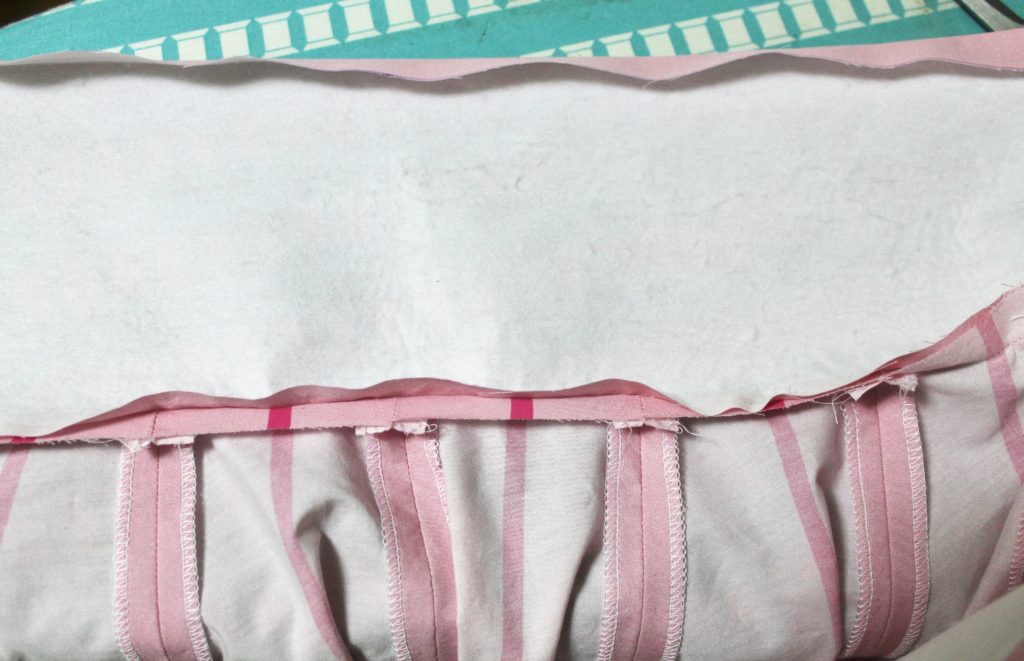
Pin right side of skirt to waistband between lines. Stitch with a 1/2 inch seam allowance. Press other side of waistband under 1/2 inch.
STEP 8- FINISH WAISTBAND
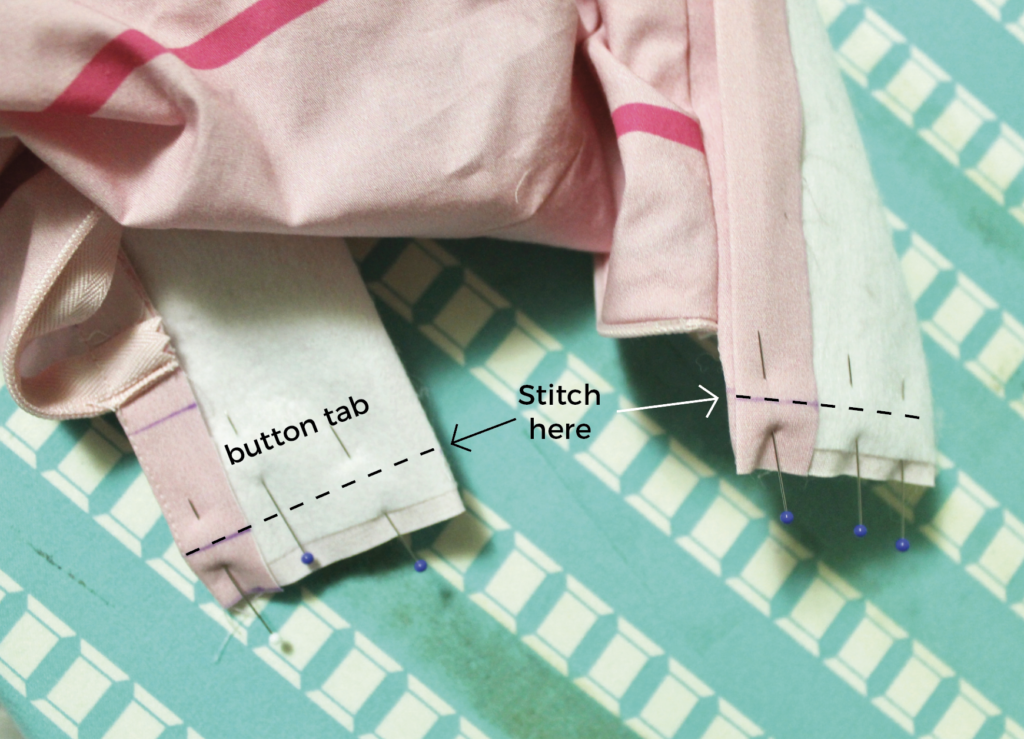
Fold Ends of waistband together, right sides facing. Stitch at 1/2 inch on each side. One side should be longer for a button tab.
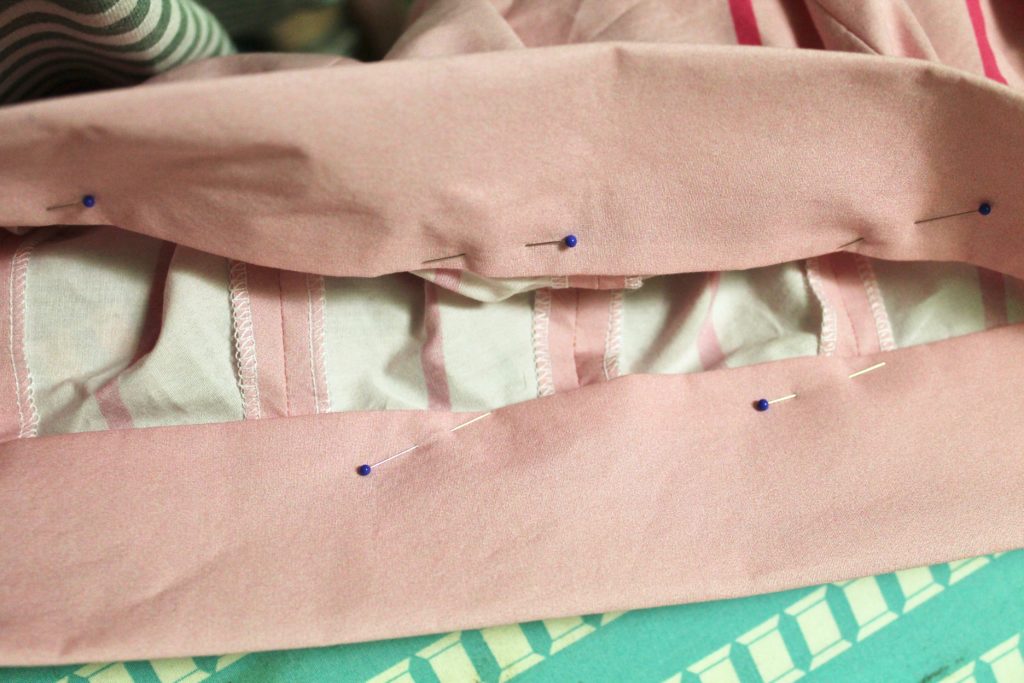
Turn waistband to right side and pin down. Hand stitch waistband on inside.
STEP 9- HEM YOUR SKIRT
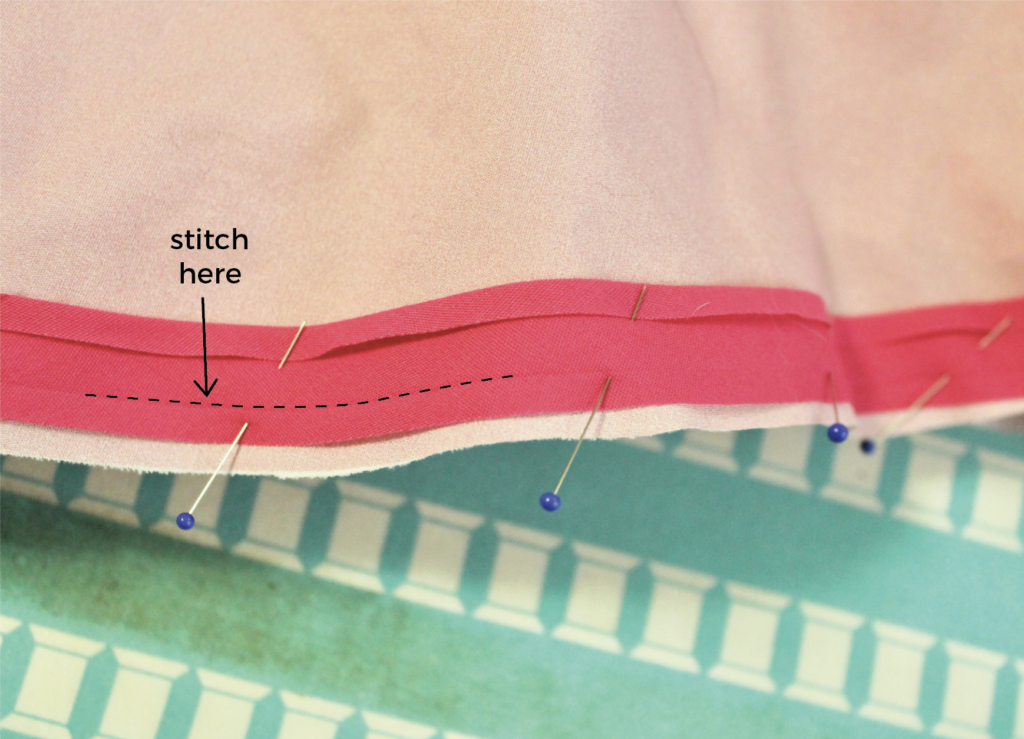
Press one side of bias tape open. Pin bias tape to hem on right side. Stitch along fold line.
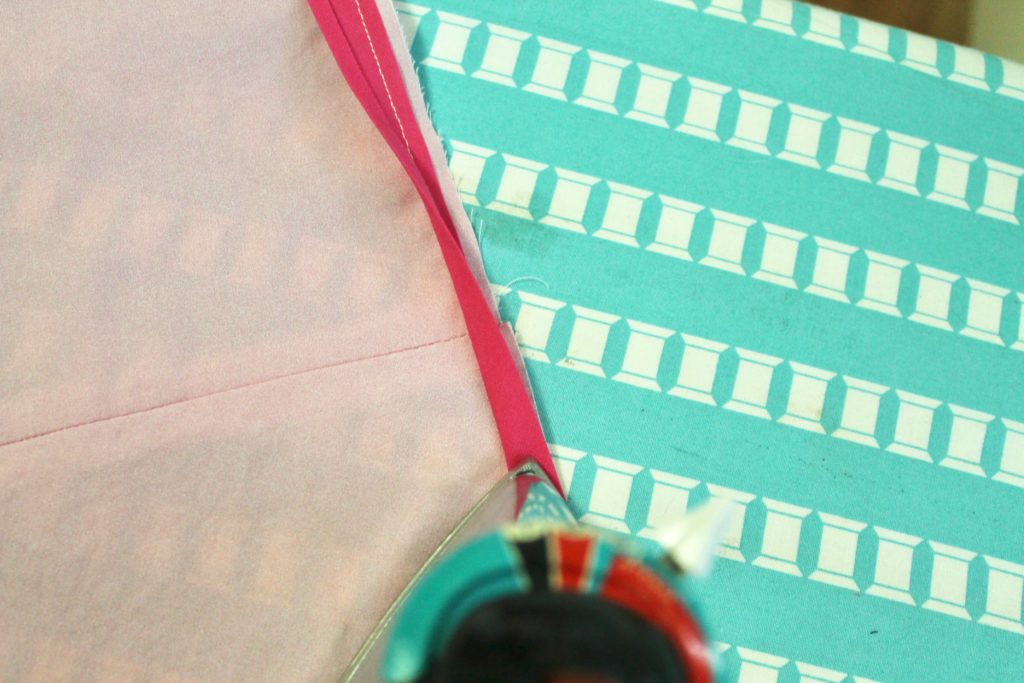
Press bias tape down and then fold over to inside.
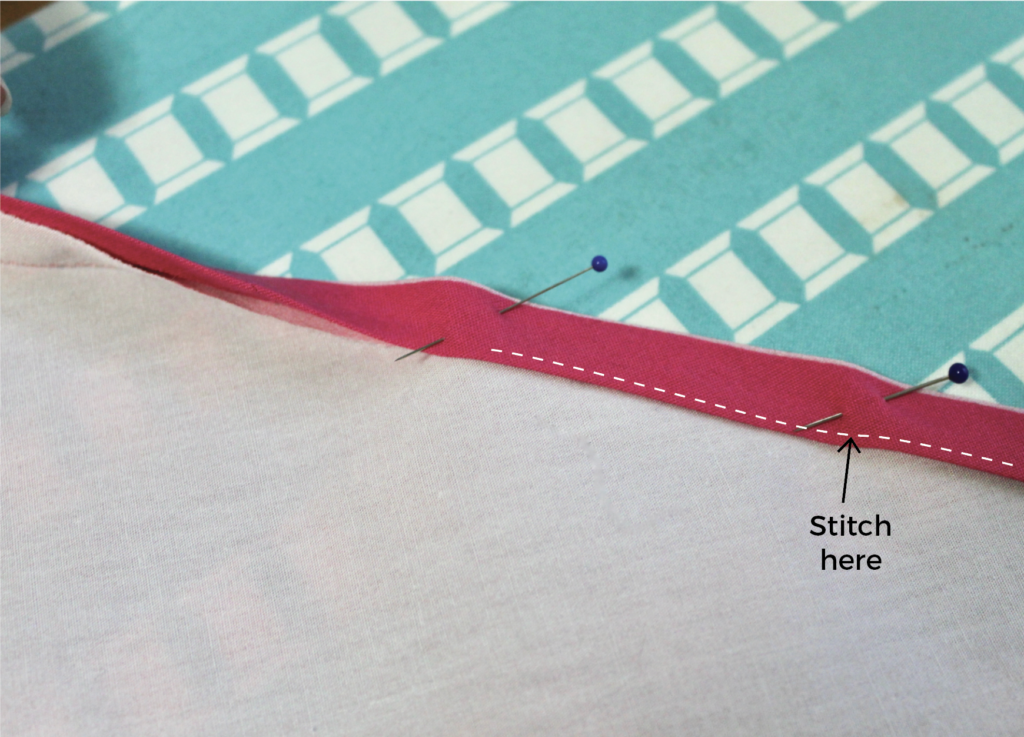
Stitch bias tape down near edge.
STEP 10- ADDING FASTENERS
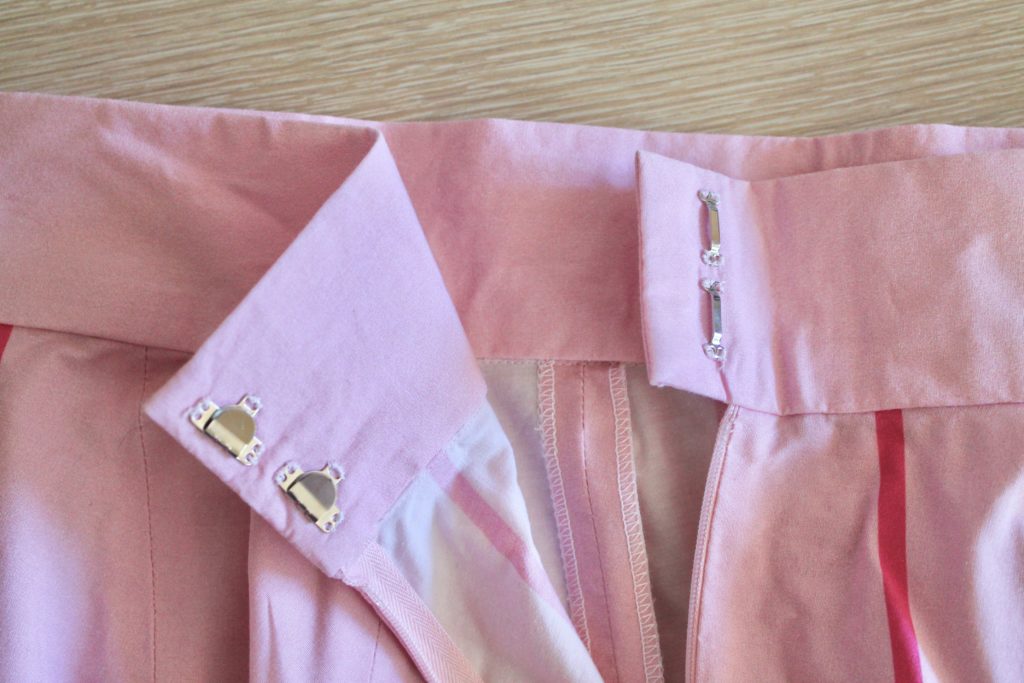
Stitch hook and eye at waistband (or use a button and buttonhole). The longer tab should be on the bottom.
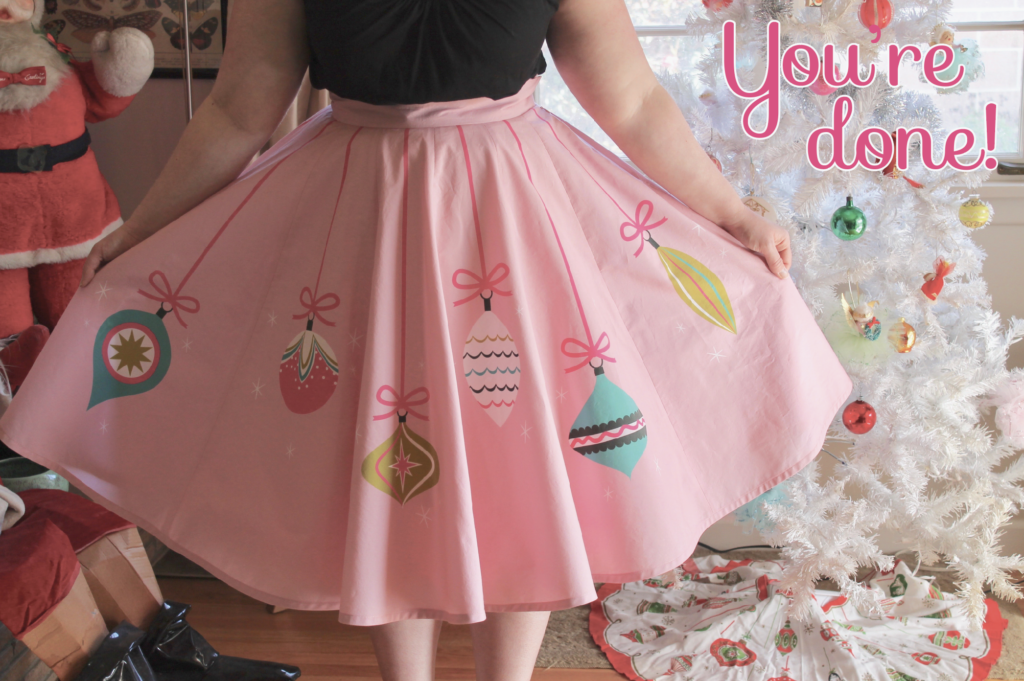
I hope these instructions have been helpful and that you enjoy your new holiday skirt! Please let me know if you have any questions or feedback!
DOWNLOAD A PDF VERSION OF THESE INSTRUCTIONS HERE
